


A water filter vibrating noise usually comes from trapped air, tubing touching the cabinet, a loose component, restricted flow, pressure changes, or—in pump-equipped reverse osmosis systems—the pump and its mounting. A brief hum, pulse, or gurgle can be normal while an RO system is producing water, draining reject water, or flushing after service. Persistent, loud, or worsening vibration deserves closer attention.
Start with the simple causes. Note when the sound occurs, check whether tubing or the storage tank is touching a hard surface, and follow your model’s flushing procedure. If the noise appears with a leak, visible movement, reduced flow, banging pipes, or unusual pump operation, stop using the system until the cause is identified.
This guide explains how to distinguish normal reverse osmosis system noise from a maintenance or plumbing problem—and how to troubleshoot it without overtightening or damaging the system.
Why is my water filter or RO system vibrating or humming?
A water filter or RO system may vibrate because normal water movement is transferring energy into the tubing, housings, cabinet, drain connection, or pump mount. The cabinet can act like a sounding board, making a small internal vibration sound much louder than it is.
The timing of the sound provides an important clue:
-
Immediately after installation or a filter change: Trapped air, incomplete flushing, incorrect filter seating, or a pinched line is likely.
-
Only while dispensing water: Light humming may be related to normal flow or pressure changes.
-
While the RO system is refilling or draining: Gentle humming, dripping, or gurgling may be normal, depending on the system.
-
When another fixture or appliance closes: A sudden bang or pipe shake points more toward a plumbing pressure event, such as water hammer.
-
After months of normal operation: Check filter condition, tubing position, fittings, pressure behavior, drain components, and pump mounting where applicable.
Noise alone does not always indicate a failed filter. Sound should be evaluated together with flow, leaks, fill time, pressure changes, and whether the system has recently been serviced.
Decision Snapshot: When vibration is normal and when to troubleshoot
A light, short-lived hum or pulse can be normal when water is moving through the system. Temporary noise is also common after installation or filter replacement while air is being purged.
Troubleshoot the system when the sound:
-
Continues well beyond the model-specific flushing procedure
-
Becomes louder than it was during normal operation
-
Includes a sharp rattle, repeated chatter, whine, or cabinet-shaking buzz
-
Occurs with slower filtered-water flow or longer refill cycles
-
Appears with a leak, moisture, or visible component movement
-
Starts after a filter change and does not improve after correct purging
-
Sounds like banging throughout the household plumbing
-
Comes from a pump that runs unusually, struggles, or does not stop as expected
Water filter vibrating noise decision table: Sound, likely cause, first check, and next step
|
Sound or symptom |
Likely cause |
First check |
Next step if it continues
|
|---|---|---|---|
|
Brief humming during dispensing |
Normal water flow or pressure change |
Confirm normal flow and no leaks |
Monitor for changes in volume or duration |
|
Gurgling near the sink drain while the RO system runs |
Normal reject-water flow or an RO drain-side issue |
Listen at the drain connection and inspect the drain tube |
Check for a kink, blockage, or incorrect drain connection according to the manual |
|
Vibration immediately after filter replacement |
Trapped air or a filter that is not fully seated |
Follow the model’s purge and flushing procedure |
Shut off and depressurize the system, then check filter seating and seals |
|
Rattling inside the cabinet |
Tubing, housing, tank, or bracket contacting a hard surface |
Lightly reposition the suspected contact point |
Secure tubing and add appropriate soft isolation without hiding leak-prone areas |
|
Continuous hum with reduced flow |
Clogged filter, restricted line, pressure problem, or pump issue |
Check filter age, line routing, and other flow symptoms |
Replace a due filter or contact support if the restriction is unresolved |
|
Repeated pulsing or chattering |
Trapped air, unstable pressure, valve behavior, or restricted flow |
Note whether it began after service or a plumbing change |
Purge the system and have pressure or internal components evaluated if it persists |
|
Loud buzz from a pump-equipped system |
Pump vibration, loose mount, worn support, or pump problem |
Check whether the pump or its mount is visibly moving |
Disconnect power before inspection and contact support for persistent abnormal pump noise |
|
Bang followed by shaking pipes |
Water hammer or unsecured household plumbing |
Check whether it occurs when a valve closes |
Ask a plumber to assess pressure, pipe supports, and any needed hammer-control device |
|
Any vibration with leaking |
Loose, damaged, or misaligned connection |
Shut off the water supply |
Inspect according to the manual or arrange professional service before restarting |
Light humming or gurgling during normal RO operation
Reverse osmosis systems do more than pass water through a cartridge. They manage feed pressure, purified-water flow, and reject-water flow. Tanked systems also respond to storage-tank pressure, while some tankless or high-output configurations use pumps.
As a result, an RO system may make a light hum while producing water and a gentle gurgling or dripping sound near the drain. These sounds are generally less concerning when they:
-
Occur only during water production, dispensing, or a refill cycle
-
Remain relatively quiet and consistent
-
Stop when the operating cycle ends
-
Do not accompany leaking, slow output, or visible shaking
-
Have not suddenly become louder
“Normal” is model-dependent. A newly developed or much louder RO system humming noise should not be dismissed simply because some sound is expected during operation.
What causes water filter vibrating noise?
The same sound can have several possible causes. Work from recent changes and easy-to-observe contact points before assuming that a valve, membrane, or pump has failed.
Trapped air after installation or a filter change
Air can enter a filter housing, tube, valve, or RO water path when the system is first installed or opened for maintenance. As the air moves through changing pressure zones, it can produce pulsing, humming, sputtering, or vibration.
Air-related noise is more likely when:
-
The noise began immediately after installation
-
A filter, membrane, housing, or tube was recently removed
-
The faucet spits or releases an uneven stream
-
The sound gradually becomes less noticeable as the system operates
-
There is no leak or ongoing flow reduction
Use the flushing or tank-cycling procedure in the product manual. Purge times vary significantly among models, so one generic flushing time should not be treated as universal.
Tubing, housings, or the storage tank touching the cabinet
A small vibration becomes much louder when a tube, filter body, bracket, or storage tank touches a cabinet wall, shelf, drainpipe, or other rigid object. The cabinet panel receives the vibration and amplifies it.

Common contact points include:
-
Tubing pressed against the back or side wall
-
A loop of tubing touching a drainpipe or garbage disposal
-
A storage tank leaning against the cabinet
-
A system base sitting unevenly on a hard shelf
-
Filter housings touching stored items
-
Tubing passing tightly through a hole or around a sharp corner
Leave reasonable clearance around the system where the installation instructions allow it. Soft rubber feet or suitable padding may reduce vibration, but they should not block ventilation, make the unit unstable, or conceal areas that need routine leak inspection.
Loose fittings, brackets, filter housings, or misaligned seals
Loose components can chatter when water passes through them. A mounting bracket may rattle against the cabinet, while a fitting or housing may move slightly under pressure.
Misalignment can cause similar symptoms. An O-ring that is twisted, displaced, dirty, or damaged may prevent a housing from seating correctly. A cartridge that is not fully engaged can also create restriction or unstable flow.
The correct approach is snug and properly aligned—not excessively tight. Overtightening plastic housings and fittings can damage threads, distort seals, or crack components. If the manual specifies a tool or tightening method, follow that instruction instead of applying extra force.
High water pressure, pressure fluctuations, and water hammer
Incoming pressure that is too high for a specific system can contribute to humming, buzzing, or vibration and may place unnecessary strain on fittings and valves. Rapid pressure fluctuations may also cause pulsing.
Do not assume a universal pressure limit. Operating ranges differ by model, and the applicable limits should be checked in the product documentation.
Water hammer is different from a steady filter hum. It usually sounds like a bang or thump when a faucet, appliance valve, or other fast-closing valve stops water suddenly. The resulting pressure wave can shake household pipes and make the filter appear to be the source.
If banging travels through the plumbing, a plumber should evaluate the supply pressure, pipe supports, valve behavior, and whether an appropriately selected water hammer control device is needed.
Clogged or aging filters creating flow resistance
A loaded filter can increase resistance to water flow. Depending on the system, that restriction may contribute to humming, chatter, pressure changes, slower output, or longer RO production cycles.
A clogged filter is more likely when noise appears with:
-
Declining faucet flow
-
Slower storage-tank refill
-
A longer pump run time
-
A filter-change reminder or overdue maintenance
-
Visible sediment in a serviceable prefilter
-
Noise that developed gradually rather than immediately after installation
Replacement intervals vary by system, filter type, usage, and feed-water conditions. Check the schedule for the exact model rather than replacing filters based on a generic calendar estimate.
Explore RO Systems and Replacement Options
If troubleshooting shows that your system needs more than a simple adjustment, compare Frizzlife RO systems or find compatible replacement filters for ongoing maintenance.
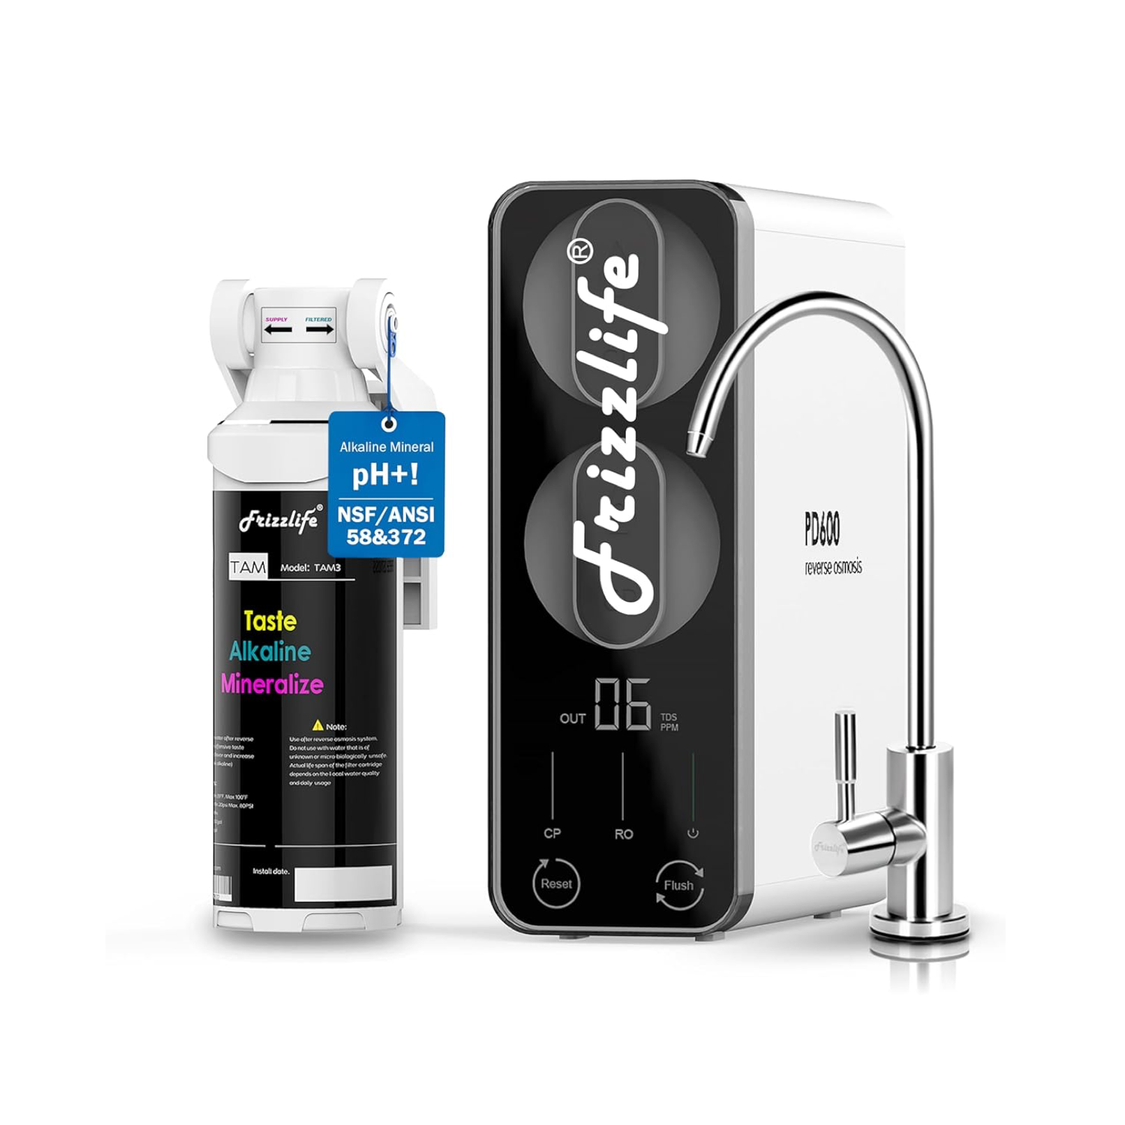
PD600-TAM3
Explore the PD600-TAM3 if replacing or upgrading your current reverse osmosis system becomes the appropriate next step.
View PD600-TAM3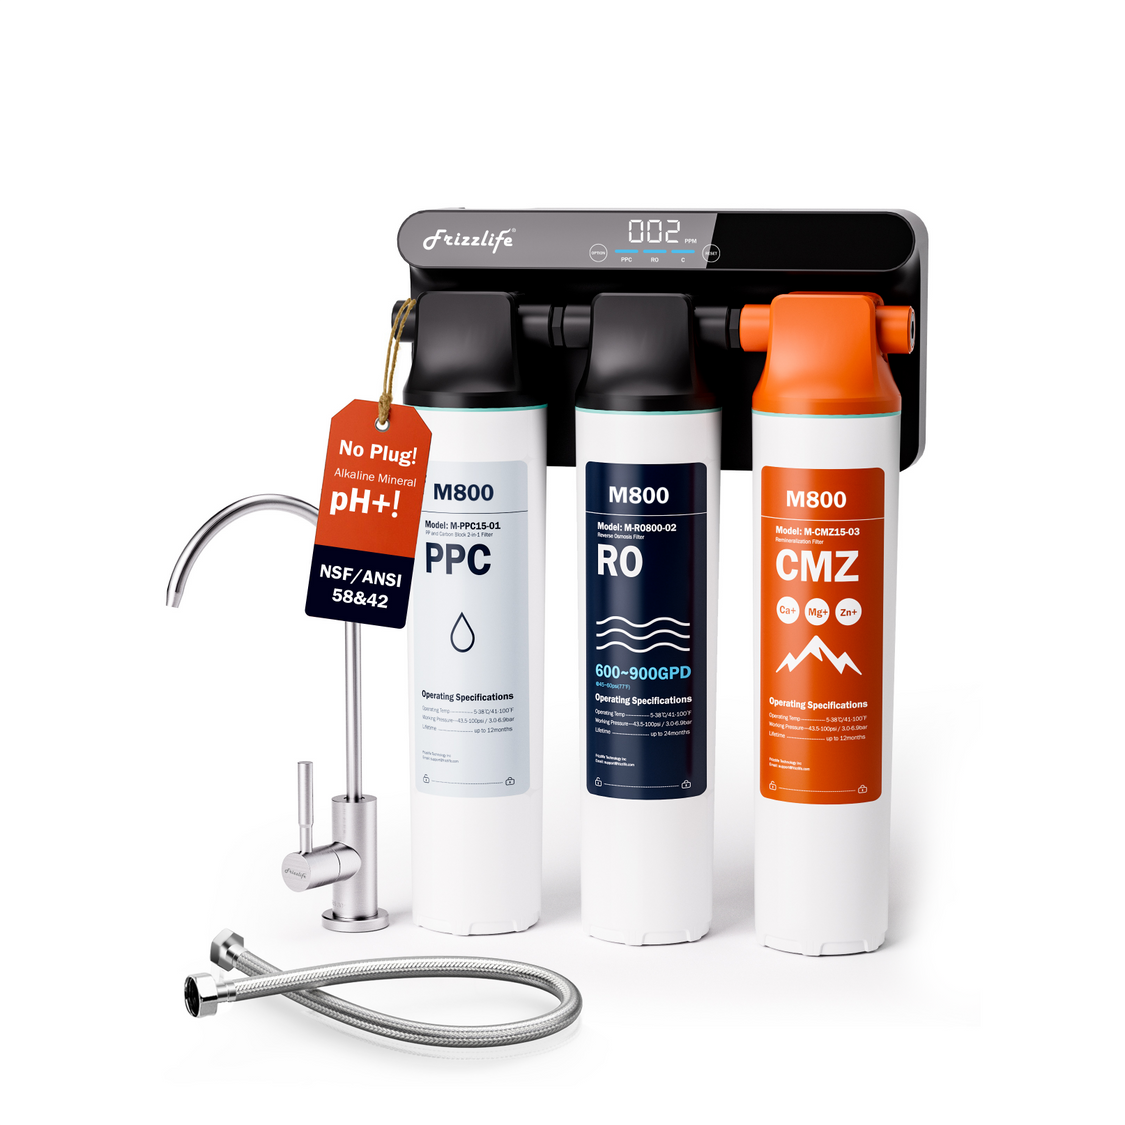
M800
Compare the M800 when you are evaluating a new reverse osmosis system rather than continuing to repair an aging unit.
View M800
Replacement Filters
If reduced flow or overdue maintenance points to a filter change, find the replacement filter designed for your Frizzlife model.
Find Replacement FiltersRO drain-line, flow-restrictor, or check-valve noise
RO systems send reject water to the drain while producing purified water. The drain tube, flow restrictor, drain connection, air-gap arrangement, and check valve can therefore generate sound.
Possible drain-side causes include:
-
A kinked or sharply bent drain tube
-
Tubing touching the cabinet or drainpipe
-
A restricted drain path
-
A loose drain connection
-
Incorrect drain-clamp placement
-
Resonance at a flow restrictor or check valve
-
Air moving through a recently serviced system
Do not replace a flow restrictor, check valve, or drain component with a generic part. Its design and rating must be compatible with the specific RO system. Verify the drain installation against the product manual or ask the manufacturer for guidance.
Booster-pump vibration in pump-equipped RO systems
Some RO systems use a pump, while others do not. In pump-equipped systems, a low mechanical hum may occur during operation. That sound can become much louder if a mounting screw is loose, a rubber support is worn, or the pump transfers vibration directly into the cabinet.
A pump-related problem is more likely when the noise:
-
Comes from a powered component rather than a tube or drain
-
Begins and stops with the pump
-
Is accompanied by visible pump or bracket movement
-
Becomes louder over time
-
Occurs with reduced production or unusually long operation
-
Continues after contact points and tubing have been isolated
Disconnect electrical power before examining the pump mount. Do not open or attempt to repair powered components unless the manufacturer’s instructions specifically authorize that work.
How to troubleshoot a water filter making noise safely
Troubleshoot in a controlled order: observe the operating pattern, locate the strongest vibration, correct external contact, purge air, and only then inspect seating or internal components.
Before opening housings or disconnecting tubing:
-
Read the instructions for the exact system.
-
Shut off the feed-water supply.
-
Relieve pressure using the model’s approved procedure.
-
Disconnect electrical power if the unit has a pump or powered controls.
-
Keep towels or a shallow container nearby.
-
Never open a pressurized housing.
Start by identifying when and where the noise occurs
Run the filtered-water faucet and record what happens. For an RO system, continue listening after the faucet closes because the system may begin a production or tank-refill cycle.
Ask these questions:
-
Does the sound happen only when the faucet is open?
-
Does it continue while the RO system refills?
-
Is it loudest near the drain, tank, filter head, or pump?
-
Did it start after installation, filter service, or a plumbing change?
-
Does opening another faucet change the sound?
-
Does the filtered-water flow pulse or remain steady?
-
Is anything visibly moving?
-
Is there moisture around a connection?
This sequence helps separate flow noise from cabinet resonance, drain noise, pressure problems, and pump vibration.
Use the listen, touch, isolate, and adjust method
A practical way to locate a water filter rattling noise is to work through four steps:
-
Listen: Identify the area where the sound is strongest.
-
Touch: With the system closed and intact, lightly touch the exterior of a tube, tank, or housing to feel vibration. Keep hands away from electrical components.
-
Isolate: Gently move the suspected tube or component away from the cabinet or nearby plumbing without pulling on its connection.
-
Adjust: Secure the tube, create clearance, or add a suitable soft contact barrier if the noise decreases.
Do not bend tubing sharply, stretch it, or use a tie so tight that it restricts flow. Any padding should leave fittings and potential leak points visible.
My pipes vibrate after filter install—how to fix this vibrating sound?
Pipes that start vibrating after a filter installation may be reacting to trapped air, changed flow conditions, physical contact, an unsecured line, or pressure waves. Start with the installation rather than assuming the filter itself is defective.
Check in this order:
-
Inspect tubing routing. Look for kinks, pinched sections, tight bends, or lines pressed against cabinet panels and plumbing.
-
Confirm the system is stable. A filter body or RO unit should not rock, lean against the wall, or pull on its tubing.
-
Purge the system. Follow the model-specific startup or post-filter-change flushing instructions.
-
Watch when the vibration occurs. Vibration during steady water flow suggests resonance or restriction; banging when a valve closes suggests water hammer.
-
Check mounting points. Confirm that brackets and pipe supports are secure without overtightening plastic components.
-
Verify pressure requirements. Compare the installation conditions with the model’s documented operating range.
-
Escalate plumbing-wide vibration. If pipes throughout the home move or bang, have a plumber evaluate the plumbing system.
Purge trapped air according to the system manual
If the noise started after installation or maintenance, purging is one of the most appropriate first steps. Open the filtered-water faucet or complete the required RO flush and tank cycles exactly as described for the system.
During purging, temporary sputtering, pulsing, or humming may occur. The sound should generally become less intense as the air leaves. If it remains unchanged, inspect for:
-
A filter that is not fully seated
-
A housing that is misaligned
-
A tube that is restricted
-
A closed or partially closed valve
-
An O-ring that has shifted
-
A recurring air entry point or leak
Avoid using an arbitrary flush time from another system. Tanked and tankless RO designs may require different procedures.
Reroute tubing and isolate the system from hard cabinet surfaces
Correcting cabinet contact is often the simplest way to reduce noise. Create clearance between the system and cabinet walls, and keep tubing away from drainpipes, disposal units, shelves, and stored objects.
Use clips or loose ties where appropriate, but preserve smooth tubing curves. If the system sits on a cabinet floor, suitable soft rubber feet may reduce transferred vibration. Confirm that the unit remains level and stable.
Do not wrap the entire system in foam or hide its connections. You need to be able to inspect the unit for leaks and access it for maintenance.
Check fittings, housings, O-rings, and filter seating without overtightening
If purging and repositioning do not help, shut off and depressurize the system according to the manual before checking serviced components.
Look for:
-
A cartridge that is not fully locked or seated
-
A housing installed at an angle
-
Dirt or debris on an O-ring groove
-
A twisted, pinched, flattened, or damaged O-ring
-
A loose bracket or fitting
-
Cross-threaded or misaligned components
-
Tubing that is not fully inserted into its approved connector
Reassemble parts according to the product instructions. Hand-tighten where directed and use tools only as specified. More force is not a substitute for correct alignment.
Inspect RO drain components and pump mounting where applicable
For drain-side noise, trace the RO drain tube from the system to its connection. Check for kinks, contact points, a loose connection, and visible blockage. Confirm that the drain connection matches the installation instructions.
For pump-equipped systems, disconnect power before inspecting the mount. Check for loose mounting hardware, damaged vibration supports, or contact between the pump assembly and the cabinet. Persistent loud pump humming should be assessed by Frizzlife support or a qualified service professional rather than treated as a normal cabinet rattle.
Recheck the system for leaks, normal flow, and recurring vibration
After completing an approved adjustment:
-
Make sure all housings and tubing connections are correctly seated.
-
Restore the water supply gradually if the manual calls for it.
-
Restore power to powered systems.
-
Watch every serviced connection for moisture.
-
Run the faucet and listen during dispensing.
-
For RO systems, continue listening during the production or refill cycle.
-
Recheck the cabinet after the system has operated.
A noise that disappears temporarily but returns may point to pressure changes, a recurring tubing contact point, a loaded filter, or an internal component that needs support-level diagnosis.
Is vibrating noise normal after installing or changing a filter?
Temporary vibration can be normal after installation or a filter change. Opening the system introduces air, and new filters may need to be flushed before flow becomes stable. However, post-service noise should trend toward improvement—not remain equally loud or worsen.
Temporary humming, pulsing, or vibration during flushing
During startup, the faucet may sputter and the system may produce a temporary pulse or hum. A tanked RO system may also make different sounds while completing initial production and refill cycles.
Post-service noise is usually less concerning when:
-
It began immediately after the system was opened
-
There are no leaks
-
Flow becomes steadier during flushing
-
The sound gradually decreases
-
The system completes its normal operating cycle
Stop and inspect the system if a housing moves, a connection leaks, the faucet flow remains severely restricted, or the noise becomes harsher.
Why purge procedures and flushing times are model-dependent
Filter configurations, membrane arrangements, storage tanks, pumps, valves, and control systems differ. Those differences affect how air leaves the system and how much flushing is required.
Follow the manual for the exact model when determining:
-
Which valves should be open or closed
-
Whether the storage tank should be filled and emptied
-
How the faucet should be operated
-
When the water is ready for normal use
-
Whether a reset or electronic filter confirmation is required
Do not copy a tilt procedure, tank-pressure adjustment, or valve sequence intended for another RO design.
When post-service noise suggests incorrect seating, trapped air, or restricted flow
Noise that continues after the prescribed flushing procedure should be evaluated together with flow. A cartridge installed incorrectly may restrict water, while a displaced seal may create an unstable connection or leak risk.
Reinspect recent work when:
-
The faucet flow is lower than before the filter change
-
The sound is strongest at the serviced housing
-
The system chatters as pressure builds
-
The filter does not appear fully engaged
-
A tube was moved, shortened, or reconnected
-
Moisture appears around the housing or fitting
If the correct seating method is unclear, stop disassembling the system and consult the model documentation or support.
What not to do: Overtighten, force misaligned parts, or repeatedly disassemble the system
Avoid common responses that can turn a noise issue into a damaged fitting or leak:
-
Do not overtighten plastic filter housings.
-
Do not force a cartridge that is not aligned.
-
Do not apply unapproved thread compounds or lubricants.
-
Do not substitute an O-ring based only on visual similarity.
-
Do not repeatedly remove parts without checking the installation instructions.
-
Do not adjust storage-tank pressure, valves, or flow-control parts without model-specific guidance.
-
Do not continue operating a leaking or visibly shaking system.
What owners usually think maintenance involves
Water-filter maintenance is often reduced to “replace the cartridge when the reminder appears.” Filter replacement matters, but noise complaints frequently come from maintenance details that are easier to overlook: tubing position, seal condition, cabinet clearance, drain routing, pressure behavior, and the quality of reassembly.
A good maintenance check considers the whole water path rather than treating every hum as proof that the filter is clogged.

How do I know if maintenance is overdue? Noise paired with flow drop, slower fill, or pressure changes—not noise alone
Noise by itself is an unreliable maintenance timer. A humming system may simply be operating normally, while an overdue filter can sometimes become restricted without making a noticeable sound.
Maintenance is more likely to be overdue when vibration appears with:
-
Reduced filtered-water flow
-
A slower RO tank refill
-
Longer or more frequent pump operation
-
A filter reminder or documented service interval that has passed
-
Increasing pressure variation at the filtered-water faucet
-
A gradual change rather than a one-time post-service sound
-
Repeated noise after trapped air and cabinet contact have been ruled out
Review the maintenance schedule for the exact system. Water use and feed-water conditions can affect service needs, so do not rely on an unverified universal replacement interval.
When a clogged filter may be causing humming, rattling, or pressure changes
A restricted cartridge can create a larger pressure difference across the filter. That does not mean every reverse osmosis vibrating noise is caused by clogging, but restricted flow becomes a stronger possibility when several symptoms occur together.
Before replacing a filter solely because of noise, confirm:
-
The cartridge is due or shows another sign of restriction.
-
The feed valve is fully in its intended operating position.
-
The tubing is not pinched or kinked.
-
The faucet aerator or outlet is not the source of low flow.
-
The system was flushed properly after the previous service.
-
A pressure or pump problem is not creating the same symptoms.
If the cartridge is due, use the part specified for the exact model. Frizzlife owners can review the available replacement filters and compatible maintenance cartridges, then verify compatibility before ordering.
Choosing compatible replacement filters for scheduled or symptom-based maintenance
A replacement cartridge must fit the system and match its intended filtration stage. Physical similarity does not confirm compatibility. An incorrect cartridge, seal, or flow-control component can cause poor seating, restricted flow, leaking, or abnormal noise.
When selecting a replacement, confirm:
-
The system model
-
The filtration stage being serviced
-
The specified cartridge or filter designation
-
The required seals or O-rings
-
The correct installation orientation
-
The post-installation flushing procedure
Do not replace the membrane, post-filter, or flow restrictor simply because the system hums. Diagnose the symptom and follow the scheduled maintenance requirements for each stage.
When an RO post-filter may need attention
An RO post-filter treats water after the membrane and, in tanked systems, commonly sits along the delivery path from storage to the faucet. A restriction in that path may contribute to lower dispensing flow, but post-filter condition should be assessed using the system’s maintenance schedule and flow symptoms—not noise alone.
Check the post-filter when:
-
Dispensing flow has gradually declined
-
The filter is due according to the model documentation
-
Tubing around the post-filter has been disturbed
-
Noise is strongest near that stage
-
The cartridge or its connections were recently serviced
After replacement, confirm correct orientation and seating, then complete the required flushing procedure.
How water pressure and plumbing affect reverse osmosis system noise
Pressure affects how water moves through filters, valves, membranes, pumps, and household pipes. A pressure issue can therefore sound like a filter fault even when the filter cartridge is not the root cause.
How pressure changes can create humming, buzzing, or vibration
Flow through a partially closed valve, restricted cartridge, unstable supply, or internal control component may produce a hum or buzz. Higher pressure can also make loose tubing and cabinet contact more noticeable.
Pressure-related vibration tends to:
-
Change when another household fixture operates
-
Occur at a valve or fitting rather than throughout the filter housing
-
Continue after trapped air has been purged
-
Appear with pulsing flow
-
Begin after a plumbing or supply-pressure change
-
Affect more than one fixture
Check the documented pressure range for the exact system. If pressure testing or regulation is needed, use appropriate equipment or ask a plumber to perform the evaluation.
Telling pressure-related vibration from trapped air or cabinet resonance
Use timing and response to simple adjustments:
-
Trapped air: Begins after installation or service, may cause sputtering, and usually decreases during proper purging.
-
Cabinet resonance: Changes immediately when a tube, tank, or system body is moved away from a hard surface.
-
Pressure-related vibration: May respond to other fixtures, recur at specific valve events, and persist after purging and physical isolation.
-
Filter restriction: More likely when the noise is paired with a gradual loss of flow or longer refill time.
-
Pump vibration: Starts and stops with a powered pump and is strongest at the pump or its mount.
More than one cause can exist. For example, pressure fluctuation may generate a small vibration that becomes loud only because a tube is touching the cabinet.
When banging pipes indicate water hammer rather than a filter fault
Water hammer is typically abrupt. Instead of a steady hum, it creates a bang, thump, or series of knocks when flowing water stops suddenly. You may feel movement in supply pipes beyond the filter cabinet.
If the noise occurs when a dishwasher, washing machine, toilet valve, faucet, or filtered-water valve closes, the plumbing system should be evaluated. Securing pipes may help in some cases, while other installations may require pressure correction or a properly selected arrestor. These decisions should follow local plumbing requirements and professional guidance.
Why pressure limits and corrective steps must be verified for the specific model
Residential filter and RO systems do not all share the same operating range. Pumped and non-pumped configurations may also respond differently to supply conditions.
Do not use a generic pressure limit to:
-
Adjust a pressure regulator
-
Add or remove a pump
-
Change a storage-tank setting
-
Select a valve or flow restrictor
-
Decide that the system is safe to operate
Use the model documentation or contact support for its applicable requirements.
When does a noisy water filter need professional inspection?
Basic purging, tubing isolation, visual leak checks, and model-approved filter maintenance are reasonable homeowner tasks. Internal valve diagnosis, pump repair, electrical work, and unresolved pressure problems require additional expertise.
Stop and inspect when vibration occurs with leaking or visible component movement
Turn off the feed water when vibration is accompanied by:
-
Dripping or spraying
-
Moisture around a housing, fitting, valve, or filter head
-
A tube pulling out of position
-
A housing or bracket visibly shifting
-
Cracked or damaged components
-
A filter that cannot be seated correctly
Do not keep operating the system to see whether the leak stops. Depressurize it according to the manual and inspect the connection, or arrange service.
Contact support for persistent loud pump humming or repeated vibration
Contact Frizzlife support when basic external checks do not resolve a loud or recurring noise, especially when it appears to come from an internal valve, pump, transformer, or control component.
Support-level evaluation is appropriate when:
-
Pump noise becomes significantly louder
-
The system cycles repeatedly
-
Vibration returns after purging and tubing adjustment
-
A compatible new filter does not restore normal flow
-
A check valve, flow restrictor, or other system-specific part is suspected
-
The required disassembly is not covered by the owner’s manual
Have the model information, installation date, recent maintenance details, and a description or recording of the operating noise available.
Ask a plumber to evaluate unresolved pressure problems or water hammer
A plumber is the appropriate next contact when the issue extends beyond the filter system. Examples include:
-
Pipes banging in multiple locations
-
Pressure that changes noticeably when fixtures operate
-
Unsecured supply lines inside walls or cabinets
-
Suspected excessive or unstable incoming pressure
-
A need to select or install a regulator or water hammer arrestor
-
Vibration that remains after the filter is isolated as the source
Repair, replace a filter, or evaluate the RO system: Making the next-step decision
Choose the next step according to the evidence:
-
Purge and monitor when the noise began immediately after installation or a filter change and no leak is present.
-
Reroute or isolate tubing when touching a line changes the sound.
-
Reseat a filter or seal when noise began after service and flow is abnormal.
-
Replace a due, compatible filter when noise occurs with gradual flow loss or slower refill.
-
Contact support when an internal valve, drain-control component, or pump appears responsible.
-
Call a plumber when banging or pressure fluctuation affects the wider plumbing system.
-
Evaluate system replacement when the unit has recurring component problems, sustained performance issues, or damage that is not practical to repair.
If replacement becomes the appropriate outcome after diagnosis, compare Frizzlife reverse osmosis filter systems according to your installation, capacity, and maintenance requirements rather than selecting a new system based on noise alone.
A light operational hum or temporary post-service vibration is often manageable. Persistent water filter vibrating noise, especially when paired with leaking, reduced flow, visible shaking, banging pipes, or abnormal pump behavior, calls for a methodical inspection. Start with air purging and cabinet contact, verify recent maintenance, and escalate pressure or internal-component problems instead of overtightening or repeatedly disassembling the system.