


Can I install an under sink water filter without a plumber? In many cases, yes. A standard under-sink filter designed for homeowner installation can often be connected to an accessible cold-water supply using an included adapter, tubing, and common hand tools.
The real question is not simply whether under-sink filters are DIY-friendly. It is whether the specific filter matches your plumbing, cabinet, faucet arrangement, and installation skills. A healthy shut-off valve, compatible fittings, adequate service clearance, and an existing faucet opening can make installation straightforward. Corroded plumbing, nonstandard connections, a crowded cabinet, or the need to drill granite or quartz can turn the same project into a professional job.
This guide explains how to evaluate your setup before buying, what installation generally involves, and when calling a plumber is the safer decision.
Can I Install an Under-Sink Water Filter Myself?
You can usually install an under-sink water filter yourself when all of the following conditions are true:
-
The cold-water shut-off valve works and is easy to reach.
-
The faucet supply line can be disconnected without disturbing damaged plumbing.
-
The filter includes an adapter that matches your connections.
-
The cabinet has room for the system, tubing, and future cartridge changes.
-
The unit can use your existing faucet, or your sink already has an available accessory hole.
-
The system does not require plumbing or electrical work beyond your comfort level.
-
You can follow the model-specific instructions and inspect the completed installation for leaks.
Many basic systems work by intercepting the cold-water line. Water travels from the shut-off valve through an adapter or tee, into the filter, and then to the existing faucet or a dedicated filtered-water faucet. Models that use clearly labeled tubing and homeowner-oriented fittings are generally easier to install than systems requiring drainpipe modifications, electrical power, or specialized connections.
However, “DIY-friendly” does not mean universally compatible. Verify the exact product requirements instead of assuming that every filter will fit every North American sink configuration.
Basic Under-Sink Filter vs. Reverse Osmosis Installation
A basic under-sink filter and an under-sink reverse osmosis system should not be treated as the same installation.
A standard filtration system may only require a cold-water connection, a mounting location, and an outlet to the existing or dedicated faucet. It may not use the sink drain or electricity. This is generally the simplest form of DIY under sink water filter installation.
An under-sink reverse osmosis system can have additional requirements, depending on the model:
-
Multiple tubing connections
-
A dedicated filtered-water faucet
-
A drain connection for reject water
-
A storage tank or additional system components
-
An electrical outlet for models with powered features
-
More cabinet space and a more complex tubing layout
Not every reverse osmosis system has identical requirements. Review the exact installation diagram before deciding whether a particular unit is suitable for DIY work. Frizzlife’s collection of under-sink reverse osmosis systems provides a useful starting point for comparing model-specific configurations.
Can I Install an Under Sink Water Filter Without a Plumber? Decision Table
|
Condition under your sink |
DIY verdict |
What to do next |
|---|---|---|
|
Accessible, working cold-water valve; compatible fittings; enough cabinet clearance |
Usually DIY-friendly |
Follow the model manual and test every connection carefully |
|
Existing unused faucet or soap-dispenser hole |
Usually DIY-friendly if the hole fits the required faucet |
Confirm the required hole size and countertop clearance |
|
Filter connects to the existing cold-water faucet line and does not need a drain |
Often the simplest setup |
Verify adapter sizes and the correct inlet/outlet routing |
|
Cabinet is small but the unit fits with full service clearance |
Potentially DIY-friendly |
Make a cardboard footprint or template and test cartridge-removal space |
|
Included adapter does not match the valve or supply hose |
Pause before installing |
Ask the manufacturer which approved adapter is required or consult a plumber |
|
Shut-off valve is stuck, corroded, leaking, or missing |
Not a good DIY starting point |
Have the valve repaired or replaced professionally |
|
A faucet hole must be drilled through granite or quartz |
Professional help recommended |
Use a qualified countertop professional to reduce cracking and damage risk |
|
Drainpipe drilling or a new drain connection is required |
More advanced DIY |
Follow the exact template and instructions or hire a plumber |
|
Plumbing is fragile, modified, inaccessible, or difficult to identify |
Call a plumber |
Avoid forcing or cutting unfamiliar components |
|
System requires power but no suitable outlet is available |
Not a basic filter installation |
Consult an appropriately qualified professional |
Should You DIY or Hire a Plumber?
Choose DIY when the work is limited to accessible, compatible connections and you are comfortable shutting off the water, disconnecting a supply line, seating tubing, and performing a leak test. Hire professional help when the project involves repairing existing plumbing, drilling a vulnerable surface, altering a drain, or adapting an unusual configuration.
A useful way to decide is to separate filter installation from plumbing repair. Connecting a compatible filter to plumbing in good condition can be a manageable homeowner project. Replacing a seized valve or repairing a leaking pipe is a different job and should not be treated as an incidental installation step.
Your comfort level also matters. Even if a project is technically possible, there is no advantage to forcing a DIY installation when you cannot confidently identify the cold-water line or verify that a fitting is properly seated.
Plumbing Checklist: Cold-Water Line, Shut-Off Valve, and Fitting Compatibility
Complete this plumbing check before opening the filter packaging:
-
Identify the cold-water line. Trace the supply hose from the faucet to the cold-water shut-off valve. Under-sink systems intended for cold water should not be connected to the hot-water supply unless the product instructions explicitly say otherwise.
-
Test the shut-off valve gently. Confirm that it can close fully without leaking around the handle or connection. Do not use excessive force on a stuck valve.
-
Inspect for corrosion and moisture. Green or white deposits, rust, staining, or active dampness may indicate existing plumbing problems.
-
Check the supply-line material and connection style. Flexible faucet hoses, rigid supply tubes, and modified plumbing may require different approaches.
-
Compare thread and adapter sizes. The filter’s adapter must match both the valve side and the faucet supply side. Similar-looking fittings are not necessarily compatible.
-
Check the condition of washers and seals. Reuse components only when the product instructions permit it and the parts are undamaged.
-
Confirm where sealing tape is allowed. Some threaded connections may use thread-sealing tape, while compression and gasket-sealed connections generally depend on their own sealing surfaces. Follow the manual rather than applying tape to every thread.
-
Confirm tubing size and routing. Tubing should reach the required ports without being stretched or sharply bent.
Photograph the existing valve, hose, and connections before disconnecting anything. The photo provides a reference if you need to restore the original setup or ask customer support about compatibility.
Will This Work Under a Small Sink?
A small cabinet does not automatically rule out an under-sink filter. The deciding factor is usable space plus service access—not cabinet size alone.
There is no universal minimum depth or height for every filter. Check the dimensions and installation diagram for the exact model, then measure around the disposal, drain trap, shut-off valves, drawers, cabinet hinges, and stored items. The narrowest point may determine whether the unit fits.

Evaluate four separate clearances:
-
System depth: The cabinet must close without pressing on the filter, tubing, or fittings.
-
Installed height: The system needs room to sit or mount in the required orientation.
-
Tubing space: Tubing needs a smooth route to each connection without kinks or sharp bends.
-
Cartridge service clearance: You must be able to twist, lower, pull, or lift the cartridge according to the model’s replacement procedure.
That last measurement is easy to miss. A housing may fit perfectly against the cabinet floor while leaving no room to twist off and lower the cartridge. If replacing the filter would require removing the entire system or disconnecting plumbing, the location is not practically serviceable.
Use the manufacturer’s stated dimensions and clearance instructions rather than relying on estimated measurements. If helpful, create a cardboard template representing the filter body and move it through the cartridge-removal path. Also confirm that mounting screws can be reached and that the installation will not block access to the shut-off valves.
When Does an Under-Sink Filter Installation Require Drilling?
Drilling may be required in two common situations:
-
A dedicated filtered-water faucet needs a new sink or countertop opening.
-
A system requires a drain connection and its instructions call for drilling into an appropriate section of drainpipe.
Many installations avoid countertop drilling by using an existing accessory opening. A former soap-dispenser, sprayer, or unused faucet hole may be suitable if its size, location, and surrounding clearance match the filtered-water faucet instructions.
Some filters connect to the existing kitchen faucet and therefore do not require a separate faucet hole. This feature is model-dependent, so verify the connection diagram before buying.
Drain drilling is also model-dependent. Basic under-sink filters often do not use the drain, while certain reverse osmosis configurations do. Never drill a drainpipe based on a generic tutorial; use the exact model’s placement instructions to avoid leaks, blockage, or incorrect alignment.
If a dedicated faucet is required and no suitable opening is available, do not treat drilling granite or quartz as a routine DIY step. These surfaces can chip or crack if the wrong bit, speed, support, or technique is used. A qualified countertop professional should create the opening.
Before any hole is drilled, check below the proposed location for sink flanges, mounting hardware, cabinet walls, drawers, and plumbing. Also confirm that the faucet will have enough clearance above the counter to operate without hitting the backsplash, window ledge, or main faucet.
When Should I Call a Plumber Instead of Doing the Installation Myself?
Stop and call a plumber when:
-
The cold-water valve will not close completely.
-
The valve leaks after being moved.
-
Plumbing is heavily corroded, damaged, or fragile.
-
There is no individual shut-off valve under the sink.
-
You cannot confidently identify the cold-water supply.
-
The existing plumbing has unusual, improvised, or incompatible fittings.
-
A connection continues to leak after being reassembled according to the instructions.
-
The project requires pipe replacement, soldering, or substantial drain modification.
-
Cabinet access makes it impossible to secure or inspect connections.
-
You would need to force a fitting to make the threads engage.
-
You are unsure whether local plumbing or building requirements apply to the proposed work.
Shut off the water and seek help immediately if a valve, hose, or pipe begins leaking substantially during installation. Do not continue adding or tightening parts in an attempt to compensate for damaged plumbing.
What Tools Are Usually Needed for an Under-Sink Filter Installation?
The required tools depend on the system and the existing sink configuration. A simple direct-connect installation may need only basic hand tools, while a dedicated faucet or drain connection can require drilling equipment.
Read the complete parts list and installation instructions before shutting off the water. This prevents leaving the sink unusable while searching for a missing adapter or tool.
Basic Tools for an Easy Under Sink Water Filter Installation
Commonly useful items include:
-
Adjustable wrench
-
Appropriately sized open-end wrench, if specified
-
Screwdriver
-
Flashlight or work light
-
Bucket or shallow pan
-
Absorbent towels
-
Measuring tape
-
Marker or pencil
-
Tubing cutter, when tubing must be trimmed
-
Thread-sealing tape, but only where the instructions require it
Use a clean tubing cutter if the installation calls for cutting plastic tubing. A square, smooth cut helps tubing seat correctly in compatible fittings. Avoid crushing the tube or leaving an angled edge.
A second wrench may be helpful for supporting one fitting while loosening another. The goal is to apply force to the intended connection rather than twisting the valve or pipe behind it.
Additional Tools That May Be Needed for a Faucet or Drain Connection
Depending on the model and sink, you may also need:
-
Basin wrench for hard-to-reach faucet hardware
-
Drill and model-appropriate drill bit
-
Hole saw suitable for the approved surface
-
Center punch for certain metal surfaces, if directed
-
Safety glasses
-
Drainpipe drilling template supplied with the system
-
Utility knife or deburring tool, if the instructions specify one
Tool availability does not necessarily make a project DIY-appropriate. Drilling stone, altering fragile plumbing, or working near electrical components may warrant professional assistance even if you own the equipment.
What to Confirm Is Included With the Filter Before Starting
Compare the box contents with the manual. Depending on the system, required components may include:
-
Cold-water adapter or feed-water tee
-
Inlet and outlet tubing
-
Mounting bracket and screws
-
Filter cartridge or cartridges
-
Dedicated faucet and mounting hardware
-
Drain-related components for systems that use the drain
-
Locking clips or retaining pieces for tubing connections
-
Spare seals or washers identified in the parts list
Do not assume a generic hardware-store adapter is an acceptable substitute. Confirm the required connection type with the manufacturer, especially when the included adapter does not match your plumbing.
How to Install an Under Sink Water Filter
The following sequence explains the general logic of an under-sink filter installation. It does not replace the manual for your exact model. Port labels, tubing direction, flushing procedures, mounting orientation, and faucet requirements vary.
Read the Model-Specific Instructions and Identify the Cold-Water Line

Lay out the parts and find the system’s inlet, outlet, flow-direction markings, and connection diagram. Identify whether filtered water will return to the existing faucet or travel to a separate faucet.
Trace the cold-water supply from the faucet to its shut-off valve. Do not rely only on which side of the cabinet the valve occupies. If you cannot identify the line confidently, pause the installation.
Shut Off the Cold Water and Relieve Line Pressure
Close the cold-water shut-off valve gently. Open the kitchen faucet on the cold setting to relieve pressure and allow residual water to drain.
Place a bucket and towel beneath the connection before loosening the supply hose. A small amount of water may remain in the line even after pressure has been relieved.
If water continues flowing rather than tapering off, the valve may not be closing completely. Stop instead of disconnecting a pressurized line.
Connect the Adapter or Tee to the Cold-Water Supply
Disconnect the faucet’s cold-water supply line at the location shown in the filter instructions. Install the supplied adapter or tee in the correct orientation, ensuring required washers or seals are properly positioned.
Start threaded connections by hand to reduce the risk of cross-threading. Tighten according to the instructions, using a wrench only as needed. Excessive force can deform seals, crack components, or damage the valve.
Attach the faucet supply hose and filter tubing to the designated ports. For push-fit connections, prepare and insert the tubing exactly as directed. Do not guess at insertion depth or omit locking pieces supplied with the model.
Position the Filter and Route the Tubing Without Sharp Bends
Place or mount the system in the approved orientation. Keep it accessible for cartridge changes and leak inspections.
Route tubing so it:
-
Does not kink or flatten
-
Is not pulled tight
-
Does not rub against sharp cabinet edges
-
Will not be pinched by drawers, doors, or stored items
-
Does not interfere with the drain trap or disposal
-
Leaves access to both shut-off valves
Use gradual curves rather than tight loops. Before mounting permanently, test the full cartridge-removal motion.
Connect the Existing Faucet or Install the Dedicated Filtered-Water Faucet
For a system designed to serve the existing faucet, connect the filtered-water outlet as shown in the model diagram. Confirm that inlet and outlet lines have not been reversed.
If a dedicated faucet is required, use an existing compatible hole when available. Install the faucet, seals, washers, and mounting hardware in the specified order. Make sure the faucet is secure without overtightening it against the sink or countertop.
Connect the filtered-water tubing to the faucet using the supplied fitting. Keep the line away from moving parts and sharp bends.
Restore the Water Supply, Inspect Every Connection, and Flush as Directed
Close the faucet if the manual directs you to do so, then open the cold-water shut-off valve slowly. Gradual repressurization makes it easier to observe the system and respond to a leak.
Inspect every connection with a dry towel or fingertip. Check the adapter, supply hose, tubing ports, filter housing, faucet connection, and any drain components. A connection can appear dry initially and begin seeping after pressure stabilizes, so inspect it again after the system has operated.
Flush the filter for the duration and in the sequence stated by the manufacturer. Flush times vary by filter and should not be borrowed from another model.
Do Under Sink Water Filters Need a Drain Connection?
Not all under-sink water filters need a drain connection. Whether one is required depends primarily on the filtration process and system design.
This requirement should be confirmed before purchase because it directly affects installation complexity, cabinet layout, and whether drainpipe drilling is involved.
When a Basic Under-Sink Filter Does Not Use the Drain
Many basic under-sink filters send incoming cold water through filter media and then directly to the faucet. Because the system is not designed to discharge a separate wastewater stream during normal filtration, it may not connect to the sink drain.
These systems can be suitable for homeowners seeking an easy under sink water filter installation, provided the fittings, faucet arrangement, and cabinet space are compatible. You can compare different configurations in Frizzlife’s collection of under-sink water filters, but verify each model’s installation requirements individually.
Why Some Under-Sink Reverse Osmosis Systems Require Additional Connections
Certain under-sink reverse osmosis systems discharge reject water and therefore require a drain connection. Depending on the design, the installation may also include a dedicated faucet, tank, multiple filters, or powered components.
A required drain connection typically adds steps because the installer must identify an approved drainpipe location, position the connection correctly, and create a watertight assembly. Follow the exact installation template rather than assuming any convenient section of drainpipe is suitable.
How Drain, Power, and Faucet Requirements Change the DIY Decision
Consider each additional utility as a separate compatibility test:
-
Drain: Are you comfortable drilling or modifying the specified drainpipe section?
-
Power: Is an appropriate outlet already available in the required location?
-
Faucet: Is there an existing opening, or would the sink or countertop need drilling?
-
Space: Can all components be installed and serviced without obstructing plumbing?
One extra connection may still be manageable. Several unresolved requirements often justify professional installation or selecting a simpler system.
DIY Under Sink Water Filter Installation Troubleshooting
Most installation problems relate to sealing, plumbing compatibility, cabinet access, or tubing layout. Troubleshoot methodically rather than tightening every fitting indiscriminately.
Before adjusting a pressurized connection, close the cold-water valve and relieve line pressure again.
What to Do If a Connection Leaks After Repressurizing
First, identify the exact source of the leak. Water may travel along tubing or a hose and drip somewhere other than the failed connection.
For a threaded or gasketed connection:
-
Shut off the cold water.
-
Relieve pressure at the faucet.
-
Disassemble the affected connection.
-
Check for cross-threading, a missing washer, a displaced seal, or debris.
-
Reassemble it according to the manual.
-
Repressurize slowly and test again.
For a compatible push-fit tubing connection, verify that the tube was cut squarely, is not scratched or crushed, and has been inserted as directed. Install any required retaining clip.
Do not try to stop every leak through extreme tightening. That can damage threads, seals, valves, or plastic components. Persistent leakage may indicate an incompatible or defective part and warrants manufacturer support or a plumber.
What to Check If the Shut-Off Valve Is Corroded, Stuck, or Inaccessible
Do not force a corroded or stuck valve. Breaking the stem or connection can create a larger leak that cannot be stopped at that fixture.
If the valve is inaccessible behind a disposal, cabinet wall, or rigid plumbing, determine whether it can be reached safely without dismantling other systems. A plumber can repair, replace, or reposition an unsuitable valve before the filter is installed.
A filter installation should not conceal an already leaking valve. Resolve the existing plumbing problem first.
What to Do When the Included Adapter Does Not Match Your Plumbing
Stop before removing additional components. Compare:
-
The valve outlet
-
The faucet supply hose
-
The adapter’s male and female sides
-
The product’s tubing size
-
The installation diagram
Take clear photos and contact the manufacturer to identify the correct approved connection. Avoid stacking multiple reducers or forcing nearly matching threads together. A connection that seems secure by feel can still be cross-threaded or poorly sealed.
Nonstandard, rigid, or previously modified plumbing is a good reason to ask a plumber to make the transition.
Why Crowded Cabinets and Tight Tubing Routes Can Cause Installation Problems
A crowded cabinet can produce more than inconvenience. Tubing pushed against waste plumbing may kink, while stored items can pull on fittings or hide slow leaks. Mounting a filter too close to the floor or sidewall can also make future cartridge replacement difficult.
Reorganize the cabinet before installation. Maintain smooth tubing routes and leave shut-off valves visible. Do not place cleaning products or heavy objects where they can strike the filter or connections.
If the only available route requires a sharp bend, do not force the tube. Reconsider the filter position or choose a configuration better suited to the cabinet.
How to Evaluate Low Flow or Suspected Pressure Compatibility
Pressure and flow requirements are model-specific. Check the exact product manual rather than applying a pressure range found for another filter.
If flow is unexpectedly low after installation:
-
Confirm that the cold-water valve is fully open.
-
Check for pinched or sharply bent tubing.
-
Verify that inlet and outlet connections are correct.
-
Confirm that protective plugs or packaging components were removed as instructed.
-
Complete the required flushing procedure.
-
Check whether the cartridge is installed and seated correctly.
-
Compare household pressure with the model’s stated operating requirements.
Filtration can affect faucet flow, but unusually poor performance may indicate a setup problem or incompatible supply conditions. Contact product support or a plumber if the basic checks do not identify the cause.
Choosing an Under-Sink System That Fits Your Installation
The most DIY-friendly filter is not simply the smallest or the one with the fewest stages. It is the system whose dimensions, fittings, faucet arrangement, drain requirements, and service procedure match your sink.
Evaluate installation fit before comparing secondary features. Doing so reduces the chance of discovering an incompatible valve, missing faucet hole, or inaccessible cartridge after purchase.
Before buying, compare the exact model manual with your cabinet measurements and photos of the shut-off valve, faucet supply connection, and available sink holes. Confirm the installed dimensions, cartridge-removal clearance, included adapter type, faucet arrangement, drain and power requirements, and operating-pressure requirements for that model.
Compare Frizzlife Options for Your Under-Sink Setup
Once you know your available cabinet space, faucet arrangement, drain access, and power requirements, compare the installation instructions for the exact system before ordering.
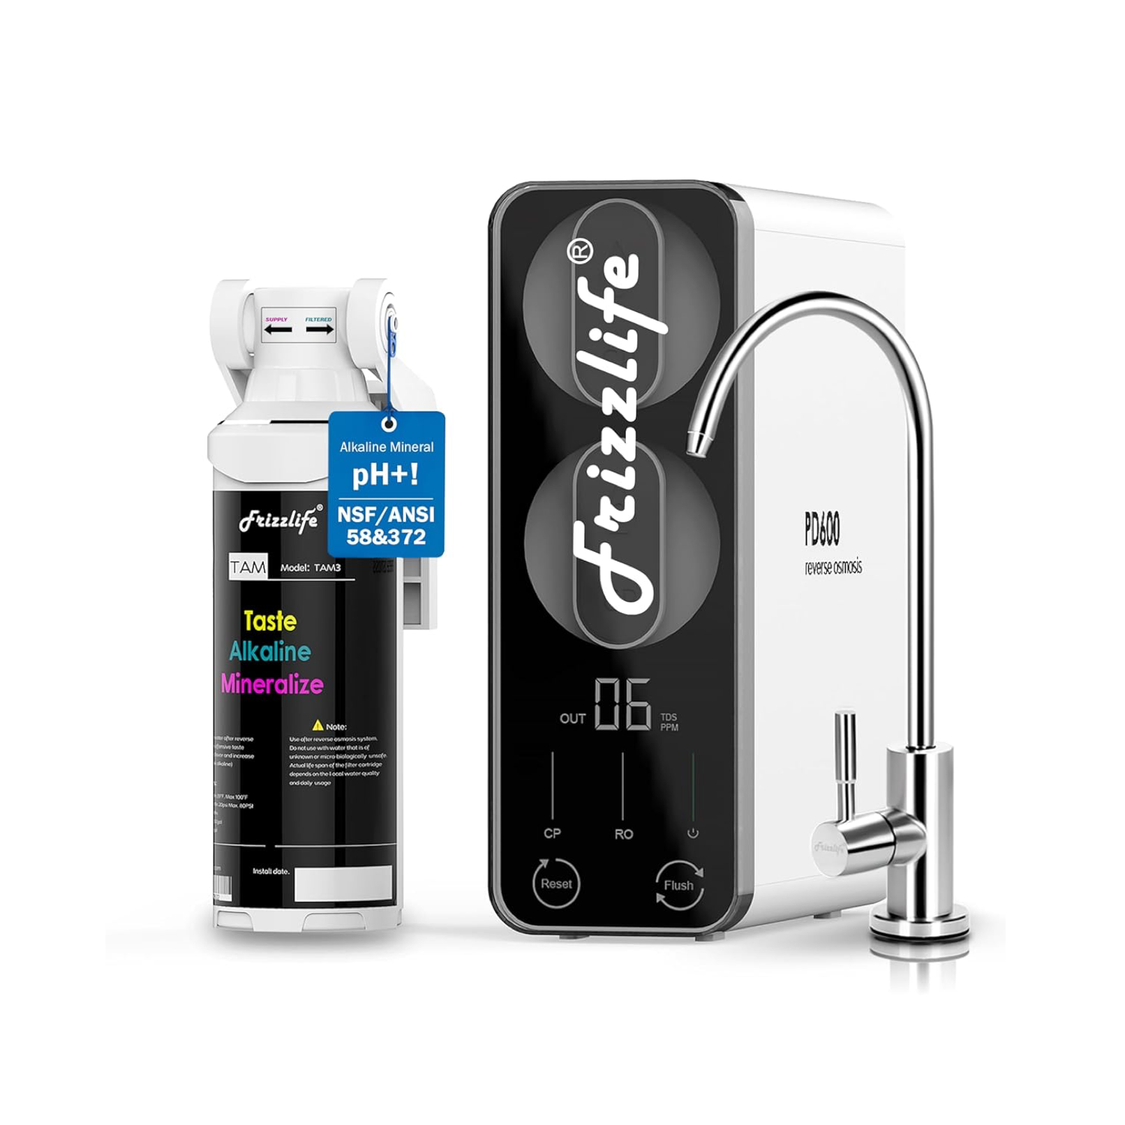
Frizzlife PD600-TAM3
Considering an under-sink reverse osmosis system? Review the PD600-TAM3 installation requirements, dimensions, connections, and service clearance to see whether it matches your kitchen setup.
View PD600-TAM3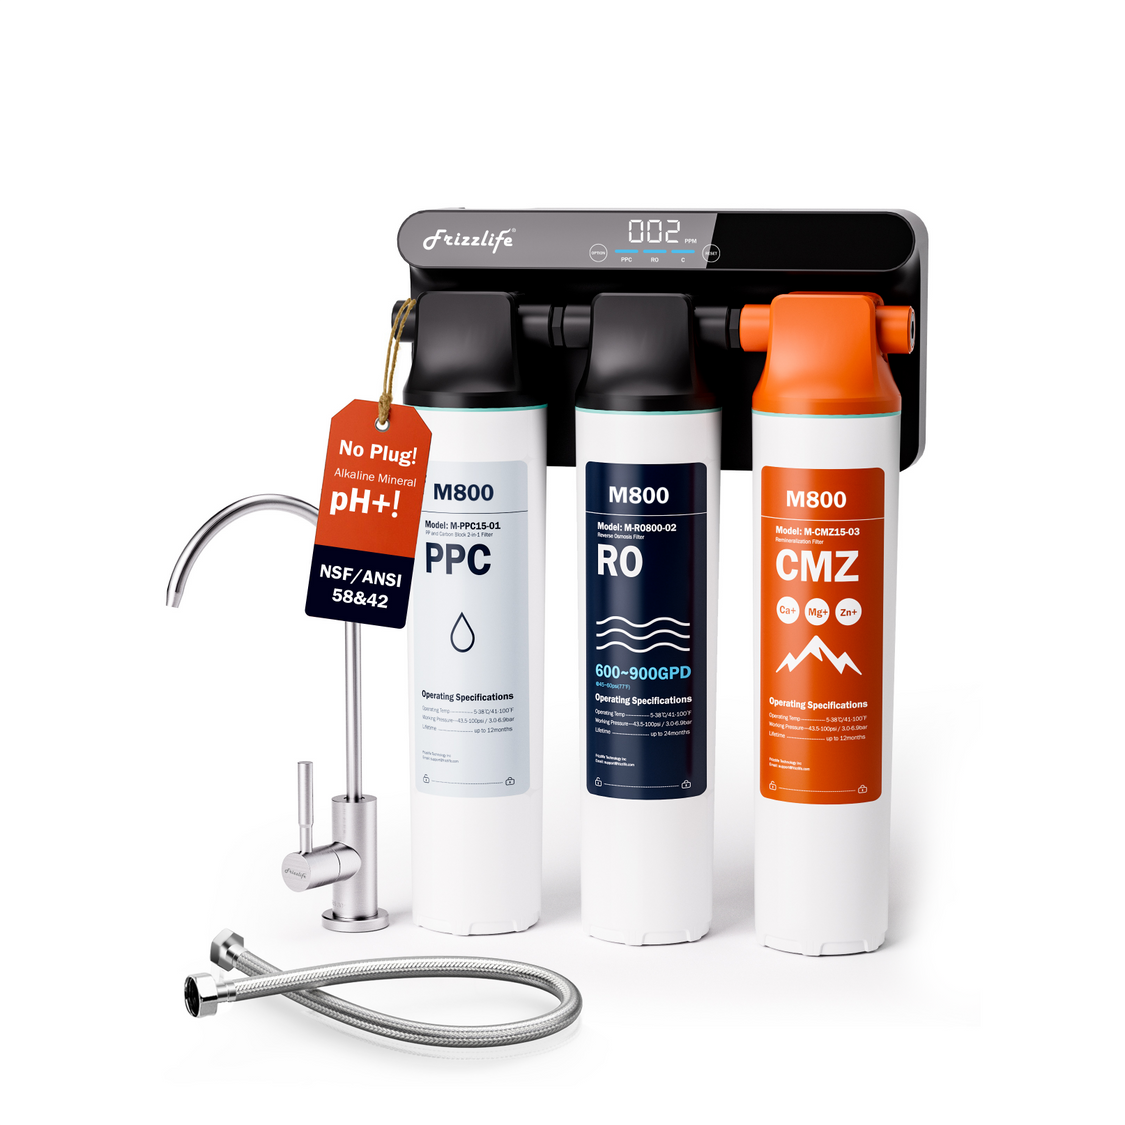
Frizzlife M800
Compare the M800 installation diagram with your available under-sink space, plumbing connections, faucet arrangement, and other model-specific requirements before purchasing.
View M800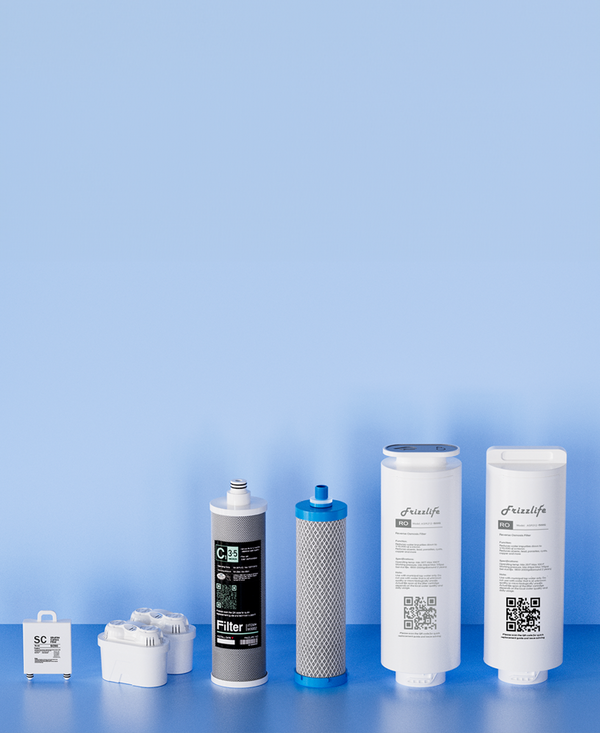
Frizzlife Replacement Filters
Already own a Frizzlife system? Find replacement filters by system model and confirm compatibility before ordering your next cartridge.
Find Replacement FiltersIf any connection or installation requirement remains unclear, ask the manufacturer to confirm compatibility before ordering. Do not assume that two systems in the same product category use identical fittings, clearances, or faucet arrangements.
After documenting your setup, Frizzlife’s water filters for different sink configurations can help narrow the options. The appropriate choice is one you can install, inspect, and maintain without forcing fittings, obstructing shut-off valves, or removing the system for routine cartridge changes.
References
https://www.epa.gov/ground-water-and-drinking-water/drinking-water-technologies