


A standard residential reverse osmosis system should connect to the cold-water supply, not the hot-water line. Hot inlet water can exceed the operating temperature of the RO membrane and may also damage filter housings, tubing, fittings, and seals.
That does not mean you cannot have reverse osmosis hot water. The safe configuration is to filter cold water first and heat the purified water downstream with a compatible hot-water tank, dispenser, or integrated appliance. An instant-hot RO system still normally sends cold feed water through the membrane before heating the purified water.
Exact limits vary by model. Although an inlet range around 40–100°F (4–38°C) appears in some residential RO manuals, it is only a representative example. The installation manual for your system determines its permitted water temperature, pressure, plumbing configuration, and other requirements.
Can You Run Hot Water Through a Reverse Osmosis System?
For a standard residential system, the answer is no: do not run hot supply water through the RO inlet unless the system is explicitly engineered and rated for that purpose.
RO membranes operate within specified temperature conditions. Household hot water can exceed those conditions, potentially reducing contaminant rejection or causing permanent damage. The rest of the system may also contain plastics, O-rings, tubing, adhesives, and connections that are not rated for continuous hot-water exposure.
Hot-water filtration is different from heating purified RO water
Two arrangements that sound similar are technically very different:
|
Configuration |
What happens |
Appropriate for a standard RO system? |
|
Hot supply water enters the RO system |
Heated water reaches the prefilters, membrane, housings, and tubing |
No, unless the entire system is specifically rated for that inlet temperature |
|
Cold water is purified and then heated |
The membrane receives cold water; a downstream appliance heats the finished water |
Potentially, when all downstream components are compatible |
|
Integrated instant-hot RO appliance |
Cold water is filtered first, then purified water is heated in a controlled section of the appliance |
Yes, when installed according to that model’s instructions |

A conventional whole-house or point-of-use hot-water filter is not automatically an RO system. Likewise, a filter cartridge labeled for elevated temperatures does not make the RO membrane, housing, tubing, and fittings hot-water compatible.
Are there any exceptions?
Specialized systems may be engineered for higher inlet temperatures, but their existence does not create an exception for ordinary residential RO equipment. Every wetted component—not just the membrane—must be rated for the specified temperature and pressure.
Do not assume compatibility based on the appearance of the housing, tubing, or fittings. Use hot inlet water only when the manufacturer explicitly identifies the system for that application and provides an applicable operating range.
Why RO Systems Connect to the Cold Water Line
RO systems connect to the cold-water line to keep the membrane and other components within tested conditions, maintain predictable performance, and reduce the risk of damage or leakage.
The membrane needs controlled operating conditions
Most residential RO systems use a semipermeable membrane to separate product water from a more concentrated reject stream. Temperature affects how quickly water moves through that membrane.
As inlet water becomes warmer, membrane flow may increase. However, that does not mean hotter water is always better. The membrane’s materials and construction have an upper operating limit, and increased flow does not guarantee that contaminant rejection will remain at its expected level.
A cold-water connection keeps the system within the temperature range for which its production and rejection performance were evaluated.
Housings, tubing, fittings, and seals also have limits
The membrane is not the only temperature-sensitive part. An under-sink RO installation may include:
-
Prefilter and post-filter housings
-
A membrane housing
-
Plastic tubing
-
Push-fit or threaded connections
-
O-rings and other seals
-
A storage tank and tank valve
-
A feed-water adapter
-
A faucet or dispenser connection
Excessive heat may soften or distort some plastics and place additional stress on seals and connections. Even if a brief exposure does not produce an immediate leak, it may shorten component life or create a problem that becomes visible later.
Temperature and pressure must be considered together. A component that operates safely at a given pressure under normal cold-water conditions may not have the same margin when exposed to water above its rated temperature.
Temperature affects production and contaminant rejection
RO output changes with inlet conditions. Production ratings are often measured at a standard test temperature; one commonly used reference condition is 77°F (25°C). Actual household performance can differ when the supply water is colder, the pressure is lower, or the feed-water chemistry is different.
Colder water generally passes through an RO membrane more slowly. That is why a system may take longer to refill its tank during winter. This seasonal change does not justify blending in hot water or moving the feed connection to the hot line.
Warmer water can increase flow, but once the inlet exceeds the system’s permitted range, any apparent production gain comes with the risk of reduced rejection and material damage. Hot water is not a safe shortcut to faster RO output.
Potable supply and pressure requirements still apply
Cold water is only one installation requirement. An RO system normally needs a potable feed supply and a pressure range appropriate for that model. Systems with booster pumps, tanks, electronics, or heating functions may have additional requirements.
Before installation, verify the manual for:
-
Permitted inlet temperature
-
Minimum and maximum feed pressure
-
Potable-water requirements
-
Required pre-treatment, if any
-
Drain connection instructions
-
Faucet configuration
-
Storage tank or tankless layout
-
Electrical requirements
-
Tubing sizes and approved fittings
Do not apply a pressure or temperature specification from one RO system to another. These conditions are model-specific.
What Water Temperature Is Safe for an RO System?
The safe water temperature is the inlet range published by the manufacturer for your exact system. There is no single maximum temperature that applies to every residential RO unit.
Why 40–100°F (4–38°C) is representative, not universal
Some residential system manuals list an inlet range around 40–100°F (4–38°C). Other systems may publish different limits. For that reason, 100°F should not be treated as a universal maximum, nor should it be used to justify connecting a system to a hot line.
A home’s hot-water supply can also vary. Water may initially run lukewarm after sitting in the pipe and then become much hotter. Testing only the first few seconds of flow can therefore create a false sense of compatibility.
Use the system manual rather than a generic online limit. If the manual is unavailable or unclear, contact the manufacturer before connecting the feed line.
Performance ratings depend on test conditions
A rated production capacity is not a promise that the system will produce the same amount of water under every household condition. Temperature is one of several variables that affect membrane output.
For example, a unit rated under conditions near 77°F (25°C) may produce less water when winter supply temperatures are substantially colder. Feed pressure and water composition can also affect actual output.
These variations do not necessarily indicate a failed membrane. If product-water quality remains stable and the system operates within its specified range, slower cold-weather production may be normal.
Cold winter water versus dangerously hot inlet water
Cold seasonal water and hot-water misconnection are different problems.
Cold feed water within the manufacturer’s allowed range may:
-
Reduce membrane production
-
Increase tank refill time
-
Make tankless dispensing flow feel slower
-
Change the observed reject-to-product-water behavior
Water above the system’s maximum may:
-
Stress or damage the membrane
-
Reduce contaminant rejection
-
Raise product-water total dissolved solids, or TDS
-
Affect housings, seals, tubing, and fittings
-
Contribute to leakage or shortened component life
If the incoming water is unusually cold, use only remedies authorized for the model, such as confirming adequate pressure or checking whether filters are due for service. Do not add hot water to the RO feed.
How Hot Water Can Damage an RO Membrane and System
Hot-water damage is not always immediate or visually obvious. Its severity depends on the inlet temperature, exposure time, pressure, component materials, and system design.
Heat can stress thin-film composite membrane layers
Residential RO membranes commonly contain multiple functional and supporting layers. Excessive heat can affect the stability of these materials and the bonds between them.
Possible results include:
-
Loss of membrane selectivity
-
Reduced contaminant rejection
-
Higher product-water TDS
-
Unusually high product-water flow with poorer separation
-
Shortened membrane service life
A damaged membrane may continue producing water. Clear water and normal-looking flow do not prove that the membrane is still performing correctly.
Rising TDS can indicate reduced rejection
A TDS meter measures the electrical conductivity associated with dissolved ions. It can help identify a substantial change in RO performance when you compare the result with the system’s established baseline.
For example, a sudden and persistent rise in product-water TDS after hot-water exposure may indicate that the membrane is no longer rejecting dissolved material as expected. A TDS reading alone, however, does not identify individual contaminants or establish that water is safe to drink.
When evaluating the system:
-
Measure the feed-water TDS.
-
Measure product-water TDS after the system has been flushed.
-
Compare the result with previous readings taken under similar conditions.
-
Follow the manufacturer’s troubleshooting procedure.

Tank water can reflect earlier operating conditions, so one immediate reading may not tell the whole story. Flush and retest as directed before drawing a conclusion.
Heat can affect more than the membrane
Hot water may also stress:
-
Filter housings
-
Membrane end caps
-
O-rings
-
Tubing walls
-
Push-fit connectors
-
Threaded adapters
-
Storage tank connections
Look for distortion, swelling, loosened connections, dripping, or moisture beneath the system. A slow leak can appear after the components cool and undergo another pressure cycle, so continue monitoring after the initial inspection.
Heat exposure may also move scale or debris already present in the plumbing. Whether this causes additional fouling depends on the water supply and system design; it should not be assumed in every incident.
Duration and temperature determine the level of concern
A few seconds of mildly warm water and an extended period of water above the system’s maximum are not equivalent. However, there is no reliable universal exposure time after which every membrane must be replaced.
Risk increases when:
-
The water was significantly above the listed maximum
-
Exposure continued for an extended period
-
The system operated under pressure while hot
-
Product-water TDS rose afterward
-
Taste, odor, or flow changed
-
Housings or tubing show physical changes
-
A fitting or seal began leaking
Because component materials vary, use the manufacturer’s guidance for the final repair or replacement decision.
How to Connect an RO System to the Cold Water Line
A correct installation starts with confirming the actual cold-water supply. Do not rely solely on valve position, pipe orientation, or color coding.
Confirm which under-sink line is cold
In many kitchens, the hot and cold supplies follow a familiar left-right arrangement, but nonstandard plumbing, past repairs, and faucet configurations can make that assumption unreliable.
To identify the cold supply:
-
Turn on the faucet’s cold side and let it run.
-
Carefully feel which supply line and shutoff valve remain cold.
-
Turn on the hot side separately and confirm that the other line warms.
-
Close the suspected cold shutoff valve.
-
Open the faucet’s cold side and verify that flow stops.
-
Reopen the valve and check for leaks.

Use caution around hot pipes. If the valves do not shut off fully, the plumbing arrangement is unclear, or the connections are corroded, have a licensed plumber address the supply before installing the RO system.
Select a compatible feed connection
The feed-water adapter, tee, shutoff valve, and tubing must be compatible with the existing plumbing and the RO system. Connection dimensions and methods vary among faucets, angle stops, and pipe materials.
A proper feed connection should:
-
Attach to the verified cold-water supply
-
Use approved components of the correct size
-
Include an accessible RO shutoff valve
-
Avoid placing strain on existing faucet hoses
-
Allow tubing to run without sharp bends or heat exposure
-
Remain accessible for inspection and service
Do not improvise with a fitting that almost matches. Thread damage, incompatible sealing methods, or excessive tightening can cause leaks.
Check space and service access
Before attaching the feed line, plan the complete installation. An under-sink RO system may need room for:
-
Filter cartridges or housings
-
A membrane section
-
A pressure tank, if included
-
Tubing bends
-
Cartridge removal
-
Shutoff-valve access
-
A drain connection
-
A dedicated faucet
-
A power adapter or outlet, depending on the design
Measure with cabinet doors, drawers, waste bins, and cleaning supplies in their normal positions. Leave enough clearance to replace filters without removing the entire system.
If the cabinet cannot accommodate a conventional tank-based layout, a different cold-feed configuration may fit better. The Frizzlife reverse osmosis system collection can help you compare general system formats, but each product’s installation instructions should determine final compatibility.
Account for the drain, faucet, and electrical needs
Most residential RO systems produce a reject-water stream and therefore require a drain connection. The exact drain placement must follow the system instructions and applicable plumbing requirements.
Also confirm whether the system needs:
-
A hole for a dedicated drinking-water faucet
-
An approved connection to a compatible existing faucet
-
A grounded electrical outlet for a pump, controls, or heating
-
Space for a storage tank
-
A route to a refrigerator or ice maker
-
Additional hardware for an accessory line
A refrigerator connection can introduce pressure and tubing-length considerations. Compatibility depends on the RO design, refrigerator requirements, storage-tank pressure, and distance between appliances.
Final installation checks
Before turning on the feed:
-
Confirm the RO adapter is on the cold supply.
-
Confirm all tubing is inserted and secured as instructed.
-
Keep tubing away from hot-water pipes and heat-producing appliances.
-
Verify that the drain connection matches the manual.
-
Check the required feed pressure and inlet temperature.
-
Make sure filter and membrane components are correctly installed.
-
Open the feed valve gradually.
-
Inspect every connection under pressure.
-
Complete the required startup flush before using the water.
Recheck the cabinet after several hours and again after normal faucet use. Small leaks may not appear immediately.
What to Do If Hot Water Accidentally Entered the RO System
Stop the system rather than continuing to run water in an attempt to cool it. You first need to verify the connection and inspect for damage.
Immediate response
-
Close the RO feed-water valve.
Isolate the system from the supply. -
Disconnect power if applicable.
Follow the manual’s shutdown procedure for systems with pumps, electronics, or heaters. -
Allow the unit to return to room temperature.
Do not handle hot housings or rapidly cool them with ice water. -
Confirm the feed connection.
Determine whether the RO inlet is attached to the hot supply or whether a plumbing cross-connection is warming the cold line. -
Correct the plumbing before restarting.
Move the feed adapter to the verified potable cold-water line using compatible hardware.
Inspect the system carefully
Check the membrane housing, filter housings, tubing, fittings, O-rings, tank connection, and feed valve for:
-
Warping or discoloration
-
Swollen or flattened tubing
-
Loose connections
-
Cracked housings
-
Dripping or damp cabinet surfaces
-
O-rings that no longer sit correctly
-
Unusual odors from heated plastic components
Do not repressurize a visibly distorted or damaged system. Replace affected parts according to manufacturer instructions or contact qualified service personnel.

Flush and compare performance
If no physical damage is visible and the manufacturer permits restarting:
-
Reconnect the system to the cold supply.
-
Complete the recommended flush procedure.
-
Check every connection while the system is pressurized.
-
Measure product-water TDS.
-
Compare the reading with the system’s normal baseline.
-
Observe taste, odor, flow, tank refill behavior, and reject-water operation.
A persistent TDS increase or major change in performance may indicate membrane damage. Replacement may also be warranted when the exposure clearly exceeded the model’s limit, even if the system still produces water.
Contact the manufacturer when the exposure temperature or duration is unknown, the manual does not provide a recovery procedure, or performance remains abnormal. Contact a licensed plumber if there is leakage, unclear supply plumbing, damaged valves, or evidence of a cross-connection.
Why RO Water May Feel Warm Even on the Cold Line
Warm water from an RO faucet does not always mean the system is directly connected to the hot supply. Water can absorb ambient heat while sitting in tubing, a storage tank, or an enclosed cabinet.
Normal sources of temporary warmth
RO water may feel warmer than expected because of:
-
High seasonal cold-water temperatures
-
A warm under-sink cabinet
-
Tubing routed near a hot-water pipe
-
Heat from a dishwasher, refrigerator, or other appliance
-
A long tubing run through a warm area
-
Water sitting at room temperature in a storage tank
In these situations, the first amount of dispensed water may feel warm and then become cooler. The feed water entering the system may still be within the approved range.
Plumbing problems that can warm the cold supply
Warm water that continues flowing may point to:
-
The RO feed being attached to the hot line
-
Reversed hot and cold supplies
-
A plumbing cross-connection
-
A mixing-valve problem
-
Heat transfer where hot and cold pipes run closely together
A cross-connection can allow heated water to enter plumbing that should carry cold water. This requires attention because the RO inlet temperature may rise unpredictably.
Step-by-step temperature check
To locate the source:
-
Let the sink’s cold faucet run until its temperature stabilizes.
-
Measure the water temperature at the faucet.
-
Identify and verify the cold shutoff valve.
-
Check the temperature of the line feeding the RO adapter.
-
Dispense enough RO water to clear water that has been sitting in the faucet tubing.
-
Compare the stabilized RO water with the cold supply.
-
Repeat the test after hot-water use elsewhere in the kitchen.
If the verified cold supply remains within the system’s rated range but the first glass of RO water is slightly warm, ambient heating is a likely explanation. If the cold supply becomes hot or the RO feed temperature exceeds its limit, shut down the system and investigate the plumbing.
How to Get Purified Hot Water Safely
The safe method is simple: purify cold water first, then heat the RO water downstream with equipment designed for that purpose.
Option 1: Heat RO water as needed
For occasional use, dispense purified water and heat it in an appropriate kettle or other drinking-water appliance. This requires no modification to the RO plumbing and keeps hot water completely downstream of the membrane.
Option 2: Add a compatible point-of-use hot-water tank
A small hot-water tank may be installed after the RO system when the tank, faucet, tubing, pressure conditions, and RO configuration are mutually compatible.
Before choosing this arrangement, confirm:
-
The heater accepts the RO system’s output conditions
-
Downstream tubing and fittings are rated for heated water
-
The faucet is designed for the intended temperature
-
There is sufficient cabinet space and service clearance
-
A suitable electrical outlet is available
-
The storage and dispensing configuration follows both manuals
-
Pressure and flow requirements are compatible
Do not route heated water back into the RO system or storage tank unless the equipment is specifically designed that way.
Option 3: Use an integrated instant-hot RO design
An integrated unit combines cold-feed purification with controlled downstream heating. This can simplify the relationship among the membrane, heater, controls, and dispensing faucet because the appliance is engineered as one system.
It may still require a cold feed, drain connection, power outlet, and specific installation clearances. “Instant hot” describes the dispensing function—not permission to attach the RO inlet to the home’s hot-water pipe.
Explore RO Options for a Cold-Feed Setup
Standard residential RO systems should receive cold feed water within the operating conditions specified for the model. If you are planning an under-sink RO setup, compare these options and check the installation requirements before connecting the system. Heating, when needed, should take place downstream using compatible equipment.
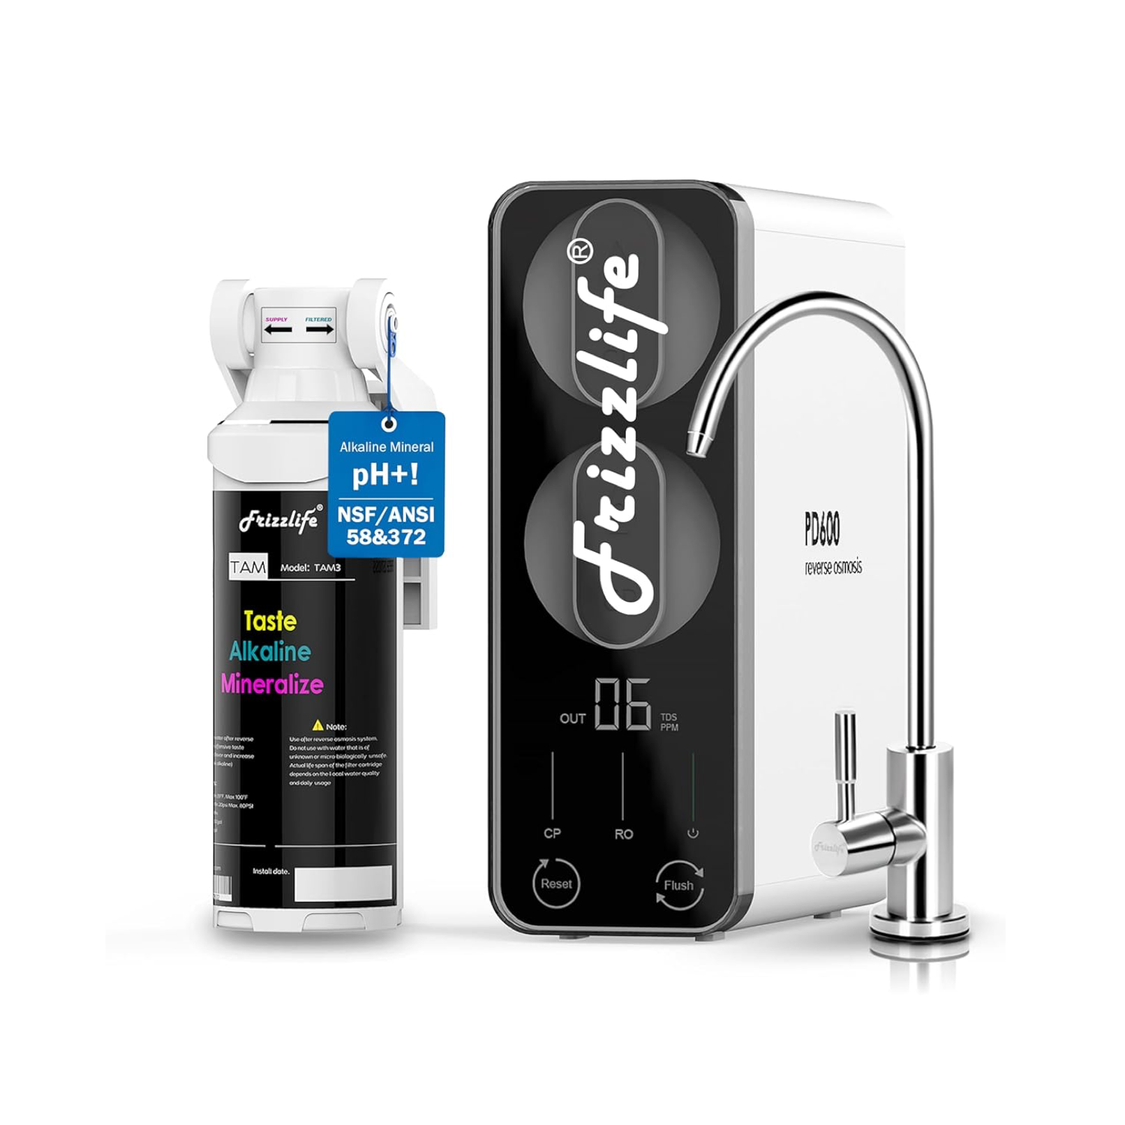
Frizzlife PD600-TAM3
A tankless under-sink reverse osmosis option for users who want a dedicated cold-feed RO system with alkaline remineralization.
- Designed for an under-sink RO installation
- Tankless system layout
- Cold feed should follow the model's installation requirements
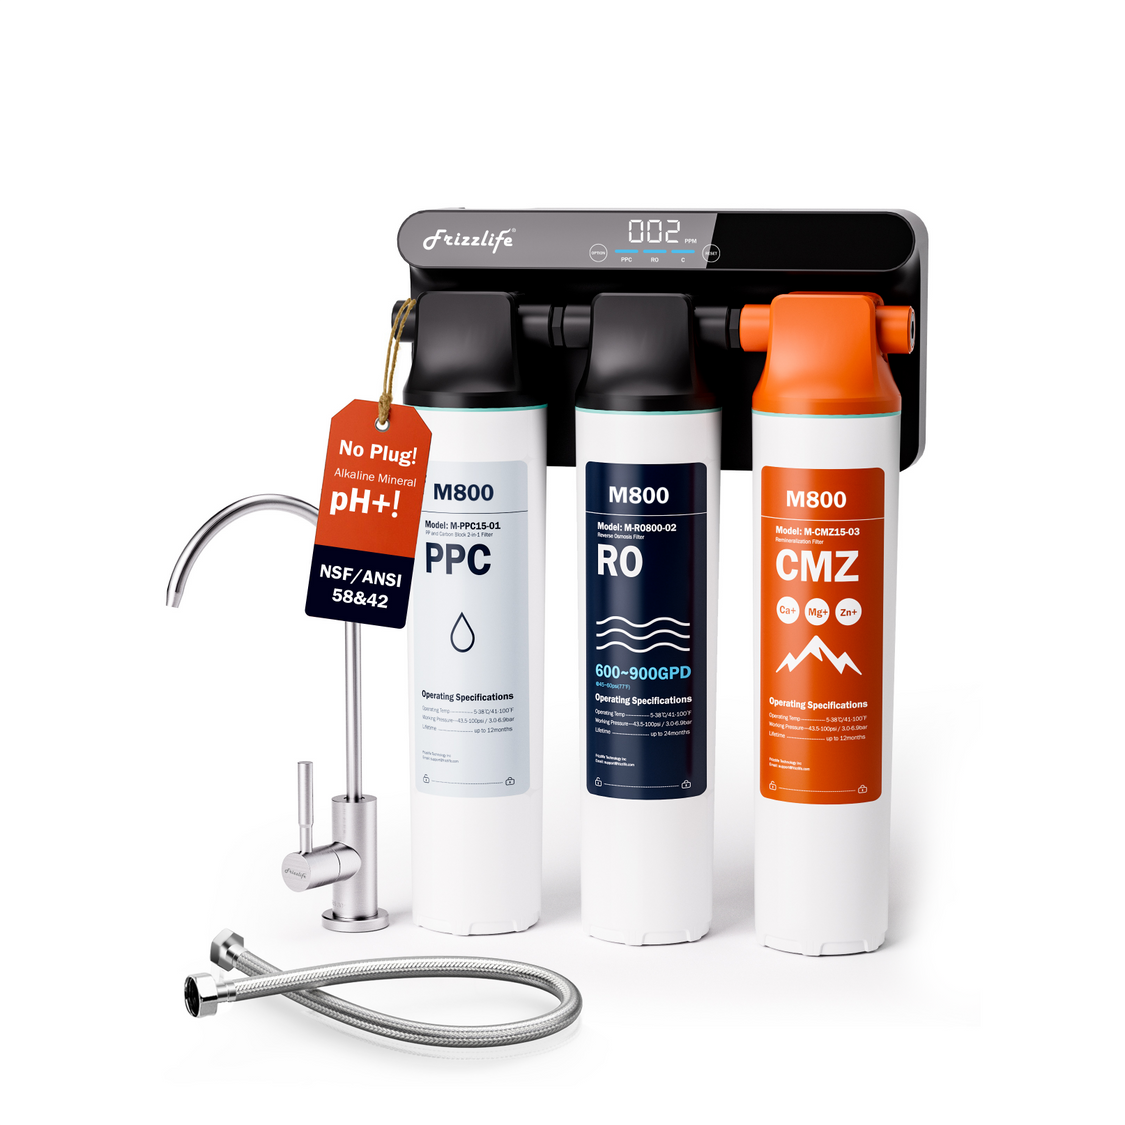
Frizzlife M800
A non-electric under-sink reverse osmosis option for a permanent kitchen filtration setup using the approved cold-water supply.
- Designed for an under-sink installation
- Non-electric RO system design
- Use only within the model's specified inlet conditions
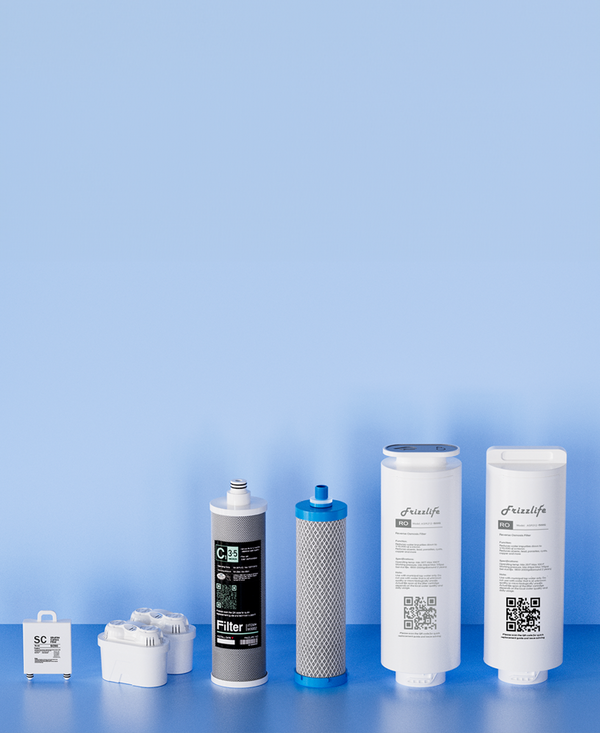
Find Replacement Filters
If your RO system needs routine filter service or replacement components, use the replacement-filter page to locate options for the correct system model.
- Find replacement filters by system
- Useful for scheduled RO maintenance
- Confirm model compatibility before ordering
Important: These RO systems should not be interpreted as approval for direct connection to a household hot-water supply. Always follow the inlet-temperature, pressure, plumbing, and installation requirements published for the specific model.
Final go/no-go checklist
Proceed with a reverse osmosis hot-water setup only when all of the following are true:
-
Go: The RO membrane receives potable cold water within its listed temperature range.
-
Go: Heating occurs downstream of filtration.
-
Go: The heater, faucet, tubing, fittings, and tank are designed for the intended temperature and pressure.
-
Go: The installation meets the requirements in both the RO and heater manuals.
-
Go: Drain, electrical, faucet, and cabinet-space requirements have been confirmed.
-
No-go: The standard RO inlet would be connected directly to a hot-water line.
-
No-go: The maximum inlet temperature is unknown.
-
No-go: Warm water is being blended into the feed to increase production.
-
No-go: Existing valves, fittings, or tubing are damaged or incompatible.
-
No-go: Heated water could circulate backward into components that are not rated for it.
A standard RO system belongs on the cold-water line. If you want hot purified water, keep the membrane cold and add heat only after filtration through a compatible, manufacturer-approved configuration.