


Before connecting an RO or under-sink filter to a refrigerator or ice maker, verify the setup instead of assuming every kitchen or connection is the same. Verify these items before you begin: confirm the refrigerator or ice maker has a compatible water inlet, identify the tubing size and fitting type on both sides, plan a route that avoids sharp bends, heat, and pinch points, and confirm the filtration system can support the added line according to its documentation. Follow the product instructions for fitting sizes, tubing routes, valve positions, drilling, pressure requirements, and startup. If the plumbing or countertop does not match the documented installation, confirm the correct method before forcing an adapter or modifying fixed plumbing.
Can You Connect a Reverse Osmosis System to a Refrigerator?
Yes, many reverse osmosis systems can be connected to a refrigerator or ice maker. A typical installation branches from the RO system’s filtered product-water line and sends that water through separate tubing to the refrigerator inlet.
Compatibility is not universal, however. Some refrigerators need more inlet pressure or flow than a particular RO system can reliably provide. The correct fittings also depend on whether the system uses 1/4-inch tubing, 3/8-inch tubing, a threaded outlet, or a braided hose.
Key Takeaway: The Connection Works When Pressure, Fittings, and Refrigerator Requirements Align
A successful connection depends on four conditions:
-
The refrigerator permits an RO or externally filtered water supply.
-
The system can meet the refrigerator’s model-specific pressure and flow requirements.
-
The tee, valve, tubing, and inlet adapter match the existing connections.
-
The line can be routed without kinks, heat exposure, sharp edges, or inaccessible joints.
If any one of these conditions is uncertain, verify it before installation rather than trying to correct a low-flow or leaking connection afterward.
How an RO Line to a Refrigerator Typically Works
The RO system treats the cold-water supply and sends finished water to its dedicated faucet or other approved outlet. A tee installed in the designated product-water line creates a second branch. One branch continues to the sink faucet, while the other runs to the refrigerator through an inline shutoff valve.
This design lets the under-sink faucet and refrigerator share filtered water while remaining independently serviceable.
Never connect the refrigerator to the RO feed-water line or drain line. The refrigerator branch must come from the system’s finished product-water outlet.

Tanked RO, Tankless RO, and Non-RO Under-Sink Filter Connections
A tanked RO system stores treated water in a pressurized tank. The tank can help satisfy short periods of demand, although delivery pressure generally declines as stored water is used.
A tankless RO system produces water on demand. Refrigerator performance therefore depends on the system’s active output, internal pump design, plumbing restrictions, and the refrigerator’s inlet requirements. Use only a connection point and accessory configuration approved for the specific system.
A non-RO under-sink filter generally sends filtered water directly from the household cold-water supply. Because it does not use an RO membrane or storage tank, its pressure behavior may be different. It may also require no drain or electrical outlet, but that depends on the product design.
Can RO Water Be Used for an Ice Maker and Water Dispenser?
RO water can be used for an ice maker and dispenser when the refrigerator manufacturer permits it and the supply meets the appliance’s requirements. The setup can produce filtered drinking water and filtered water for ice from the same under-sink system.
Low delivery pressure can cause slow dispensing, small ice cubes, incomplete fills, or reduced ice production. These symptoms do not necessarily mean the connection is assembled incorrectly; they may indicate that the combined system cannot provide the required pressure or flow at the refrigerator.
Ice-Maker-Only Connections vs Supplying the Entire Refrigerator
Some appliances use the incoming line only for an automatic ice maker. Others divide the supply internally between the ice maker and water dispenser.
An ice-maker-only connection may have intermittent demand, while a refrigerator with a dispenser must also deliver a satisfactory user-facing flow rate. In either case, the external connection normally goes to the refrigerator’s single water inlet. Internal distribution is handled by the appliance.
Check the manual rather than modifying the refrigerator’s internal water lines.
Reverse Osmosis Refrigerator Connection Compatibility Checklist
Complete this checklist before buying tubing or drilling holes. It helps determine whether the project is ready to proceed, needs modification, or should be handled another way.
Confirm the Refrigerator’s Required Inlet Pressure and RO Compatibility
Find the refrigerator’s water-supply section and confirm:
-
Required inlet-pressure range
-
Approved inlet tubing or hose type
-
Whether RO water is permitted
-
Whether a filter bypass is required or available
-
Any instructions specific to the ice maker or dispenser
Do not rely on a universal pressure figure. Refrigerator requirements vary, and the appliance manual should set the target.
Identify the Filtered Product-Water Line—not the Feed or Drain Line
Trace the filtration system according to its installation diagram. Identify the finished-water line serving the dedicated faucet or the manufacturer-designated appliance connection.
RO systems can include multiple similar-looking tubes for feed water, product water, tank water, and drain water. Connecting to the wrong line can prevent operation, send untreated water to the appliance, or interfere with the system.
Check Whether the System Uses 1/4-Inch Tubing, 3/8-Inch Tubing, or a Braided Hose
Many refrigerator connection kits use 1/4-inch outside-diameter tubing, but that is not a universal standard for every under-sink system. Confirm the outside diameter and connection style at both ends.
A system with 3/8-inch tubing may need a reducing tee or approved adapter. A threaded outlet or braided hose requires a different connection than push-to-connect tubing. Avoid stacking several improvised adapters, which adds possible leak points and flow restriction.
Measure How Far the RO Line Must Run to the Refrigerator
Measure the complete routing path—not just the straight-line distance between the sink and refrigerator. Include cabinet turns, wall or floor transitions, vertical rises, and enough extra tubing to pull the appliance out for service.
Long runs can create more flow resistance, especially when they include numerous fittings or tight bends. The practical limit depends on source pressure, tubing size, refrigerator demand, and the filtration-system design rather than one universal maximum distance.
Evaluate Cabinet, Wall, Floor, and Appliance-Clearance Constraints
Look for a protected route through adjacent cabinets, a basement or crawlspace, or an approved wall or floor path. Before drilling, check for electrical wiring, plumbing, structural components, heating ducts, and appliance parts.
Plan where the tubing will emerge behind the refrigerator. It should not be crushed by the appliance, exposed to heat, or folded sharply when the refrigerator is pushed back.
Check Under-Sink Requirements for Feed Water, Drain Access, Faucet Space, and Power
An RO installation usually requires a cold-water feed and drain connection. It commonly uses a dedicated faucet, and some pumped or tankless designs require electrical power.
A non-RO under-sink filter may have fewer requirements because it may not need a drain or power. Confirm the specific system’s installation needs and make sure the cabinet has adequate room for filters, valves, tubing, a storage tank if applicable, and future service.
Decide Whether the Refrigerator’s Internal Filter Can Be Bypassed
Sending RO water through the refrigerator’s internal filter may create unnecessary restriction. Some refrigerators allow the filter to be removed, use an automatic bypass, or require a manufacturer-specified bypass plug.
Do not remove the filter unless the refrigerator instructions permit it. With a non-RO under-sink filter, retaining the internal filter may still serve a purpose, depending on what each stage is designed to do.
Parts and Tools Needed to Connect an Under-Sink Filter to a Fridge
Before connecting an RO system to a refrigerator, identify the water inlet on the appliance, the tubing and fitting sizes, and the route between the filter and the refrigerator. Do not buy adapters until both connection types are confirmed. Plan the line so it will not be pinched when the refrigerator is moved back into place.
After the physical connection is made according to the product instructions, open the water supply gradually and inspect every new joint for leaks. Flush the new line as required by the filter and appliance instructions before using it for drinking water or ice. If refrigerator performance depends on a minimum inlet pressure, verify that requirement for the exact appliance rather than assuming every RO setup will behave the same way. For related options, compare our frizzlife ice maker fridge water line installation kit for standard braid hose connect water filter system 9 16 thread hose before choosing a setup.
Food-Grade Tubing, Union Tee, and Refrigerator Inlet Adapter
Use tubing approved for potable water and sized for the system and refrigerator. The tee must match the product-water line, while the final adapter must match the appliance inlet.
A common setup includes:
-
Food-grade 1/4-inch outside-diameter tubing
-
A matching union tee
-
An inline shutoff valve
-
A refrigerator inlet compression fitting or approved adapter
-
Tubing clips or supports
Substitute other sizes only when required by the system instructions.

Inline Shutoff Valve and Accessible Service Connections
Install a dedicated shutoff valve on the refrigerator branch. This allows the appliance line to be isolated without disabling the filtered-water faucet.
Place the valve where it remains accessible. Avoid burying tees, valves, or detachable fittings inside a sealed wall or another location that cannot be inspected.
Quick-Connect vs Compression Fittings
A push-to-connect fitting seals around tubing inserted to the specified depth. The tube must be cut squarely, free of scratches, and fully seated. Locking clips may be required when supplied by the manufacturer.
Compression fittings use a nut and ferrule or sleeve. Assemble them in the correct order and avoid overtightening, which can damage plastic tubing or deform the fitting.
Do not apply thread-sealing tape to tubing compression surfaces or push-fit connections. Use it only on compatible tapered pipe threads when the relevant instructions call for it.
When 1/4-Inch Tubing Is Appropriate—and When an Adapter or Larger Line May Be Needed
A short 1/4-inch refrigerator branch is common and often appropriate. For a longer route or a higher-flow dispenser, a larger approved line may reduce friction loss.
Larger tubing cannot create pressure that the filtration system does not produce. It only reduces some restriction between the source and appliance. The line may still need to reduce to the refrigerator’s inlet size at the final connection.
Matching Frizzlife IMC-1 or IMC-2 to the Exact System and Connection Type
Frizzlife refrigerator connection accessories are model-specific:
Frizzlife offers different refrigerator and ice-maker connection accessories for different plumbing configurations. IMC-1 is designed for compatible systems using 1/4-inch or 3/8-inch plastic water lines, while IMC-2 is designed for compatible systems using a 9/16-inch threaded braided-hose connection.
Compatibility can vary by system model and version. Before ordering a connection kit, check the current product manual, accessory page, tubing size, and outlet connection for the exact filtration system. Do not assume that a kit used with one Frizzlife model will fit another.
Other Frizzlife models may have their own documented connection path. Verify the system manual, accessory listing, tubing size, and connection type before ordering. A kit that fits one model should not automatically be assumed to fit another.
If you are comparing systems for a new installation, you can also review Frizzlife reverse osmosis filter systems and compare each model’s documented connection method, installation requirements, output design, and available refrigerator accessories before choosing a system.
Explore Frizzlife RO Options for Your Under-Sink Setup
Planning a new RO-to-refrigerator setup? Compare the filtration system, available output, installation requirements, tubing connections, and refrigerator specifications before choosing a model or connection accessory.
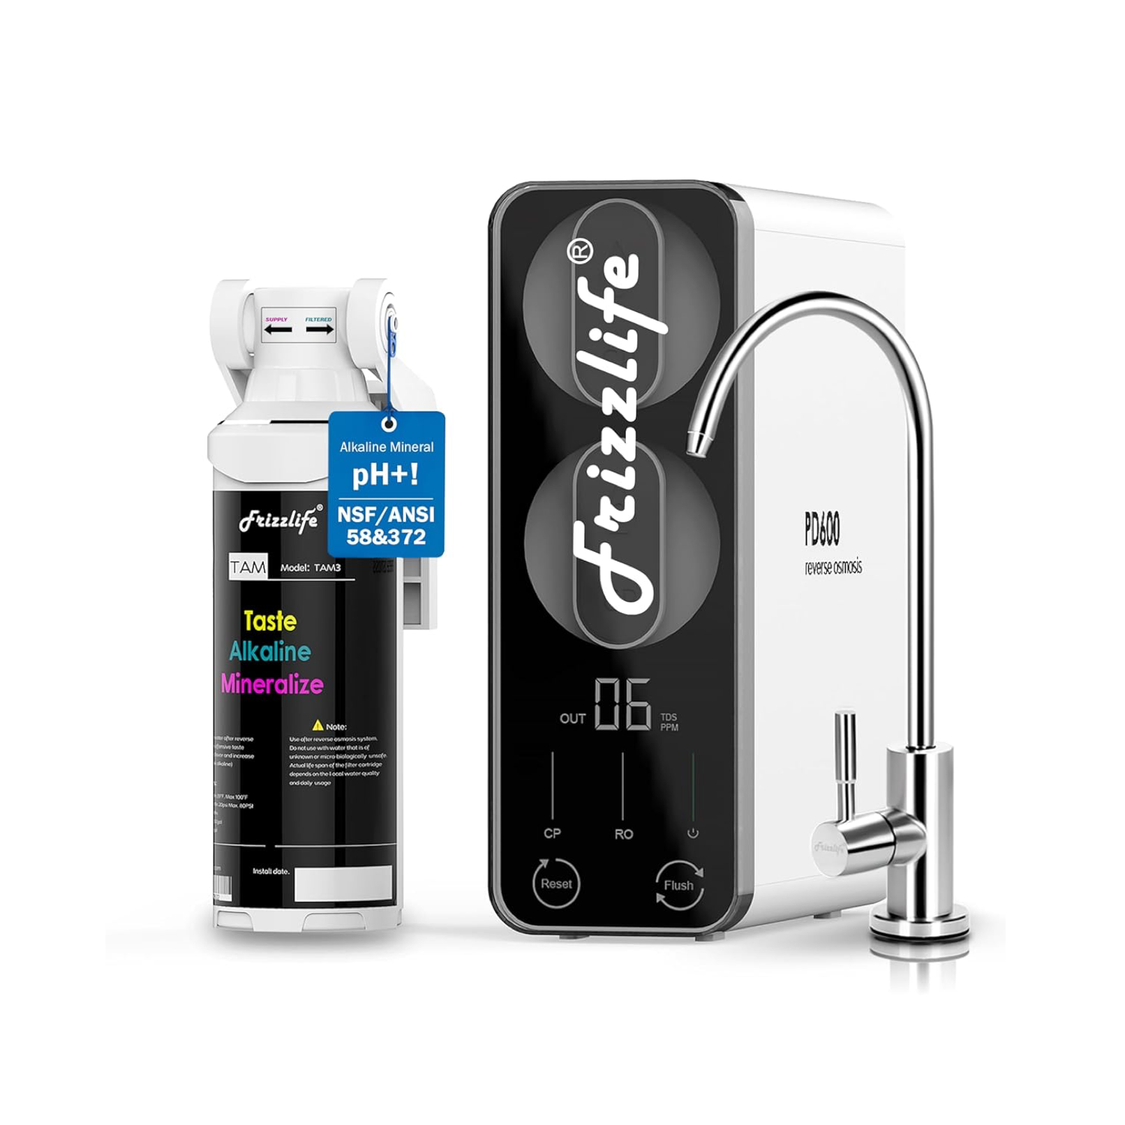
Frizzlife PD600-TAM3
A 600 GPD tankless reverse osmosis system with alkaline remineralization and real-time TDS monitoring. Consider it when comparing compact under-sink RO systems for a new kitchen and refrigerator-water setup.
View PD600-TAM3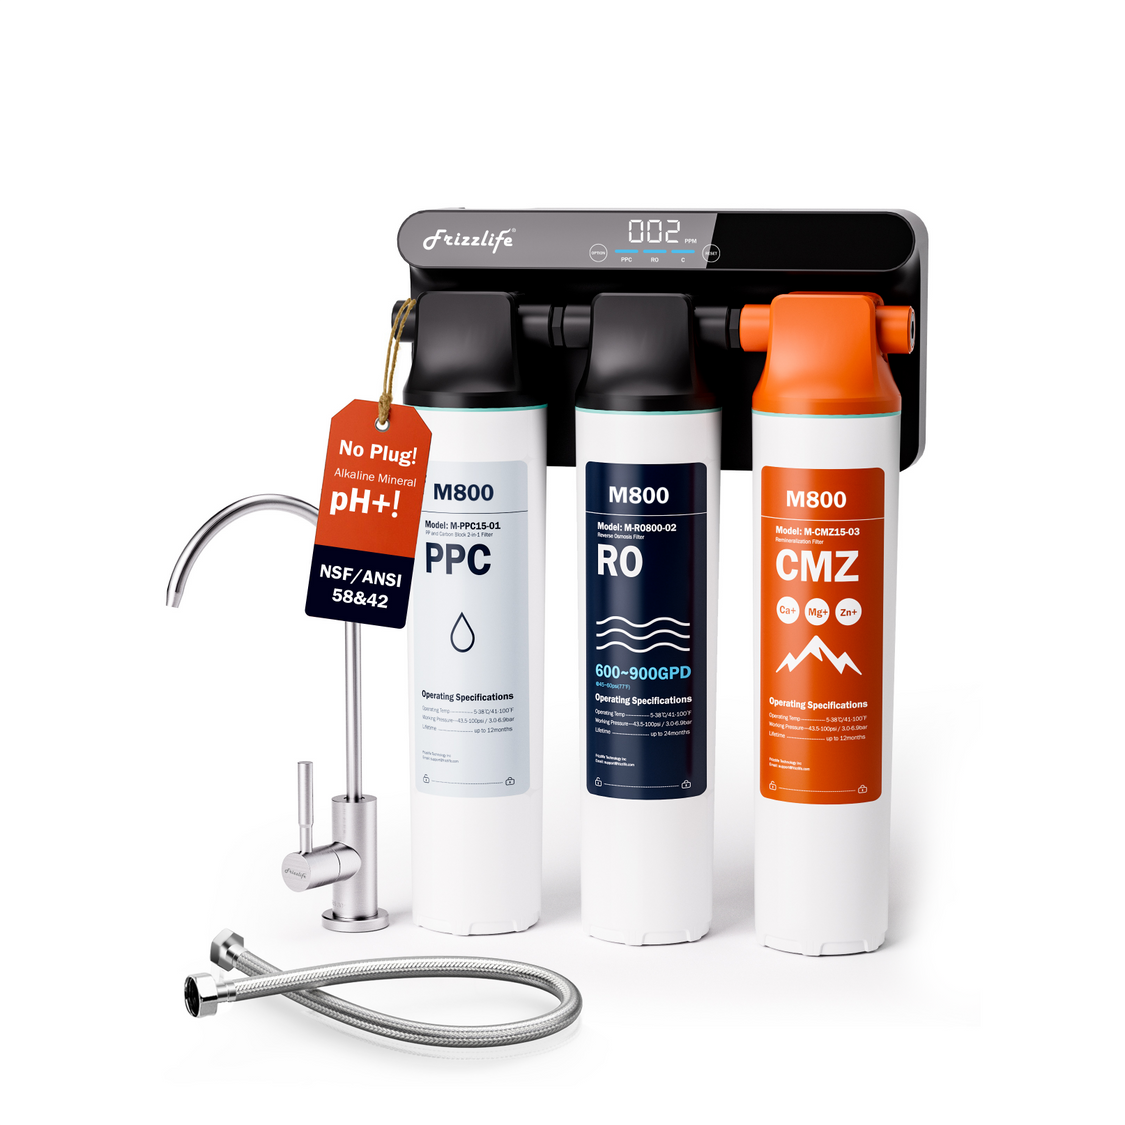
Frizzlife M800
A non-electric tankless RO system designed for high on-demand output without a storage tank. Check household inlet pressure, refrigerator requirements, tubing size, and the approved connection method before installation.
View M800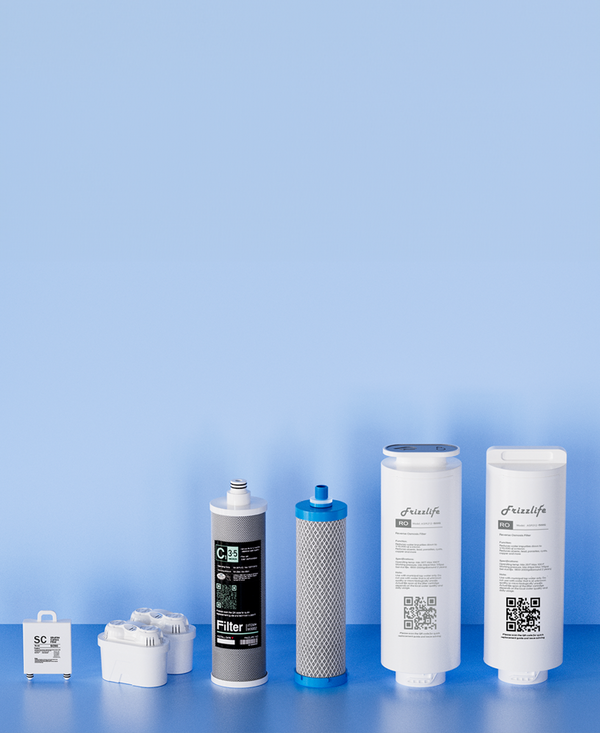
Find the Right Replacement Filter
Already using a Frizzlife filtration system? Find model-specific replacement cartridges for PD600-TAM3, M800, and other Frizzlife systems before your next scheduled filter change.
Find Replacement FiltersRefrigerator compatibility is model-specific. Before purchasing a system or connection accessory, confirm the refrigerator's inlet-pressure requirements, the filtration system's approved product-water connection, tubing size, and the manufacturer's installation instructions.
Basic Tools and Leak-Protection Supplies
Depending on the route and fittings, useful supplies include:
-
Tubing cutter
-
Adjustable wrench
-
Drill and correctly sized bits
-
Flashlight and measuring tape
-
Tubing clips or protective grommets
-
Towels and a shallow container
-
Leak-detection tray or water alarm
-
Safety glasses
Use a proper tubing cutter rather than scissors or side cutters, which can crush the tube and create an uneven sealing surface.
Comparison Block
| Item to check | Why it matters | What to verify |
|---|---|---|
| Appliance inlet | Determines connection point | Refrigerator/ice-maker manual |
| Tubing and fitting size | Prevents incompatible adapters | Measure and verify both sides |
| Line routing | Prevents kinks and pinch points | Check cabinet and refrigerator movement |
| Pressure requirement | Affects appliance performance | Use exact appliance/system documentation |
How to Connect an RO or Under-Sink Water Filter to a Refrigerator
The following process describes a typical installation. The manuals for the filtration system, connection kit, and refrigerator take priority whenever their instructions differ.
Step 1: Shut Off the Water and Depressurize the System
Turn off the cold-water feed to the filtration system. For a tanked RO system, close the storage-tank valve if instructed. Open the filtered-water faucet until flow stops or pressure is relieved.
Unplug the refrigerator or switch off the ice maker when required by the appliance instructions. Place towels below the planned tee location.
Step 2: Locate the Post-Filter Product-Water Line
Identify the line carrying finished water after the applicable filtration stages. Follow the system diagram instead of relying only on tube color, because color conventions can vary.
Confirm that the selected line is not the incoming feed, RO drain, or an intermediate line that bypasses the final treatment stage.
Step 3: Choose the Correct Tee-In Point for a Tanked, Tankless, or Non-RO System
For a tanked RO system, use the manufacturer-approved point in the finished-water delivery path. For a tankless system, connect only at the designated product-water outlet or faucet line. For a non-RO filter, tee into the filtered outlet line—not the unfiltered cold-water feed.
Position the tee where it can be reached for inspection and future filter service.
Step 4: Cut the Tubing Squarely and Install the Tee
Mark the product line and make a clean, square cut. Ensure the tubing is round and undamaged.
For push-to-connect fittings, insert each tube fully to the required depth, then gently pull back to confirm engagement. For compression fittings, follow the specified nut-and-ferrule arrangement and tighten as directed.
Step 5: Add a Dedicated Shutoff Valve for the Refrigerator Branch
Install an inline valve shortly after the tee. Orient it so the handle remains accessible and its open and closed positions are obvious.
Close the new valve before restoring water. This allows the under-sink system to be tested separately before the refrigerator branch is filled.
Step 6: Route the Refrigerator Line Through Cabinets, Walls, or Floors
Run the tubing along the planned protected path. Drill only after confirming that the area is clear of utilities and structural hazards.
Use grommets where tubing passes through rough wood, metal, drywall, or flooring. Support the line at reasonable intervals without pinching it.
Step 7: Protect the Tubing from Kinks, Heat, Sharp Edges, and Appliance Movement
Keep tubing away from ovens, dishwashers, hot-water pipes, compressors, motors, and sharp cabinet hardware. Use broad curves instead of tight bends.
Leave a controlled service loop behind the refrigerator. The loop should be long enough for appliance movement but arranged so it cannot fold or become trapped under a wheel.

Step 8: Connect the Filtered-Water Line to the Refrigerator Inlet
Locate the appliance’s water inlet valve and follow the refrigerator instructions. Remove any temporary cap, then connect the tubing or approved adapter.
Support the fitting while tightening a compression nut. Do not twist the appliance valve or overtighten plastic components.
Step 9: Bypass the Refrigerator Filter When the Manufacturer Permits It
If the refrigerator allows an internal-filter bypass for an externally filtered or RO supply, install the specified bypass plug or follow the documented bypass procedure.
Do not improvise a bypass. Some refrigerators require the cartridge or a dedicated plug to seal the internal housing and operate correctly.
Step 10: Restore Water, Flush the Line, and Inspect Every Connection for Leaks
Open the filtration-system feed slowly. Restore the tank valve if applicable and inspect the under-sink connections.
Open the refrigerator branch valve gradually, then inspect the tee, shutoff valve, adapters, appliance inlet, and every accessible joint. Dry each connection and check again after the system has remained pressurized.
Flush according to both the filter and refrigerator instructions.
Step 11: Test the Dispenser and Discard the Initial Batches of Ice
Restore appliance operation and test the water dispenser. Initial flow may sputter while air leaves the new line.
Discard the initial water and ice as instructed by the manufacturers. Reinspect all fittings after dispenser use, after the first ice-making cycles, and after moving the refrigerator back into place.
Pressure, Distance, and Ice-Maker Performance
Correct plumbing does not guarantee satisfactory performance. Source pressure, available output, storage capacity, tubing length, fittings, and the refrigerator’s internal restrictions all affect delivery.
How RO System Output Affects Refrigerator Performance
Adding a refrigerator branch does not inherently change the RO system’s pressure setting, but the refrigerator must share the system’s available delivery capacity with the under-sink faucet and any other connected outlets.
A tanked RO system may provide stronger short-term delivery when its storage tank is full, with pressure declining as stored water is used. A tankless system produces water on demand, so refrigerator performance depends on the model’s active output, internal pump design, and the appliance’s inlet requirements.
If available pressure or flow is too low, symptoms may include slow dispenser output, longer ice-maker fill times, small or incomplete ice cubes, or reduced ice production. These symptoms can also result from restrictions such as a kinked line, partially closed valve, clogged filter, or refrigerator-side problem.
Because refrigerator requirements vary by model, use the appliance manual rather than a universal PSI figure. Compare its inlet requirements with the actual filtered-water delivery available at the refrigerator.

How Tubing Length, Fittings, and Line Size Affect Flow
There is no reliable universal maximum distance for an RO refrigerator line. A route that works well in one kitchen may create excessive restriction in another because source pressure, tubing diameter, vertical rise, fittings, and refrigerator demand all affect delivery.
Keep the route as short and direct as practical. Long runs, tight bends, reducers, valves, and numerous adapters add resistance, so a smooth route with gradual bends generally performs better than an equally long route with multiple connector transitions.
For longer runs, a larger manufacturer-approved tube may reduce friction loss. However, larger tubing cannot increase the pressure produced by the RO system, storage tank, or household supply. If source pressure is inadequate, changing tubing size alone will not solve the problem.
For across-the-room or different-floor installations, confirm the filtration system’s capabilities before completing concealed routing.
When Additional Storage or Pressure Support May Help
Some compatible filtration systems may support an additional storage tank or delivery pump when more reserve capacity or delivery pressure is needed. These are model-specific solutions rather than universal upgrades.
Before adding one, confirm that the filtration manufacturer permits the component and that its pressure controls, tubing, fittings, electrical requirements, and installation method are compatible with the existing system.
Troubleshooting a Filtered Water Ice Maker or Refrigerator Line
Troubleshoot systematically, starting with shutoff positions and visible tubing before replacing parts.
No Water Reaches the Refrigerator After Installation
Confirm that the main feed, filtration-system valve, tank valve, and refrigerator branch valve are open. Check whether tubing is fully seated and whether a plug or shipping cap remains in place.
Verify that the tee is installed in the product-water line. If the under-sink faucet also has no flow, troubleshoot the filtration system first.
The Dispenser Is Slow but the Under-Sink Faucet Has Normal Flow
Inspect the refrigerator branch for a partially closed valve, kink, crushed service loop, undersized adapter, or improperly seated fitting. Compare performance with and without the refrigerator’s internal filter only when the manufacturer permits bypassing it.
A long run may be restrictive even though the nearby faucet performs normally.
The Ice Maker Produces Small Cubes or Too Little Ice
Confirm refrigerator temperature settings and ice-maker operation according to the appliance manual. Then inspect water delivery, valve position, tubing, filter condition, and storage-tank level.
If water delivery remains below the refrigerator’s requirements, the filtration system and appliance may not be a suitable pairing without an approved pressure or storage solution.
Push-to-Connect or Compression Fittings Are Leaking
Shut off and depressurize the line. For a push fitting, remove the tubing, trim away scratched or deformed material, cut it squarely, and reinsert it fully.
For a compression fitting, inspect the ferrule, nut, tubing, and mating surface. Replace damaged components rather than compensating with excessive tightening.
The Tubing Kinks When the Refrigerator Is Moved Back
Pull out the appliance and reorganize the service loop into broad curves. Secure the line so the refrigerator cannot roll over it.
If clearance is extremely limited, use only an appliance-approved connection arrangement that fits the available space without sharply bending the tube.
Water or Ice Has an Unusual Taste After Startup
New tubing and filters require flushing. Follow the system and refrigerator startup instructions and discard the specified initial water and ice.
If the taste persists, verify that the correct product-water line was used, inspect tubing suitability, and confirm that no line runs near a heat or odor source.
Pressure Drops as the RO Storage Tank Empties
Some pressure decline is characteristic of tanked RO delivery. Check the tank and system according to the manufacturer’s troubleshooting instructions.
Do not adjust tank pressure or add tanks without model-specific guidance. Incorrect settings can reduce usable storage or interfere with system operation.
Flow Remains Weak After Bypassing the Refrigerator Filter
Measure or professionally evaluate delivery at the refrigerator branch. Look for restrictions between the tee and appliance, then assess the filtration system’s available output.
If the line is unobstructed but cannot satisfy the appliance, a compatible system modification or a different filtration approach may be necessary.
When to Stop Troubleshooting and Call a Plumber or Appliance Technician
Seek professional help when routing requires uncertain drilling, concealed plumbing changes, code-sensitive work, electrical modifications, or diagnosis of the refrigerator’s inlet valve.
Also stop if connections repeatedly leak, pressure is unknown, the appliance behaves abnormally, or either manufacturer’s instructions are unclear.
Refrigerator Filter Bypass, Service Access, and Ongoing Maintenance
A refrigerator connection should remain easy to isolate, inspect, and flush. Service planning is part of the installation—not an afterthought.
Should You Remove the Refrigerator’s Built-In Filter When Using RO Water?
Bypassing the internal filter can reduce redundant filtration and flow restriction, but only when the refrigerator manufacturer permits it.
Some models bypass automatically when the cartridge is removed. Others require a specific plug, while some should retain the cartridge. Follow the appliance instructions.
When Keeping the Internal Refrigerator Filter May Still Make Sense
Keeping it may be appropriate when the manufacturer requires it or when a non-RO under-sink filter and refrigerator filter perform different functions.
The tradeoff is additional restriction and another replacement component. Evaluate the complete filtration path rather than assuming more stages are always beneficial.
How to Isolate the Refrigerator Without Shutting Down the Sink Faucet
A dedicated branch valve lets you disconnect or service the refrigerator while the under-sink faucet continues operating. Label the valve and keep it accessible.
Exercise the valve periodically according to its instructions so it does not remain untouched until an emergency.
Leave Enough Tubing and Clearance to Pull Out the Refrigerator Safely
Provide enough slack to access the rear connection without pulling on it. Avoid excessive loose tubing that can be crushed, kinked, or caught by the appliance.
Inspect the line each time the refrigerator is moved.
Inspect Fittings, Valves, and Tubing for Leaks or Damage
Check under the sink and behind the refrigerator periodically. Look for moisture, mineral residue, abrasion, discoloration, cracking, loose supports, or a flattened tube.
A water alarm or leak tray can provide additional warning, but it does not replace correct installation and inspection.
Coordinate RO Filter Changes with Refrigerator-Line Flushing
After filter service, flush the filtration system as directed before sending newly installed filter water to the appliance. Then flush the refrigerator branch and discard initial ice as appropriate.
Recheck the tee and nearby connections because filter replacement can disturb under-sink tubing.
When an RO-to-Refrigerator Connection Is Not the Best Fit
An RO-to-refrigerator connection is not always the most practical option. If the refrigerator cannot accept the available pressure, the routing would require unsupported modifications, or the appliance manufacturer does not approve the configuration, consider a simpler filtration arrangement rather than repeatedly changing fittings or tubing.
When a Non-RO Under-Sink Filter or Dedicated Inline Refrigerator Filter Is Simpler
A non-RO under-sink filter can be simpler when the primary goal is filtered refrigerator water without an RO drain, storage tank, or RO-specific pressure behavior.
A dedicated inline refrigerator filter is another option when routing from the sink is impractical. It is not the same treatment method as reverse osmosis, so choose based on the desired filtration function and installation conditions.
When a Separate RO Faucet Is the Better Option
A dedicated RO faucet may be preferable when the refrigerator requires higher delivery pressure, the routing path is impractical, or the appliance manufacturer does not support an RO connection.
This keeps RO water available at the sink without adding refrigerator-line restrictions or unsupported appliance modifications.
A reverse osmosis refrigerator connection works best when the filtration system, refrigerator requirements, fittings, and routing path are compatible from the start. Verify model-specific instructions before cutting tubing or purchasing accessories, and use manufacturer-approved connection methods whenever the filtration system or refrigerator has specific requirements.
FAQs
Can I connect reverse osmosis to my refrigerator?
Often yes, if the refrigerator has a compatible water inlet and the RO system can support the added line. Confirm tubing, fittings, routing, and any appliance pressure requirement before connecting.
Can RO water be used for an ice maker?
It can be used when the appliance and filtration system are compatible. Follow both manuals, flush the new line as instructed, and verify that water delivery is adequate for the appliance.
What should I check before running an RO line to the fridge?
Check the appliance inlet, tubing and fitting sizes, line route, distance, potential pinch points, and any documented pressure requirement. Do not assume adapters or pressure needs are universal.
References
Frizzlife IMC-1 Ice Maker Kit
https://www.frizzlife.com/products/imc-1
Frizzlife IMC-2 Ice Maker Kit
https://www.frizzlife.com/products/frizzlife-ice-maker-fridge-water-line-installation-kit-for-standard-braid-hose-connect-water-filter-system-9-16-thread-hose
Reverse Osmosis Installation: 2025 DIY Guide to Installing an RO System
https://www.frizzlife.com/blogs/guide/reverse-osmosis-installation-2025-diy-guide-to-installing-an-ro-system