


When comparing an air gap vs non air gap RO faucet, start with requirements—not appearance or noise. Choose an air gap faucet when your local plumbing code, inspection requirements, or reverse osmosis system manual calls for one. If both faucet types are permitted, the decision comes down to added backflow protection versus a simpler, quieter installation.
An RO air gap faucet creates a physical break in the wastewater path. That break helps prevent backed-up drain water from siphoning into the reverse osmosis system. A non air gap RO faucet only carries filtered water; the RO wastewater line bypasses the faucet and connects to the approved drain point separately.
That difference affects tubing, mounting space, installation difficulty, drain noise, troubleshooting, and whether the finished installation meets applicable requirements. It does not, by itself, change the contaminant-reduction performance or taste of the water dispensed by the RO system.
Comparison Snapshot: Air Gap vs Non Air Gap RO Faucet
The direct answer: choose an air gap faucet when code or the RO system manual requires it; otherwise, weigh added backflow protection against noise and installation complexity
An air gap faucet is usually the appropriate choice when:
-
Local plumbing code requires a physical air break for the RO drain.
-
The installation will be inspected and an air gap is specified.
-
The RO manufacturer requires an air gap faucet or another approved air-gap arrangement.
-
Maintaining a system’s documented certification conditions depends on a particular drain configuration.
-
You prioritize physical separation between the sink drain and the RO wastewater line.
A standard non-air-gap faucet may be appropriate when:
-
Local code allows the installation.
-
The RO system manufacturer supports a direct-drain configuration.
-
Any required backflow controls are already incorporated into the approved system design.
-
You want fewer tubes, fewer faucet connections, and less drain noise near the sink.
-
The existing mounting hole or under-sink layout cannot accommodate an air gap model.
A non-air-gap design is not automatically acceptable simply because it is easier to install. Likewise, an air gap faucet is not automatically compatible with every RO system. Resolve code, system, drain, and dimensional requirements before comparing finishes or handle styles.
What is the difference between an air-gap and non-air-gap RO faucet?
The primary difference is the wastewater route.
An RO air gap faucet handles two separate water paths:
-
Filtered water travels from the RO system to the faucet’s drinking-water outlet.
-
Reject water travels from the RO system up to the faucet’s air gap, passes across a physical opening, and then flows down to the drain.
A non air gap RO faucet handles only the filtered-water path. The RO reject line connects to the approved drain fitting without passing through the faucet.
Both faucet types can dispense RO water in the same basic way. The air gap is part of the drain and backflow-control arrangement; it is not an additional filtration stage.
How an RO air gap faucet routes filtered water and wastewater through three separate connections
A conventional reverse osmosis faucet air gap commonly has three connections beneath the faucet:
-
One connection for filtered drinking water.
-
One connection bringing RO wastewater up to the air gap.
-
One larger return connection carrying wastewater from the air gap to the drain.
Exact tubing diameters and connection styles vary by faucet and RO system. Do not assume that tubing from one model will fit another merely because both faucets have three ports.
During RO production, reject water moves up from the system to the faucet. Inside the faucet assembly, it crosses an open-air separation before entering the outlet tube leading to the drain. If the downstream drain route becomes blocked, water may emerge from the faucet’s air-gap vent rather than being siphoned backward toward the RO membrane.
That visible discharge is useful as a warning, but it can also wet the sink deck or countertop. It should be treated as a sign to inspect the drain path—not as normal faucet operation.
How a non air gap RO faucet uses one filtered-water connection while the drain line bypasses the faucet
A classic non-air-gap faucet typically has one connection beneath it: the filtered-water tube from the RO system.
The reject-water line runs directly from the RO unit to an approved drain connection. Depending on the system design, protection against reverse flow may depend on check valves, drain configuration, or another approved method. These controls are not the same as the open physical separation created by an air gap.
This simpler arrangement usually means:
-
Less tubing near the faucet.
-
Fewer faucet-side fittings.
-
Easier routing through a crowded cabinet.
-
Less gurgling or trickling at the countertop.
-
A potentially smaller mounting footprint.
Its suitability remains conditional on the RO manual and local plumbing rules.
Air gap vs non air gap faucet decision-support table
|
Decision factor |
Air gap RO faucet |
Non-air-gap RO faucet
|
|---|---|---|
|
Backflow method |
Uses a physical air break in the RO wastewater path |
Uses a direct drain route and any backflow controls specified by the system design |
|
Code fit |
Often suitable where an above-sink air gap is required, subject to the exact local rule |
Suitable only where local code and the approved installation method allow it |
|
Faucet tubing |
Usually one filtered-water line plus two wastewater lines |
Usually one filtered-water line |
|
Typical sound |
May produce trickling, hissing, or gurgling while the RO system is making water |
Usually quieter at the faucet because wastewater bypasses it |
|
Connection and spill points |
More fittings; a downstream restriction can cause discharge from the air-gap vent |
Fewer faucet connections, but the direct drain route still must be installed correctly |
|
Sink-hole fit |
Internal air-gap hardware and the faucet base may require more room |
Often simpler to fit, but dimensions remain model-specific |
|
Under-sink routing |
Requires wastewater tubing to travel up to the faucet and back down to the drain |
Wastewater line runs from the RO unit directly to the approved drain point |
|
Installation complexity |
Higher because slope, tube routing, drain capacity, and extra connections matter |
Lower, provided the direct-drain design is permitted and compatible |
|
Filtration effect |
Does not inherently improve contaminant reduction |
Does not inherently improve contaminant reduction |
How to identify your current faucet by checking the tubing and drain route beneath the sink
Look beneath the faucet while avoiding any tubing disconnection.
-
Three tubes or ports at the faucet: It is likely an air gap faucet. One line carries drinking water, and two are part of the reject-water route.
-
One tube at the faucet: It is likely a non-air-gap faucet. Follow the RO wastewater line to see where it connects to the drain.
-
A separate air-gap device: The installation may use an air break that is not built into the drinking-water faucet. Confirm its purpose and approval rather than judging the faucet alone.
Tube count is a useful identification shortcut, but it does not confirm code compliance or model compatibility. Review the installation manual and the complete drain route.
Why Do Some Reverse Osmosis Systems Need an Air-Gap Faucet?
How the physical air break helps prevent backed-up drain water from siphoning into the RO system
A reverse osmosis system sends reject water to a household drain. If that drain backs up, contaminated drain water can create a cross-connection concern if there is an uninterrupted path back toward the treatment equipment.
An air gap interrupts that path. Water leaving the RO reject tube must cross an open space before entering the drain-side tube. Because the two sides are not continuously connected, backed-up drain water cannot simply siphon through the same tube into the RO system.
This is why an air gap may be treated as a plumbing protection rather than an optional faucet feature. Its purpose is to isolate the water-treatment equipment from the sanitary drain.
When local plumbing code or an inspection makes an air gap a requirement rather than a preference
Air-gap rules vary by state, province, municipality, installation type, and drain configuration. Some jurisdictions require an approved air gap when a point-of-use RO system discharges to plumbing connected to the sanitary drain. An inspection may also require the air gap to be installed in a specific location, such as above the sink’s flood-level rim.
Do not rely on a general statement that air gaps are required—or not required—everywhere. Before buying a faucet, check:
-
The plumbing rules enforced by the local authority having jurisdiction.
-
Permit or inspection requirements for the installation.
-
The RO system’s installation manual.
-
Instructions for the selected faucet and drain fitting.
-
Requirements communicated by a licensed local plumber or inspector.
An existing non-air-gap installation is not proof that the same arrangement would pass a current inspection.
Why the RO system manual and certification conditions must be checked before changing faucet types
Some RO systems are documented or certified based on a specific drain configuration. For certain models, maintaining the stated certification conditions may require a certified air-gap faucet or another specified vertical air gap.
This is model-specific. It should not be generalized to every reverse osmosis system.
Before changing faucet type, locate the manual for the exact RO model and confirm:
-
Whether an air gap is required, optional, or unsupported.
-
Whether a separate approved air-gap device may be used.
-
Which drain fittings and tube sizes are specified.
-
Whether changing the wastewater route affects inspection, certification, or warranty conditions.
When the manual and local code differ, follow the more restrictive applicable requirement or obtain guidance from the relevant authority.
Why an air gap does not compensate for a clogged drain, poor tubing route, or incorrect drain connection
An air gap protects against a specific reverse-flow path. It does not repair downstream plumbing.
A clogged trap, restricted drain fitting, kinked tube, or uphill wastewater route can still create back-pressure. The result may be excessive noise, slow drainage, or water coming from the air-gap vent.
Similarly, placing a drain connection at an unapproved location can cause operational problems even when the faucet itself contains an air gap. The entire wastewater path—from the RO system to the faucet and from the faucet to the drain—must follow the applicable instructions.
Can You Install a Reverse Osmosis Air Gap Faucet Without Creating Leaks, Noise, or Code Problems?
Yes, but success depends on planning the installation as a complete drain system rather than treating the faucet as a simple one-line fixture.
Verify the faucet type, dimensions, connections, and instructions before installation
Before removing the existing faucet or drilling a mounting hole, confirm:
-
The RO system supports the selected faucet and drain arrangement.
-
The faucet is an air gap model rather than a standard drinking-water faucet.
-
The faucet’s mounting-hole range matches the sink or countertop opening.
-
The base covers the opening without interfering with the sink rim or backsplash.
-
The filtered-water and wastewater connections match the specified tubing.
-
The air-gap assembly can handle the RO system’s documented reject-water discharge.
-
The proposed drain connection is permitted by the manual and local code.
Do not enlarge a hole in stone, glass, porcelain, composite, or metal until you know the material can be drilled safely and the faucet will fit above and below the surface. Professional drilling may be appropriate for fragile or difficult countertop materials.
Confirm that the sink or countertop has enough mounting space above and below the faucet
An air gap faucet may need more room beneath its base because it contains drinking-water hardware and the wastewater air-gap assembly. Check both sides of the mounting surface.
Above the sink, verify clearance from:
-
The primary kitchen faucet and its handle.
-
A backsplash or window ledge.
-
Soap dispensers and sprayers.
-
A dishwasher air-gap device.
-
Sink accessories and removable covers.
Below the sink, account for:
-
The mounting nut and washer.
-
All three faucet tubes.
-
The sink bowl and mounting rails.
-
Garbage disposal components.
-
Dishwasher hoses.
-
RO filters, storage tank, pump, or electrical connections.
-
Space needed to tighten fittings and perform future service.
Do not assume that an existing dishwasher air gap can protect the RO drain or that the two systems can share a fitting. Each component must have an approved, documented connection.
Route the wastewater tubing without kinks, low spots, or unnecessary length
The drain route is the most important part of a quiet, reliable air gap installation.
The line carrying reject water from the RO system must reach the correct inlet on the faucet without being crushed or sharply bent. The larger outlet line must then travel from the faucet toward the drain using the slope required by the manufacturer.
Avoid:
-
Coiling excess tubing in the cabinet.
-
Allowing the line to dip and rise repeatedly.
-
Pinching tubing behind a storage tank or garbage disposal.
-
Using sharp turns where gradual bends are possible.
-
Forcing mismatched tubing onto a faucet barb.
-
Substituting smaller tubing because it is easier to route.
-
Connecting to an unapproved drain location.
Low spots can retain water, while kinks, undersized tubing, debris, or uphill sections can create back-pressure. After reject water crosses the air gap, the outlet line generally relies on gravity, so it must follow the manufacturer’s specified size and maintain a clear downward route to the approved drain connection.
If the cabinet layout cannot provide that route, do not improvise by sharing an appliance connection or forcing the tubing around an obstruction. Reconsider the faucet or drain location, or consult a qualified installer.

Check every fitting and run a full leak test
After installation:
-
Verify that each tube is connected to the correct port.
-
Make sure tubing is fully seated and secured according to the fitting instructions.
-
Restore the water supply as directed by the RO manual.
-
Dry the faucet base, tubing, and cabinet floor.
-
Inspect the filtered-water connection while dispensing water.
-
Allow the RO system to produce water so the reject line becomes active.
-
Watch the air-gap vent and both wastewater connections.
-
Recheck the fittings after the system has completed a production cycle.
Keep stored items out of the cabinet until the full system has been observed under operating conditions. A dry fitting while the RO system is idle does not confirm that the wastewater route is working properly.
Diagnose water coming from the air-gap vent
Water emerging from the vent usually indicates that reject water cannot move freely from the faucet to the drain. Start downstream and inspect for:
-
A clogged or restricted sink drain.
-
Debris in the air-gap outlet tube.
-
A kink or sharp bend.
-
A sagging line that holds standing water.
-
An uphill section near the faucet or drain.
-
Excessive tubing length.
-
A blocked, misplaced, or incorrectly installed drain fitting.
-
A mismatch between the faucet’s drainage capacity and the RO system.
Do not seal the vent to stop the spill. Blocking it defeats the intended open-air function and can redirect water into the faucet body, countertop opening, or cabinet. Correct the restriction instead.
When an air gap faucet fails as a fit for higher RO wastewater discharge
An air gap faucet must be capable of passing the reject-water output produced by the connected RO system. There is no universal discharge capacity that applies to every faucet.
If the RO system sends wastewater faster than the faucet’s air-gap path and outlet tubing can drain it, water may back up at the vent even when the line appears properly routed. This is a compatibility issue, not necessarily a clog.
Before buying, compare the exact system and faucet documentation. Pay attention to:
-
Approved faucet or air-gap types.
-
Required tubing dimensions.
-
Wastewater connection size.
-
Drain-routing instructions.
-
Any stated discharge or capacity limitations.
This check is especially important when replacing the original faucet, modifying an existing installation, or pairing components that were not supplied together. If the documentation does not establish compatibility, ask the system manufacturer or a qualified installer rather than relying on visual fit.
Air Gap Faucet Pros and Cons in Everyday Use
The most useful air gap faucet pros and cons are practical: protection and code fit on one side, added installation demands on the other.
Main advantages of an air gap faucet
Physical separation from the drain:
The open break helps prevent backed-up drain water from siphoning into the RO equipment.
Potential code compliance:
An air gap faucet may satisfy requirements in jurisdictions that call for an above-sink air break, provided the specific faucet and installation meet the applicable rule.
Visible warning of a drain restriction:
Water at the vent can alert you to a clogged downstream tube or drain connection before the problem goes unnoticed.
Integrated solution:
Where approved, the faucet combines the drinking-water outlet and RO drain air gap at one sink location.
Main disadvantages of an air gap faucet
More tubing and connections:
Three faucet connections create more routing work than a one-line drinking-water faucet.
Potential drain noise:
Wastewater crossing the open break can produce hissing, trickling, or gurgling while the RO system makes water.
Larger or more complex mounting requirements:
The internal air-gap assembly may need additional room in the sink hole and beneath the mounting surface.
Possibility of visible discharge:
A blocked outlet can send water through the vent onto the sink deck or countertop.
More demanding troubleshooting:
A problem may involve the faucet, tubing slope, drain fitting, or household drain rather than a single water connection.
Are Air-Gap RO Faucets Noisier Than Non-Air-Gap Faucets?
They can be. An air gap faucet may make gurgling, hissing, or trickling sounds because wastewater passes through an open break near the countertop. A non-air-gap faucet is usually quieter at that location because its reject line bypasses the faucet.
Noise varies with the RO system, drain flow, tubing route, cabinet construction, and drain condition. There is no universal noise level for either design.
When occasional drain noise may be normal
Reverse osmosis systems send reject water to the drain while producing filtered water. With an air gap faucet, that flow may be audible even when the installation is correct.
Intermittent sound that occurs only during water production can be normal. It may continue after someone dispenses water because the system is replenishing a storage tank. Production behavior differs for tank-based and other RO designs, so check the manual before assuming the system should be silent.
When louder or persistent noise points to a problem
Investigate if the sound becomes louder, changes suddenly, continues outside normal production, or is accompanied by water at the vent.
Possible causes include:
-
A kinked wastewater line.
-
A partial clog in the outlet tube.
-
Poor downward slope.
-
A low spot holding water.
-
Excess tubing.
-
Back-pressure from the household drain.
-
An obstructed or incorrectly positioned drain connection.
-
Tubing or faucet capacity that does not match the system.
Noise alone does not prove the air gap faucet is defective. Correcting the drain route may resolve the issue without replacement.
Should you avoid an air gap RO faucet in a quiet or open-plan kitchen?
Noise tolerance is a legitimate buying factor, especially when the sink is close to seating, working, or sleeping areas. However, it should be considered only after code and system requirements.
Do not choose a non-air-gap faucet solely for quiet operation if an air gap is required. First determine whether the sound can be minimized through proper routing or whether another approved air-gap arrangement is allowed.
If both designs are permitted and compatible, a non-air-gap faucet may be the more comfortable option for a noise-sensitive household. Consider how often the RO system is likely to produce water and how easily drain sounds travel through the sink and cabinet.
Noise-reduction checks before replacing a compliant air gap faucet
Before changing faucet types:
-
Confirm that the outlet tube slopes toward the drain.
-
Remove unnecessary tubing length if the manual permits it.
-
Correct kinks, flattened areas, and tight turns.
-
Check the sink drain and RO drain fitting for restrictions.
-
Confirm that the correct tubing sizes are installed.
-
Make sure the tubes are not vibrating against the sink, cabinet wall, or disposal.
-
Verify that the faucet’s air-gap assembly is compatible with the system’s wastewater discharge.
Never reduce noise by plugging the vent or bypassing a required air gap.
How Do I Choose Between an Air-Gap and Standard RO Faucet?

Choose in this order:
-
Check the applicable plumbing rules and inspection requirements. If an approved air gap is required, do not substitute a direct-drain arrangement for convenience or lower noise.
-
Check the exact RO system manual. Confirm whether an air gap faucet is required, optional, or unsupported, and whether the specified drain arrangement affects documented certification or warranty conditions.
-
Inspect the installation space. Verify the mounting-hole diameter, sink or countertop thickness, faucet-base clearance, room for hardware below the deck, and the ability to route the wastewater outlet downhill to an approved drain point.
-
Compare everyday trade-offs only after the first three checks. When both designs are permitted and compatible, choose an air gap faucet for physical drain separation or a non-air-gap faucet for fewer connections and less countertop drain noise.
After confirming the permitted faucet type, compare connection details, dimensions, finish, and handle style in Frizzlife’s collection of drinking-water faucets. Verify compatibility with the exact RO system and installation instructions before ordering.
Planning a Complete Reverse Osmosis Setup?
If you are comparing more than just the faucet, explore Frizzlife RO systems and replacement filters for a complete drinking-water setup.
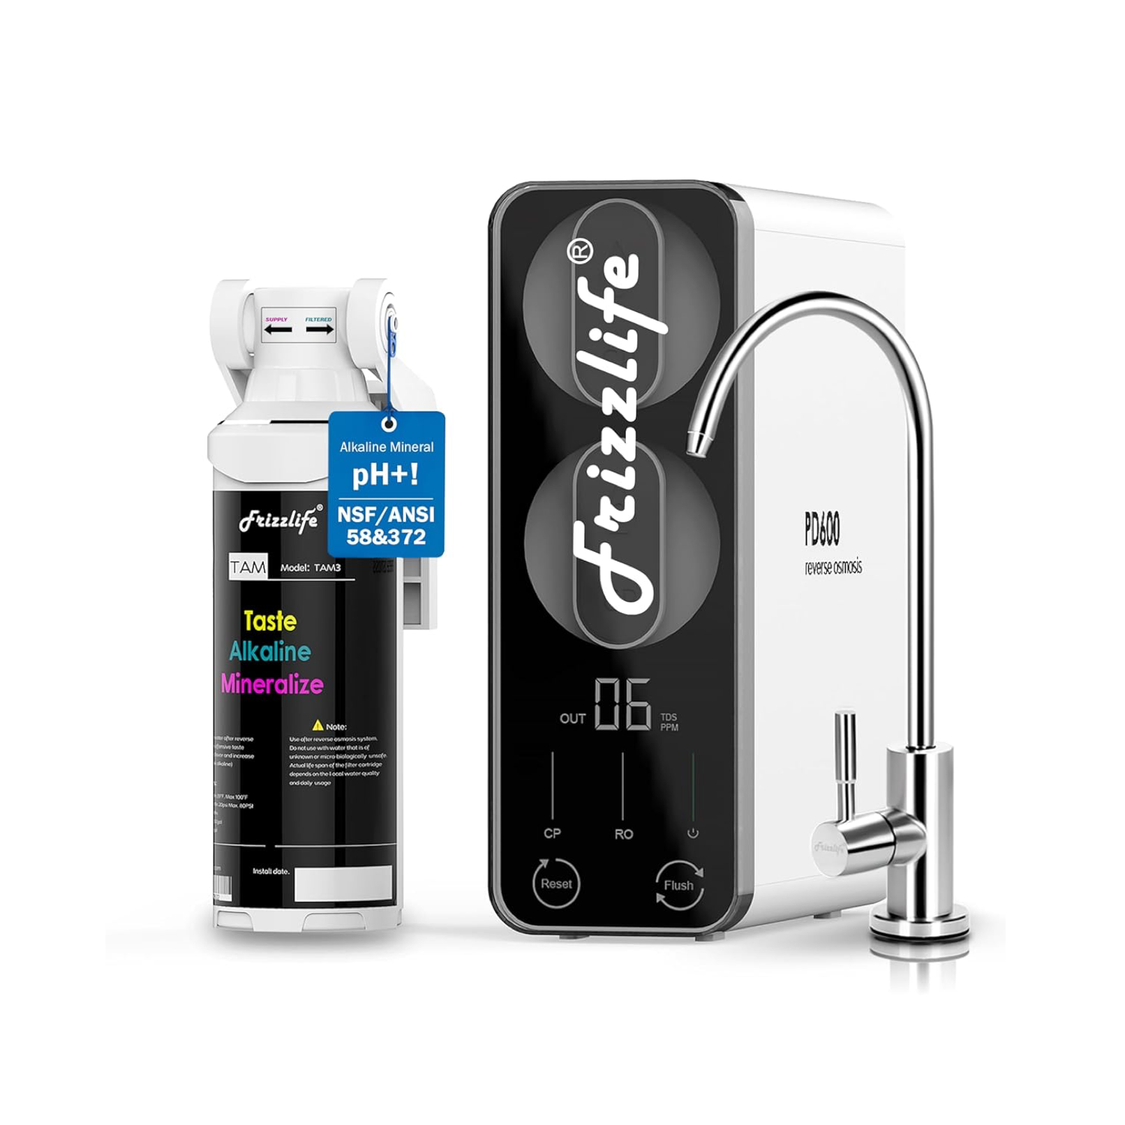
PD600-TAM3 Tankless RO System
A compact 600 GPD under-sink reverse osmosis system with tankless design and alkaline remineralization for everyday drinking-water use.
Explore PD600-TAM3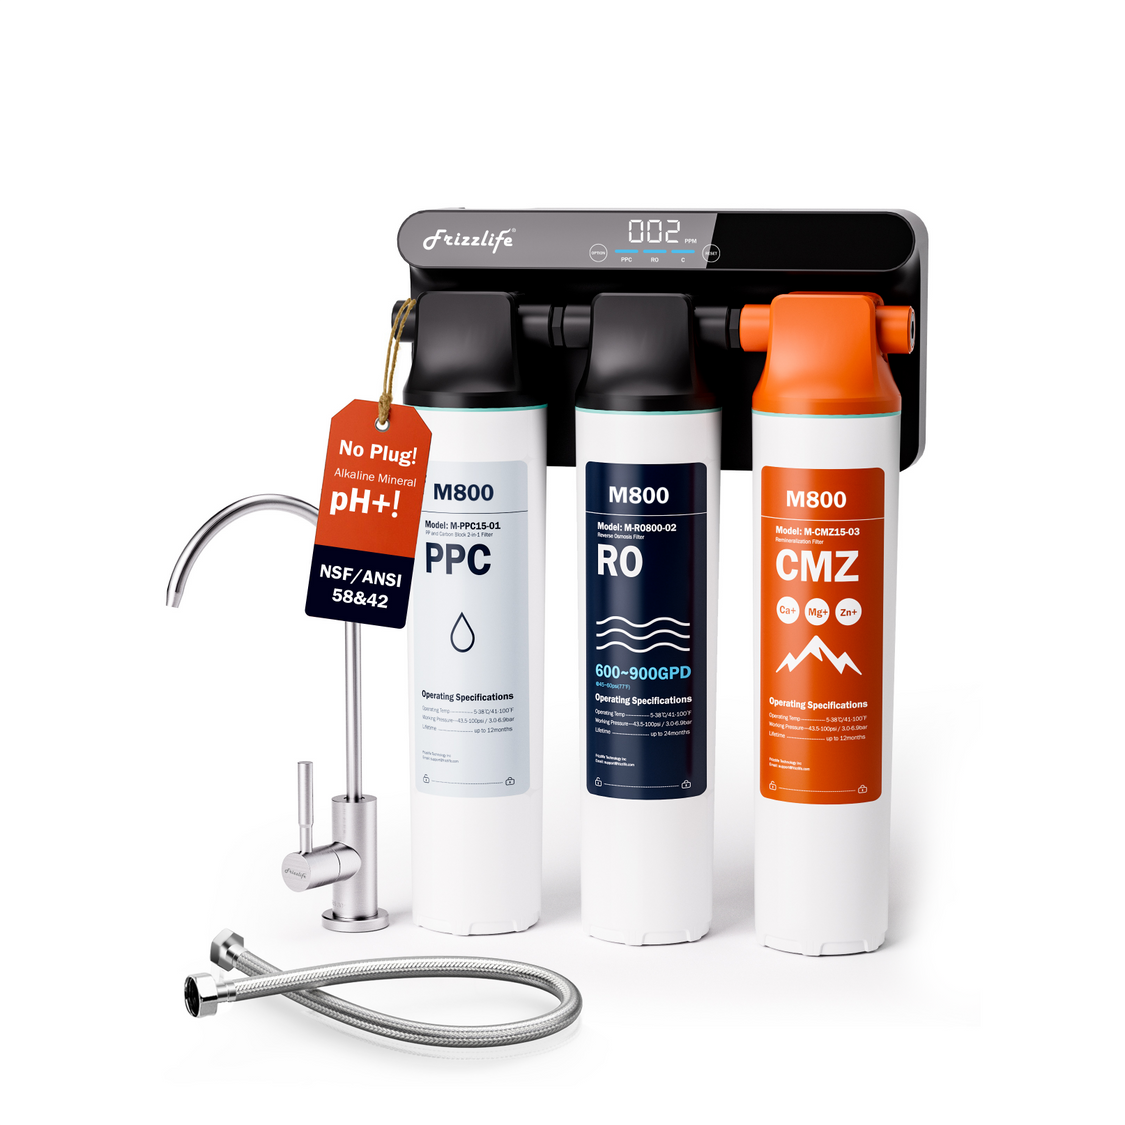
M800 Non-Electric Tankless RO
A 900 GPD tankless reverse osmosis system designed to operate without electricity while providing a compact under-sink RO setup.
Explore M800
Replacement Filters
Already have a Frizzlife system? Find compatible replacement filters by system model to keep your filtration setup maintained.
Find Replacement FiltersFaucet type, drain configuration, tubing, and installation requirements vary by RO system. Always check the exact system manual and applicable local plumbing requirements before installation.
Can You Replace an Air Gap Faucet With a Non-Air-Gap Faucet?
Possibly, but it is not a faucet-only swap.
Removing an air gap faucet also removes the point through which the reject-water line currently travels. The wastewater route must therefore be reconfigured using a method that is permitted by local code and supported by the RO system manufacturer.
Before making the change:
-
Confirm that a non-air-gap installation is allowed locally.
-
Review the manual for the exact RO system.
-
Determine where the reject line will connect to the drain.
-
Identify any specified check valves or other backflow controls.
-
Verify that the new tubing and drain fitting are compatible.
-
Check whether the change affects inspection, certification, or warranty conditions.
-
Make sure the replacement faucet fits the existing sink hole and countertop thickness.
Do not connect the old wastewater tubes together as an improvised bypass. Do not cap the air-gap lines while leaving the reject path unresolved. The drain route must be deliberately redesigned and leak-tested.
The reverse change—from a non-air-gap faucet to an air gap model—also requires more than replacing the drinking-water fixture. You must add the wastewater inlet and outlet routes, provide enough mounting space, confirm drainage capacity, and connect the outlet to an approved drain point.
The Bottom Line
For most buyers, the air gap vs non air gap RO faucet decision follows a clear priority: comply with local plumbing rules and the RO manual first, then consider installation space, drain routing, noise, and appearance.
Choose an air gap faucet when a physical air break is required or when you prioritize that added backflow protection. Choose a non-air-gap faucet when it is expressly allowed, compatible with the RO system, and a quieter, simpler installation is more important. In either case, correct wastewater routing matters as much as the faucet itself.
Reference
https://www.nsf.org/knowledge-library/nsf-ansi-58-reverse-osmosis-drinking-water-treatment-systems