


If you are wondering how much water pressure is lost with an under sink filter, there is no universal PSI number. Pressure loss depends on the filter media, cartridge condition, system design, inlet pressure, rated flow, tubing, fittings, and faucet configuration. Manufacturer manuals show that under-sink systems can have substantially different operating-pressure ranges and service flow rates.
A clean, correctly installed standard under-sink filter should generally provide usable flow within its specified inlet-pressure range. A slight slowdown may be normal. A dramatic or persistent reduction—especially immediately after a filter change—usually deserves troubleshooting.
Start with the simple causes: flush the new cartridge, open every valve fully, clean the faucet aerator, inspect the tubing, and confirm the cartridge and seals are seated correctly. Do not replace the entire filtration system until you have isolated whether the restriction is in the cartridge, faucet, tubing, shutoff valve, or incoming plumbing.
Who should troubleshoot low water pressure after water filter change — and when is it a no-go?
Most homeowners can perform visual checks and basic flow comparisons if they can safely reach the system and understand how to close the cold-water shutoff valve. Appropriate DIY checks include:
-
Confirming that valves are fully open
-
Flushing a new cartridge according to its manual
-
Cleaning a removable faucet aerator
-
Looking for kinked or pinched tubing
-
Checking for visible leaks
-
Verifying that a cartridge is installed in the correct orientation
-
Comparing filtered and unfiltered flow without disassembling pressurized plumbing
Stop if a fitting is leaking, a shutoff valve will not operate, pipes are corroded, or you do not know how to depressurize the system safely. Opening a housing or disconnecting tubing while the line is pressurized can release water suddenly and damage the cabinet or surrounding materials.
How much water-pressure drop is normal with an under-sink filter?
Every filter creates resistance as water passes through its media, so some under sink water filter pressure drop is unavoidable. However, a single generic figure such as “5 PSI” or “10%” is not reliable for every system.
The actual pressure loss changes with:
-
Incoming water pressure
-
Water demand at the time of testing
-
Filter type and number of stages
-
Media density and available surface area
-
Cartridge age and sediment loading
-
Tubing diameter and length
-
Fittings, valves, and faucet restrictions
-
Whether the system is a direct-flow filter or reverse osmosis system
The practical standard is whether a clean system operating within its specified pressure range delivers approximately its rated flow under the manufacturer’s test conditions. Published service flow rates for under-sink filters vary widely, with examples ranging from about 0.5 gallons per minute to 2.0 gallons per minute or more. Those figures are model-specific and should not be treated as a universal expectation.
A small difference in fill time can be normal. Flow that becomes inconvenient, drops sharply after installation, or continues worsening is more likely to indicate low inlet pressure, installation restriction, cartridge blockage, or a mismatch between the filter and the desired faucet demand.
Pressure loss versus flow loss: PSI, GPM, and what you notice at the faucet
Pressure and flow are related, but they are not interchangeable:
-
Pressure, measured in pounds per square inch or PSI, is the force available to move water.
-
Flow rate, measured in gallons per minute or GPM, is the volume delivered over time.
-
Pressure drop is the difference between pressure before and after a component while water is moving through it.
A pressure gauge attached to a line with the faucet closed measures static pressure. That reading may look normal even when the faucet flows poorly. Restrictions become more apparent under demand, so diagnosing water filter pressure loss often requires evaluating pressure or flow while water is running.
At the faucet, most people notice flow rather than PSI. A restricted cartridge, narrow fitting, kinked tube, or clogged aerator may make a glass or pot take longer to fill. It may be described as “low pressure” even when the home’s static pressure has not changed.
Under-sink filter pressure-drop decision table: normal, temporary, or excessive
|
What you observe |
Likely interpretation |
What to do next
|
|---|---|---|
|
Flow is slightly lower than before but steady and usable |
Normal resistance may be present |
Compare performance with the system’s rated flow and operating-pressure specifications |
|
Flow sputters or contains air immediately after a cartridge change |
Air may still be purging from the cartridge and tubing |
Flush the system exactly as directed in the product manual |
|
Dark or gray particles appear briefly with slow or uneven flow |
New-cartridge carbon fines may be flushing out |
Continue the manufacturer-required flush; do not assume one universal flushing time |
|
Main faucet flow is low, but flow improves when the aerator is removed |
The aerator is likely restricted |
Clean or replace the aerator and flush the line before reinstalling it |
|
Flow became low immediately after installation and does not improve |
A valve, connection, tube, cartridge, or faucet may be restricting the path |
Check valves, tubing, cartridge seating, seals, fittings, and the aerator |
|
Flow started normally but declined over time |
Cartridge loading or another developing restriction is likely |
Check cartridge condition and replacement guidance |
|
Flow is weak only at the filtered faucet |
The issue is likely within the filtered-water path |
Inspect the filter, filtered faucet, tubing, and associated valves |
|
Flow is weak throughout the home |
The under-sink filter is unlikely to be the only cause |
Check incoming pressure, the main valve, upstream equipment, and the utility supply |
|
Flow returns when the filter is bypassed |
Restriction is within the filter system or cartridge |
Confirm cartridge installation and determine whether cartridge replacement is appropriate |
|
A new cartridge repeatedly clogs much earlier than expected |
Water conditions or system sizing may be the underlying issue |
Investigate sediment loading, pretreatment, and required flow capacity |
What Happens If Your Home’s Water Pressure Is Already Low (Below ~40 PSI)?
Pressure below approximately 40 PSI is not automatically incompatible with every under-sink filter. Some systems specify minimum inlet pressures of 20 PSI or 30 PSI, while others require 40 PSI. The correct threshold is the minimum listed for the exact model.
However, a home already near the filter’s minimum operating pressure has less force available to overcome the cartridge, tubing, fittings, and faucet. Even normal filter resistance can therefore create noticeably weak flow.
Before changing equipment:
-
Find the product’s specified inlet-pressure range.
-
Measure the cold-water pressure feeding the system.
-
Check the pressure while another fixture or appliance is using water.
-
Determine whether low flow affects only the filtered faucet or the entire home.
-
Inspect upstream equipment that may also be creating resistance.
If the incoming pressure is below the system’s stated minimum, changing cartridges may not solve the problem. A plumber may need to diagnose the supply, shutoff valves, pressure-reducing valve, old piping, or another upstream restriction. Do not adjust a pressure-control device without understanding the consequences for the entire plumbing system.
Low water pressure immediately after a filter change
1. Why is my water pressure low after replacing the filter?
When low pressure begins immediately after cartridge replacement, the timing points first to the service work rather than ordinary cartridge aging. Common causes include:
-
A supply or system valve was not fully reopened
-
Air remains in the housing and tubing
-
The cartridge has not been flushed as directed
-
The cartridge is not fully seated
-
An O-ring or gasket is twisted or out of position
-
Protective packaging or a shipping cap was not removed
-
The cartridge is installed in the wrong orientation
-
Tubing was pinched when the system was returned to the cabinet
-
Debris moved downstream and clogged the faucet aerator
-
The replacement cartridge is incorrect for the housing
-
A quick-connect tube was not inserted correctly
-
A small piece of debris is blocking an inlet, valve, or fitting
A new filter may have more initial resistance while air is being displaced and the media becomes fully wetted. That should not be used to explain persistent poor flow, however. If proper flushing does not improve performance, continue with the mechanical checks below.
2. Should I flush a new under-sink filter before diagnosing low pressure?
Yes. Flush the replacement filter according to the instructions for the exact cartridge and system before deciding it is defective or excessively restrictive.
Flushing can:
-
Purge air from housings and tubing
-
Wet the filtration media
-
Remove loose carbon fines when applicable
-
Stabilize flow through the cartridge
-
Reveal leaks that only become apparent during operation
Flushing instructions are model-specific. Some manuals call for extended flushing, while other products have different procedures. Do not assume that running the faucet for a fixed number of minutes is correct for every filter.
During flushing, watch for a gradual change from sputtering flow to a steady stream. If the water remains extremely weak after the required procedure, close the faucet, inspect for leaks, and proceed with valve, tubing, cartridge, and aerator checks.
3. Can a clogged aerator cause low flow after a filter change?

Yes. A clogged aerator can substantially reduce water flow at the kitchen faucet, and the timing can make it seem as though the new filter is causing the problem.
Closing and reopening a water line can disturb mineral particles, sediment, sealing material, or other debris. That material can travel to the small screens inside the aerator. The restriction is especially noticeable when the faucet was already designed with a relatively low flow rate.
To check it:
-
Turn off the faucet.
-
Remove the aerator according to the faucet manufacturer’s instructions.
-
Keep track of screens, washers, and other small parts.
-
Inspect the components for visible debris.
-
Rinse and clean them without damaging the screens.
-
Briefly compare faucet flow with the aerator removed, controlling splashing.
-
Reassemble the aerator in the correct order.
If flow improves significantly without the aerator, the problem is downstream of the filter. If it remains low, continue checking the filtered-water path.
How to check cartridge seating, seals, and connection points
Shut off the cold-water supply and open the faucet to relieve pressure before opening a housing or disconnecting a line. Place a tray or towels below the system.
Then verify:
-
Cartridge identity: Confirm that the replacement is approved for the system.
-
Orientation: Install directional cartridges according to their inlet and outlet markings.
-
Seating: Make sure the cartridge is fully engaged and not tilted.
-
O-rings: Check that seals are clean, undamaged, and seated in their intended grooves.
-
Housing closure: Tighten the housing or cartridge connection as directed in the manual. Excessive force can damage components.
-
Quick-connect tubing: Ensure the tube end is straight and inserted to the required depth.
-
Connection debris: Inspect accessible ports for visible obstruction without pushing material farther into the line.
Restore water slowly and check every disturbed connection for leakage. If a seal appears cut, swollen, or deformed, use the correct replacement rather than improvising with an incompatible part.
When temporary air or carbon fines are no longer a likely explanation
Air and loose carbon particles are mainly immediate post-change conditions. They become less convincing explanations when:
-
The required flushing procedure is complete
-
Flow is steady rather than sputtering but remains weak
-
Bypassing the cartridge restores normal flow
-
The problem continues to worsen
-
Only one fitting or section of tubing appears restricted
-
The faucet remains slow even after its aerator is cleaned
-
The cartridge is confirmed to be the correct model and properly seated
At that point, look for a physical restriction, insufficient inlet pressure, a faulty cartridge, or an upstream plumbing problem.
What determines how much water pressure is lost with an under-sink filter?
Filter type, media density, and filtration stages
Water must travel through each filtration layer. Denser media and finer filtration can create more resistance than an open, less restrictive flow path. Multi-stage systems may also introduce additional cartridges, fittings, valves, and tubing.
That does not mean more stages always cause unacceptable flow. System design, cartridge surface area, plumbing layout, and rated service flow all matter. Compare complete-system specifications rather than judging a filter only by the number of stages.
Clean cartridges versus clogged or prematurely restricted cartridges
A clean cartridge introduces its designed resistance. As sediment and other material collect on or within the media, water has fewer open pathways, so flow may decline.
The speed of that decline depends on water conditions and demand. A cartridge can become restricted earlier than a general replacement estimate if the incoming water carries a heavy sediment load. Conversely, replacing a cartridge solely because flow feels low may be unnecessary if the actual restriction is a valve, aerator, or kinked tube.
Standard under-sink filtration versus reverse osmosis flow
Standard under-sink filters generally pass water through filtration media and deliver it directly to a main or dedicated faucet. Reverse osmosis systems work differently: water is separated through a membrane, so treated-water production is slower by design.
RO configurations vary. Some use a storage tank, while others use a direct-flow or powered design. Faucet delivery, production rate, inlet-pressure needs, drain requirements, and power requirements therefore depend on the particular system.
Do not compare an RO system’s production behavior directly with a standard carbon filter’s service flow. If membrane-based filtration fits your water-treatment goals, review the pressure requirements and configuration of Frizzlife under-sink reverse osmosis systems before choosing a model.
Explore Under-Sink RO and Replacement Options
If your current setup no longer provides the flow you need, compare under-sink RO system options or find the correct replacement filter before replacing the entire filtration system.
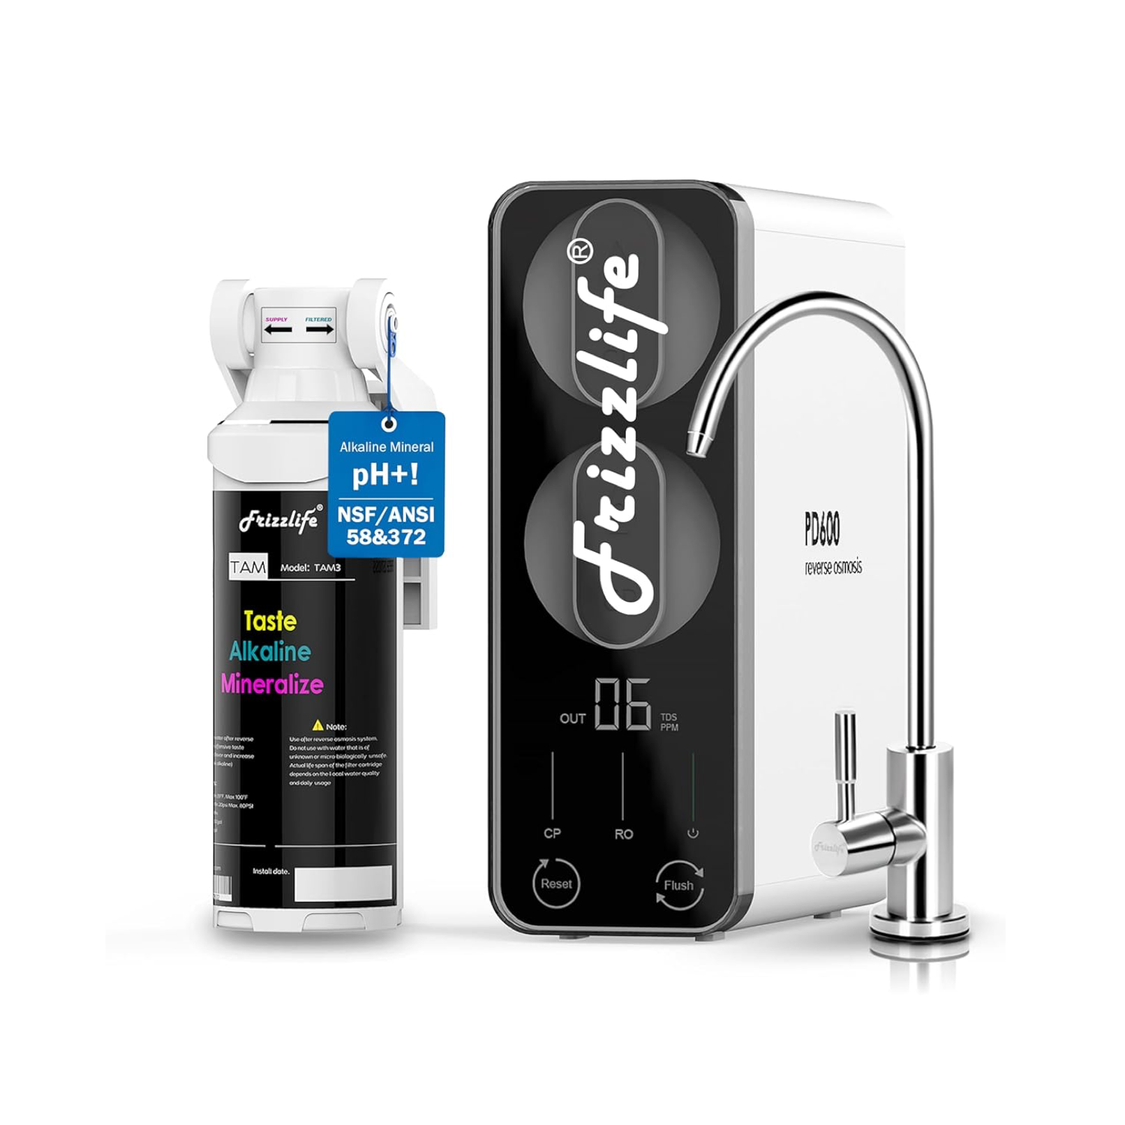
A 600 GPD tankless under-sink reverse osmosis system with alkaline remineralization for users considering a permanent RO setup.
View PD600-TAM3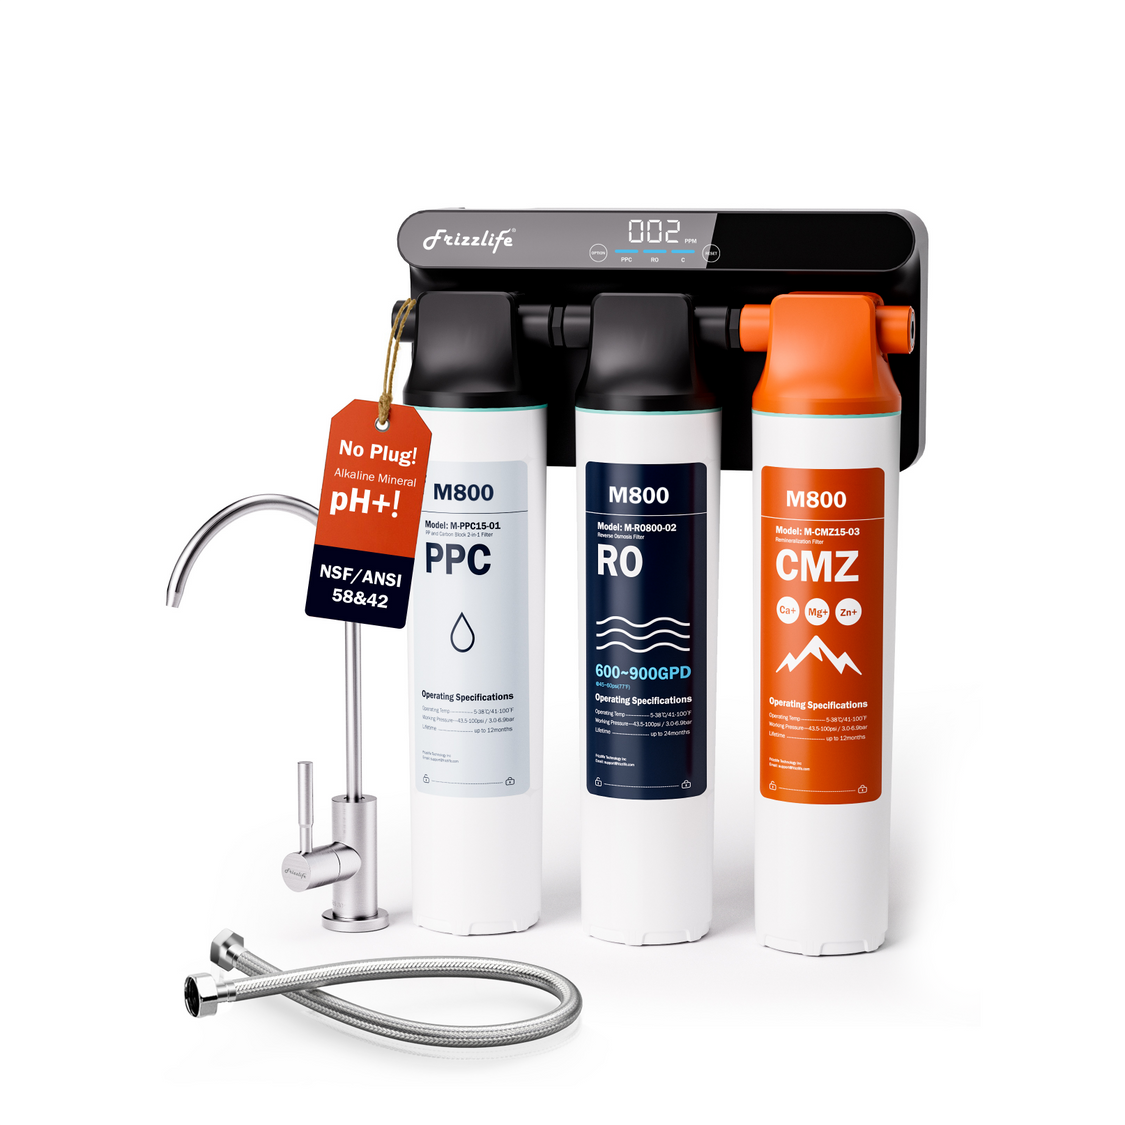
A non-electric tankless reverse osmosis system designed for under-sink installation, with high-capacity water production and alkaline remineralization.
View M800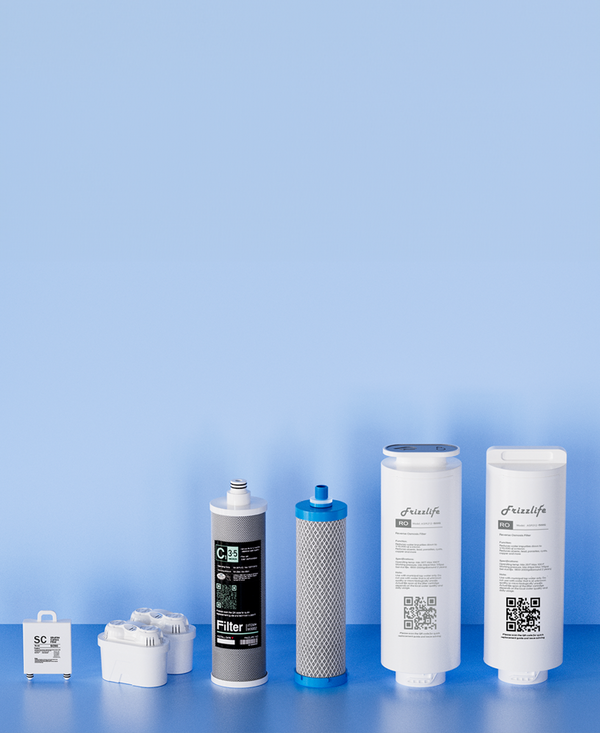
If reduced flow is caused by a restricted cartridge rather than the system itself, find compatible replacement filters for your Frizzlife model.
Find Replacement FiltersMain kitchen faucet versus dedicated filtered-water faucet
A system connected to the main kitchen faucet must support normal tasks such as filling pots and rinsing dishes. Any restriction is more noticeable because users expect the original faucet performance.
A dedicated filtered-water faucet usually serves lower-volume drinking and cooking needs. It may provide a more acceptable experience for a system with a modest rated flow, although the faucet and its tubing can still be restrictive.
Neither configuration is automatically right for every kitchen. Check whether the product requires or supports a dedicated faucet, and compare the rated flow with how the outlet will be used.
Restrictive fittings, tubing diameter, and simultaneous water use
The cartridge is only one part of the water path. Pressure and flow can also be affected by:
-
Narrow tubing
-
Long tubing runs
-
Sharp bends
-
Partially closed valves
-
Small internal fitting passages
-
Restrictive faucet cartridges
-
Aging flexible supply lines
-
Other upstream treatment equipment
-
Simultaneous water use in the home
A filter that performs acceptably when no other water is running may feel slow when a dishwasher, shower, or another fixture is operating. That pattern points toward limited available supply under demand rather than an isolated cartridge defect.
Step-by-step under-sink filter pressure and flow diagnosis
Confirm that every supply and system valve is fully open
Trace the cold-water path from the wall shutoff to the faucet or dedicated filtered tap. Check the angle stop, feed-water adapter, inlet valve, outlet valve, and any system-specific control valve.
A valve handle can look open while the internal mechanism remains partly closed or damaged. Do not force a stuck valve. If it leaks or will not turn normally, call a plumber.
Inspect tubing for kinks, pinches, sharp bends, and cabinet obstructions
Use a flashlight to inspect the entire visible route. Pay close attention to tubing behind a garbage disposal, around stored products, and where lines pass through cabinet openings.
Correct:
-
Tubing folded into a tight radius
-
Lines trapped beneath the filter housing
-
Hoses compressed against the cabinet wall
-
Tubing pulled sideways at a quick-connect fitting
-
Supply lines crushed by stored items
Do not create tension at the connection just to straighten a line. The system may need to be remounted so tubing can follow a smooth route.
Compare filtered and unfiltered flow to isolate the restriction
If the system uses a dedicated faucet, compare it with the regular cold-water faucet. If only the filtered outlet is slow, focus on the filter path.
For a more useful comparison, time how long each outlet takes to fill the same marked container. This provides a repeatable flow comparison without guessing based on appearance. Do not treat the result as the system’s official rated GPM unless the test follows the manufacturer’s specified conditions.
Use the system bypass when the model provides one
A bypass test can show whether the filtration system is the main restriction:
-
If flow returns in bypass, inspect the cartridge, filter head, and internal filter path.
-
If flow remains low, check the faucet, supply valve, tubing, and incoming plumbing.
-
If no bypass is built in, do not fabricate one unless you are comfortable modifying plumbing safely.
After the test, return the system to its normal operating position and check for leaks.
Measure incoming water pressure and compare it with the product manual
A suitable pressure gauge can help determine whether the filter is receiving adequate inlet pressure. Compare the measurement with the exact system’s minimum and maximum ratings.
For meaningful troubleshooting, note both:
-
Pressure when no water is running
-
Pressure while the filtered faucet or another fixture is operating
A large decline under demand can indicate a restricted supply line, failing valve, upstream equipment issue, or insufficient available supply. Measuring pressure immediately before and after a filter while water is flowing provides a more direct pressure-drop comparison, but adding gauges or opening pressurized lines is a job for a qualified plumber if test ports are not already provided.
Check whether low pressure affects one faucet or the whole home
Test nearby fixtures using cold water.
-
One filtered faucet is slow: Inspect the filter, dedicated faucet, tubing, and local valves.
-
The entire kitchen faucet is slow: Check its aerator, faucet cartridge, supply hoses, shutoff valves, and any filter serving the main tap.
-
Several fixtures are slow: Investigate the home’s supply pressure, main valve, upstream treatment equipment, or utility conditions.
-
Only hot water is slow: The under-sink cold-water filter is unlikely to be the cause.
This isolation step can prevent an unnecessary system replacement.
Can a clogged filter reduce water flow at the kitchen faucet?
Yes. A clogged cartridge can reduce kitchen faucet flow by increasing resistance through the filtration media. The effect may be gradual or, under heavy sediment conditions, appear earlier than expected.
Signs that cartridge restriction—not normal filter resistance—is reducing flow
Look for a combination of these signs:
-
Flow was acceptable when the cartridge was new
-
Performance declined gradually
-
Bypass restores stronger flow
-
The aerator and tubing are clear
-
Valves are fully open
-
Incoming pressure remains within the specified range
-
A replacement cartridge restores performance
No single sign proves the cartridge is clogged. Use the full water-path diagnosis before drawing that conclusion.
Why sediment load and water conditions can shorten usable cartridge life
Replacement guidance is usually based on assumed water conditions and usage. Actual cartridge life can be shorter where the supply carries more sediment or demand is higher.
Repeated early restriction can also indicate a source problem rather than defective cartridges. Investigate recent plumbing work, changes in utility supply, private-well sediment, or overloaded upstream filtration where relevant.
When replacing only the cartridge is the appropriate fix
Replace the cartridge rather than the complete system when:
-
The housing and filter head are undamaged
-
Valves and connections operate correctly
-
The cartridge is due for service or demonstrably restricted
-
The correct replacement is available
-
The system still suits the required pressure and flow
-
Flow returns after installing and flushing a correct cartridge
Follow the system manual for depressurization, cartridge installation, seal inspection, flushing, and leak checks.
When repeated clogging points to a system-sizing or pretreatment problem
If multiple cartridges restrict unusually quickly, repeatedly installing the same cartridge may only provide temporary relief. Consider whether:
-
The cartridge has insufficient capacity for the sediment load
-
The required faucet flow exceeds the system’s rating
-
An upstream sediment problem needs diagnosis
-
Existing pretreatment equipment requires maintenance
-
The selected filtration type is poorly matched to the source-water conditions
Any pretreatment change should be based on identified water conditions and compatible system specifications, not guesswork.
Cabinet fit and plumbing conditions that affect under-sink filter flow

Clearance needed for straight tubing runs and future cartridge changes
Under-sink systems need room for both installation and maintenance. Some instructions call for several inches of service clearance, but the exact amount is model-specific.
Before mounting a system, confirm there is space to:
-
Route tubing without tight bends
-
Reach the shutoff and system valves
-
Remove or twist out cartridges
-
Place a tray beneath the unit
-
Inspect connections for leaks
-
Keep stored items from pressing against tubing
A system that technically fits but cannot be serviced without sharply bending hoses is not a good cabinet fit.
Shutoff valves, flexible supply lines, and faucet restrictions
Old shutoff valves may fail to reopen fully after service. Flexible supply lines can kink internally or externally, and some faucet cartridges have narrow passages that collect debris.
Inspect components in sequence rather than assuming the filter is responsible. If a valve or supply line appears deteriorated, replacement may require professional plumbing work.
Cold-water connection and other installation requirements to verify
Under-sink filtration systems reviewed in installation manuals are generally intended for the cold-water line. Hot water can damage components designed for cold-water service.
Also verify:
-
Required inlet-pressure range
-
Compatible connection sizes
-
Correct inlet and outlet orientation
-
Whether a dedicated faucet is required
-
Whether a drain connection is needed
-
Whether electrical power is required
-
Required cabinet clearance
-
Manufacturer flushing procedure
Requirements can differ substantially between standard filters and RO systems.
What should I check before replacing the whole under-sink filtration system?
Repair, replace the cartridge, or replace the system: decision checklist
Repair or correct the installation when:
-
A valve is partly closed
-
Tubing is kinked
-
The aerator is clogged
-
A cartridge or seal is mis-seated
-
A connection contains debris
-
The system has not been flushed correctly
Replace only the cartridge when:
-
The existing cartridge is restricted
-
The housing and connections remain sound
-
The current system meets required flow and pressure specifications
-
Correct performance returns with a compatible cartridge
Consider replacing the system when:
-
Its rated flow is inadequate for the intended faucet
-
Its minimum inlet pressure does not match the home’s measured pressure
-
The housing or filter head is damaged
-
Correct cartridges are no longer available
-
Cabinet fit forces recurring tubing restrictions
-
The faucet configuration does not match how filtered water is used
-
Repeated cartridge restriction indicates that the present design is poorly matched to demand or water conditions
When a different flow-rated under-sink filter may be appropriate
If the existing system works correctly but is still slower than needed, compare Frizzlife under-sink water filters by their published rated flow, required inlet-pressure range, faucet configuration, replacement cartridge, and installation requirements.
Do not select a replacement based on a “high-flow” description alone. A system can deliver its rated performance only when installed and operated under the applicable conditions.
When measured overpressure—not low pressure—may require regulation
High incoming pressure is a different problem. Manufacturer manuals commonly specify a maximum operating pressure and may require an upstream pressure-reducing valve when that limit is exceeded.
Do not add or adjust regulation merely because faucet flow feels unusual. Measure the pressure and compare it with the exact system and plumbing requirements. If confirmed overpressure needs correction, review compatible Frizzlife pressure regulators and involve a qualified plumber when installation affects the home’s main supply.
Product specifications to verify before choosing a replacement: inlet-pressure range, rated flow, faucet configuration, and installation clearance
Before purchasing another system, record:
-
Measured cold-water inlet pressure
-
Desired faucet flow and typical use
-
Main-faucet or dedicated-faucet preference
-
Available cabinet width, height, and service clearance
-
Tubing route and connection sizes
-
Cold-water connection requirements
-
Drain and electrical availability, if applicable
-
Filter type and replacement procedure
-
Published rated flow
-
Minimum and maximum inlet pressure
This information helps distinguish a product problem from an installation or plumbing mismatch.
The answer to how much water pressure is lost with an under sink filter is ultimately model- and installation-dependent. A slight, stable flow reduction may be normal, but abrupt or severe low flow is not something to accept without checking. Flush the cartridge, clean the aerator, open the valves, inspect the tubing and seals, compare filtered and unfiltered flow, and verify incoming pressure before replacing the complete system.