


An RO leak usually comes from a filter housing seal, push-fit connection, damaged tube, threaded fitting, storage tank connection, faucet, or drain assembly. Leaks are especially common after installation, a filter change, or tubing has been disconnected and reinstalled.
If your RO system is leaking, shut off its feed water before trying to tighten, open, or disconnect anything. Close the storage tank valve if your system has one, open the RO faucet to relieve pressure, and dry the unit completely. Then restore pressure in stages to identify where fresh water first appears.
Do not assume the puddle directly below the unit marks the source. Water frequently travels along tubing, housings, and cabinet walls before dripping at a lower point.
Important: RO system layouts differ. Valve locations, housing designs, fitting types, drain connections, and electrical components are model-specific. Follow your product manual whenever its instructions differ from the general troubleshooting steps below.
RO leak: what to do first before troubleshooting
The first priority is stopping water flow and protecting the surrounding cabinet—not immediately reaching for a wrench. Opening a housing or disconnecting tubing while the system remains pressurized can release more water and make the original leak harder to identify.
Shut off the feed water, close the storage tank valve if present, and relieve pressure
Use this general shutdown sequence for a typical under-sink reverse osmosis system:
-
Turn off the feed water supplying the RO system. The valve may be at the cold-water connection, on the RO feed line, or in another location specified by the installation manual.
-
Close the storage tank valve, if present. Tankless systems and some other configurations will not have this valve.
-
Open the RO faucet. Let water run until flow slows or stops, which relieves residual pressure.
-
Shut down connected lines when applicable. If the RO system supplies another appliance, such as a refrigerator, isolate that connection according to the installation instructions.
-
Address power safely. If your model uses electricity, follow its shutdown instructions. Do not handle plugs, pumps, or wiring while standing water is near electrical components.
Even after the feed and tank valves are closed, residual water can remain inside housings and tubes. Expect some water to drain when a connection is opened.
Never loosen a housing or remove a tube merely because the visible dripping has stopped. First relieve system pressure through the faucet.
Protect the cabinet, dry the system, and trace water to the highest wet point
Place towels and a shallow tray beneath the RO unit. Remove stored items from the cabinet so they do not hide water or interfere with inspection.
Next, dry all accessible components:
-
Filter housings and housing heads
-
O-ring seam areas
-
Tube ends and push-fit connectors
-
Threaded fittings
-
Storage tank valve and connection
-
Faucet supply line
-
Drain line and drain saddle
-
Cabinet walls and floor
Fresh, dry paper towels can help detect a slow reverse osmosis leak. Wrap or hold a separate piece at each suspected connection, then look for the first one that becomes wet during testing.
Always trace moisture upward. If the bottom of a filter housing is wet, for example, the source may actually be a fitting above it. Water can run down the housing before forming a drop at the bottom.
Can you keep using an RO system if it has a small leak?
No active RO leak should be treated as harmless. A slow drip can continue whenever the system refills or remains pressurized, potentially damaging the cabinet, flooring, or nearby equipment. A fitting that currently releases one drop at a time may also deteriorate or separate.
Keep the feed water shut off until you have:
-
Identified the source
-
Corrected or replaced the affected connection
-
Repressurized the system without visible moisture
-
Rechecked it during normal faucet use and tank refill, where applicable
If the leak is near electricity, has soaked building materials, or cannot be isolated, leave the system off and seek professional assistance.
Repressurize in stages to isolate the reverse osmosis leak
Once the system is dry—and only if there are no cracked or visibly unsafe components—restore operation gradually. A typical staged test is:
-
Keep the storage tank valve closed.
-
Slowly reopen the RO feed water.
-
Watch the feed connection, filter stages, membrane area, and associated fittings.
-
If those points remain dry, open the tank valve.
-
Inspect the tank valve, tank tube, and downstream connections.
-
Operate the RO faucet and watch its base, supply tube, air gap, and drain path.
-
Close the faucet and observe the system while it sits pressurized and, if applicable, refills.
The exact sequence may differ by model. The purpose is to change one condition at a time. If several valves are opened and the faucet is operated simultaneously, it becomes harder to determine which side of the system caused the leak.
What are the most common places for an RO system to leak?
The most common leak points are filter housing seals, O-rings, push-fit connectors, tubing, threaded fittings, tank connections, faucets, and drain assemblies. The timing and pattern of the leak can narrow the search.
RO leak symptom-and-source decision table
|
Leak pattern |
Likely source |
First check |
Reasonable DIY action |
Replace or escalate when
|
|---|---|---|---|---|
|
Leak began after a filter change |
Housing O-ring, housing alignment, loose tube |
Check the housing seam and every connection handled during service |
Depressurize, clean and reseat the correct O-ring, or reseat the tube |
Housing is cracked, threads are damaged, or the seal still leaks after correct reassembly |
|
Water appears around a housing seam |
Dirty, twisted, worn, or wrong-size O-ring; cross-threaded housing |
Dry the seam and inspect the O-ring groove |
Clean sealing surfaces and reinstall an undamaged, model-compatible seal |
Housing or head is distorted, cracked, or cannot thread together correctly |
|
A drop forms where tubing enters a connector |
Tube not fully inserted, angled cut, scored tube, damaged fitting |
Mark insertion depth and inspect the tube end |
Remove, square-cut, and fully reinsert the tube |
Tube is brittle or too short, or the fitting leaks after proper reseating |
|
Leak appears at a threaded connection |
Loose, misaligned, damaged, or improperly sealed fitting |
Identify the fitting type before tightening |
Reassemble only as directed by the model instructions |
Threads are stripped, cracked, or repeatedly fail to seal |
|
Tank area is wet only after opening the tank valve |
Tank valve, tube connection, tank threads, or tank body |
Dry the tank top and body separately |
Reseat an intact tube or service a compatible tank valve as instructed |
Tank body leaks, threads are damaged, or corrosion or structural damage is visible |
|
Faucet base leaks while dispensing |
Faucet connection, supply line, mounting seal |
Watch above and below the countertop while operating the faucet |
Tighten or reseat accessible parts according to the faucet instructions |
Faucet body is damaged or countertop access requires major disassembly |
|
Water exits an air gap opening during refill |
Restricted or misrouted drain line, blocked drain saddle, drain backflow |
Inspect drain tubing for kinks and check the drain connection |
Correct accessible routing or alignment |
Drain plumbing is blocked, inaccessible, or repeatedly backs up |
|
Cabinet becomes wet while the system sits unused |
Pressurized housing, fitting, tank-side connection, or upstream feed connection |
Leave faucet closed and inspect the highest wet point |
Isolate feed and tank sides through staged testing |
Source cannot be isolated or a structural component is leaking |
|
Leak returns after several apparently successful repairs |
Worn part, incompatible replacement, pressure problem, vibration, or routing strain |
Check whether the tube or fitting is being pulled sideways |
Correct routing and install model-compatible parts |
Connections continue failing or plumbing conditions require diagnosis |
Filter housings, O-rings, and seals
A removable filter housing seals against its head through an O-ring. That seal can leak when the O-ring is:
-
Twisted, pinched, or out of its groove
-
Dirty or surrounded by grit
-
Dry, damaged, flattened, or stretched
-
The wrong size or material for the housing
-
Installed against a dirty or scratched sealing surface
The housing itself may also be loose, cross-threaded, deformed from overtightening, or cracked. Leaking soon after a filter change strongly suggests checking every housing and seal disturbed during maintenance.
Do not respond to every housing leak by applying more force. Excessive tightening can distort an O-ring, damage threads, or crack a plastic component. If the housing does not engage smoothly, depressurize it and inspect the threads rather than forcing it.
Some RO systems use sealed cartridges or cassette-style filters instead of removable canisters. Do not attempt to open a component that is not designed for user disassembly.
Push-fit connectors, threaded fittings, and RO tubing
Push-fit connectors seal around the outside of a fully inserted tube. They commonly leak when the tube:
-
Was not pushed all the way into the fitting
-
Was cut diagonally instead of square
-
Has scratches, gouges, or an oval-shaped end
-
Is bent sharply near the connector
-
Is under sideways tension
-
Has become cracked or brittle
The connector’s internal seal or release collet can also wear or become damaged. If a correctly prepared tube continues to leak in the same fitting, replacing the fitting is usually safer than repeatedly reinserting the tube.
Threaded fittings require different handling. Do not put thread-sealing tape on push-fit connections, compression seals, O-rings, or any connection unless the manual specifically calls for it. For an actual threaded fitting, identify the connection type and follow model-specific sealing and tightening instructions.
Storage tank valve, tank connection, and tank body
When water appears near a storage tank, first dry the tank valve, tube connection, threaded neck, and tank surface separately. Reopen the tank valve during staged testing and watch where moisture begins.
A leak at the tubing connection may be corrected by preparing and reseating the tube. A tank valve may require careful reinstallation or replacement with a compatible part. However, damaged tank threads and a leaking tank body are not minor sealing problems.
Do not attempt to patch a cracked, corroded, or structurally damaged storage tank. Keep it isolated and arrange for replacement or professional service. Because a pressurized tank stores water, failure can release substantially more than a few visible drips.
RO faucet base, air gap, drain line, and drain saddle
A wet faucet does not always mean the faucet itself is defective. Water may originate from:
-
A loose supply connection below the faucet
-
A mounting seal or faucet base
-
An air gap opening
-
A kinked or obstructed drain tube
-
A loose or misaligned drain saddle
-
Backup from the sink drain connection
The timing matters. A leak that occurs only while dispensing points toward the faucet supply side or faucet mounting area. Water that exits the air gap while the RO system is producing water is more likely related to the drain path.
Inspect both above and below the countertop. Water around the faucet base can travel through the mounting hole and appear inside the cabinet.
How to fix an RO filter leaking at a housing, fitting, or tube

The correct repair depends on whether the leak comes from a seal, a removable tube, or a damaged structural component. Shut off and depressurize the system before performing any of these steps.
Reseat and inspect a filter housing O-ring without overtightening the housing
For a canister-style RO filter housing:
-
Shut off the feed water and close the tank valve, if present.
-
Open the RO faucet to relieve pressure.
-
Place a tray and towels beneath the housing.
-
Remove the housing using only the method and tools specified in the manual.
-
Remove the O-ring carefully without scratching its groove.
-
Clean the O-ring groove, housing rim, and mating surface.
-
Inspect the O-ring for cuts, flattening, stretching, twisting, or embedded debris.
-
Check the housing, threads, and head for cracks or deformation.
-
Reinstall the correct model-compatible O-ring evenly in its groove.
-
If the manufacturer approves lubricant, apply only a light coating of the specified compatible product.
-
Reinstall the housing straight so the threads engage smoothly.
-
Repressurize slowly and inspect the entire seam.
The O-ring creates the seal; excessive housing force does not compensate for a damaged or misplaced seal. If the housing binds, sits at an angle, or will not thread smoothly, stop and inspect it again.
Remove, square-cut, and fully reinsert tubing into a push-fit connector

To repair a leaking push-fit connection:
-
Shut off water and relieve pressure.
-
Remove the locking clip if the fitting uses one.
-
Press the connector’s release collet evenly toward the fitting.
-
While holding the collet in, pull the tube straight out.
-
Inspect the tube end for scratches, cracks, distortion, or an angled cut.
-
If sufficient tubing length remains, trim off the damaged portion with a clean, square cut.
-
Confirm there are no burrs, crushed edges, or debris.
-
Push the tube straight into the fitting until it reaches the internal stop.
-
Pull back gently to confirm that the collet has gripped it.
-
Reinstall the locking clip, if supplied.
-
Slowly restore pressure and look for fresh moisture.
Do not use a jagged blade or scissors that crush the tube. Do not add tape, adhesive, or sealant to the outside of tubing entering a push-fit connector. The internal seal must contact smooth, correctly sized tubing.
If trimming would leave the tube too short or place it under tension, replace it with compatible tubing rather than stretching it into position.
When should a leaking fitting, tube, or filter housing be replaced?
Replace the affected component instead of reseating it again when:
-
A housing has a visible crack, damaged sealing surface, or stripped threads
-
An O-ring is cut, flattened, stretched, or no longer fits its groove
-
Tubing is cracked, brittle, deeply scored, crushed, or too short
-
A push-fit connector leaks after a properly cut tube is fully inserted
-
A collet does not grip the tube securely
-
A threaded fitting is split, distorted, or has damaged threads
-
The same connection repeatedly begins leaking after normal use
-
A replacement part does not match the required tube size, thread, seal, or pressure application
A temporary dry test is not proof that a questionable component is reliable. If damage is structural, replacement is safer than adding tightening force or improvised sealant.
Choose model-compatible replacement parts instead of forcing a damaged connection
RO components that look similar are not necessarily interchangeable. O-ring dimensions, tubing sizes, fitting designs, threads, housing interfaces, and cartridge connections can differ by model.
Check the system manual and part identification before ordering. Frizzlife owners can review available RO system accessories, but compatibility should still be verified for the exact system before installation.
Avoid forcing a nearly matching component into place. If the replacement does not seat smoothly or requires unusual force, stop and confirm the part number and installation method.
Need Replacement Filters or a New RO System?
If a compatible replacement part can solve the problem, start there. If an older RO system has recurring leaks or multiple damaged components, you can also compare current Frizzlife RO system options.
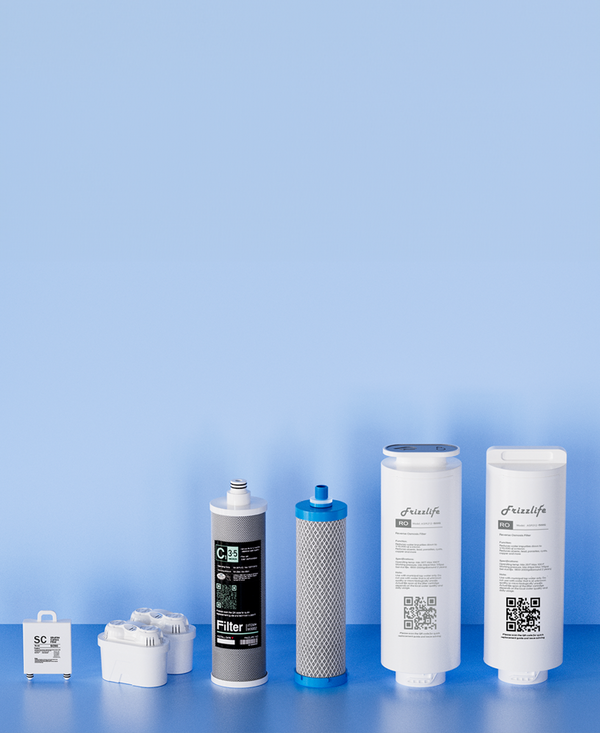
Frizzlife Replacement Filters
Find compatible replacement filters for your Frizzlife system. Always confirm the exact system and filter model before ordering.
Find Replacement Filters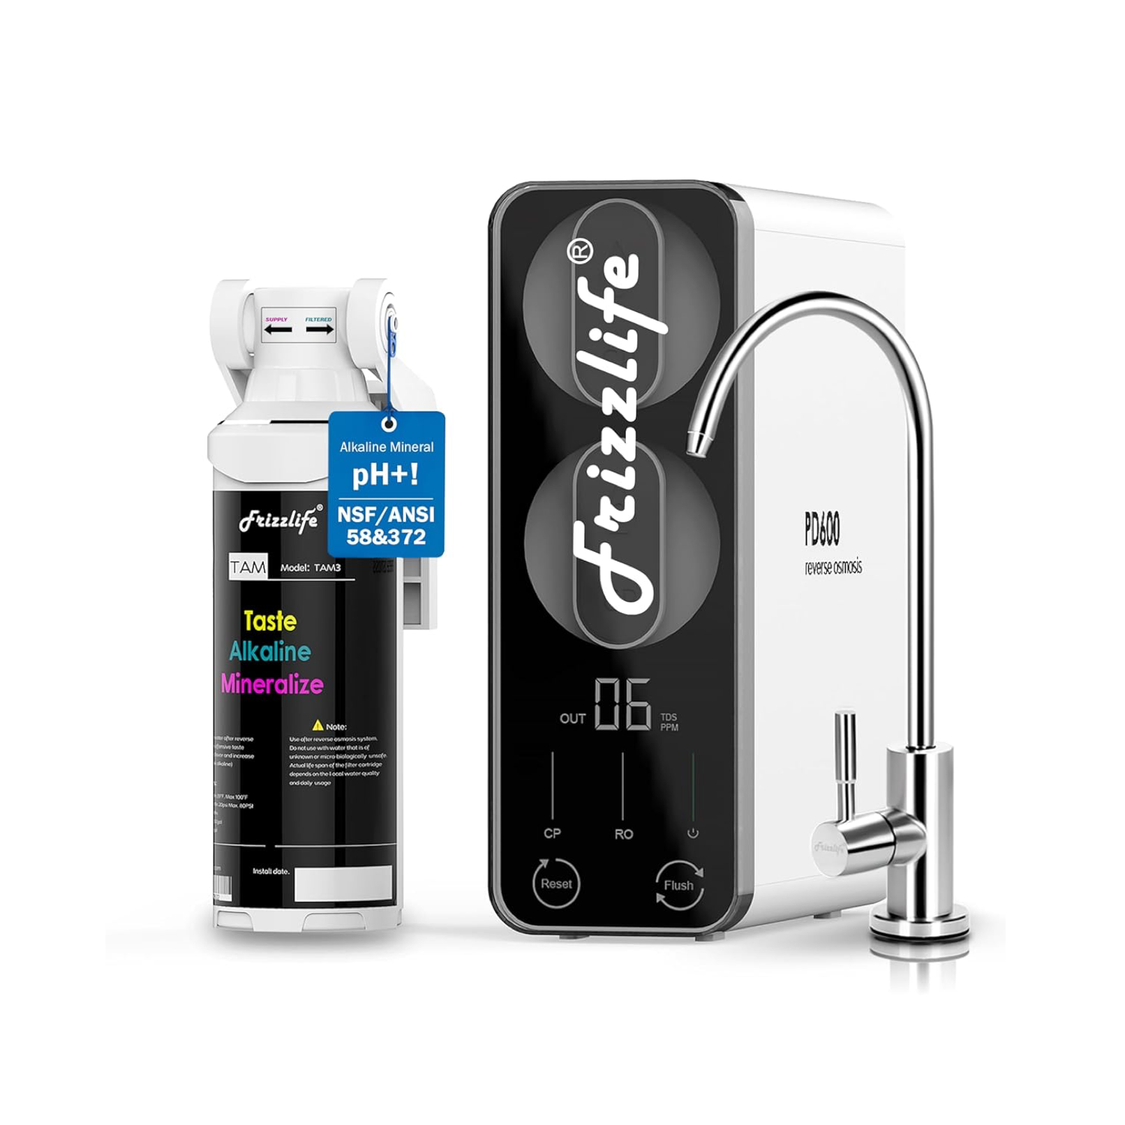
Frizzlife PD600-TAM3
Explore a current Frizzlife under-sink RO option if repairing an older system is no longer practical or repeated problems continue.
View PD600-TAM3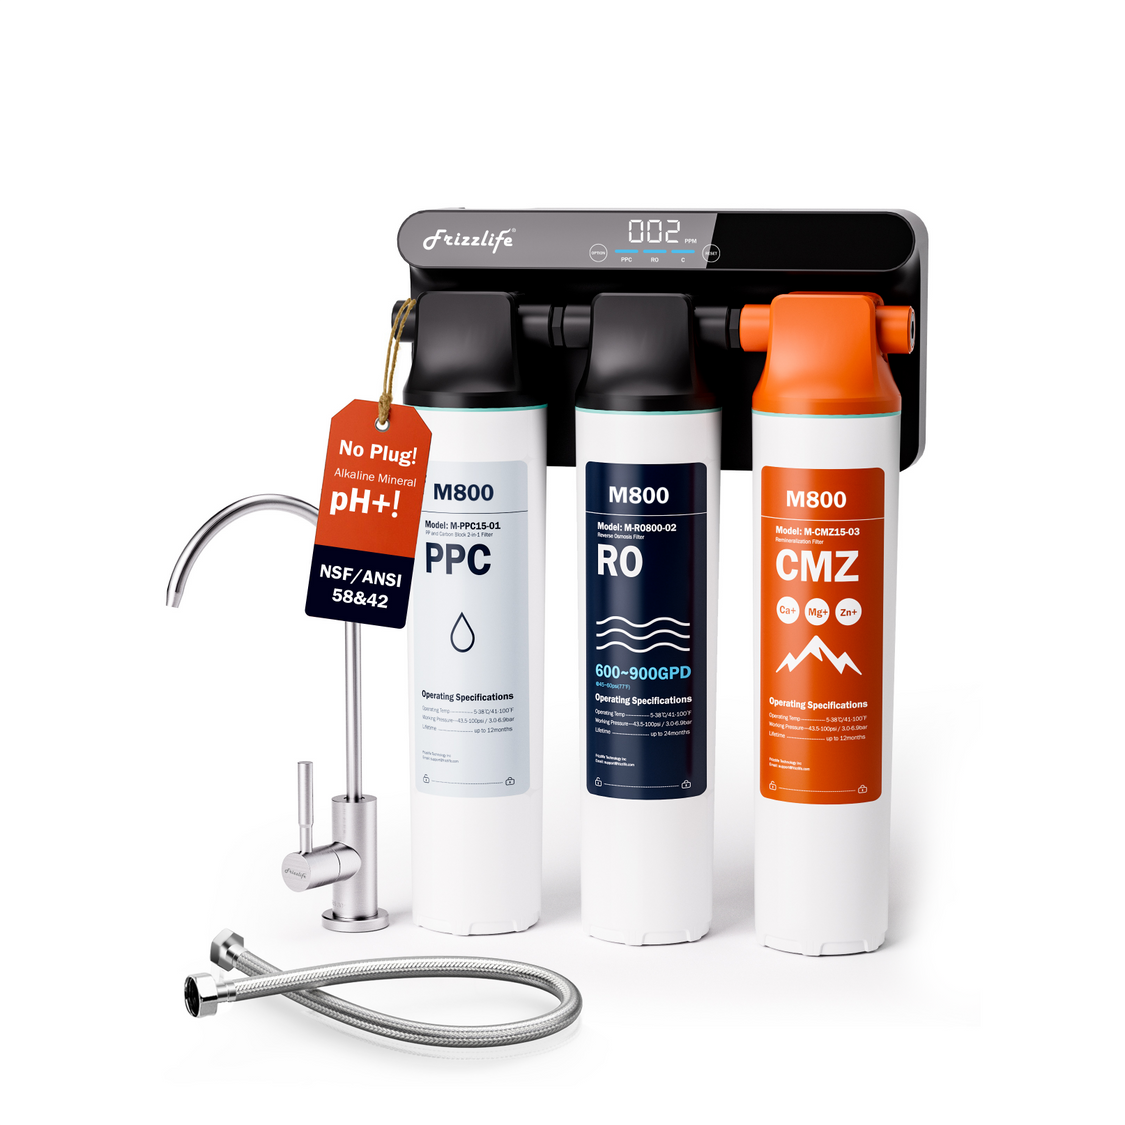
Frizzlife M800
Compare another Frizzlife RO system when you are considering full-system replacement instead of continuing to repair multiple aging components.
View M800Troubleshooting an RO faucet, air gap, or drain-side leak
Faucet-area leaks require a different diagnostic approach from pressurized housing leaks. An air gap is part of the drain path, so water coming from its opening can indicate drainage backup rather than a defective drinking-water connection.
Check whether the leak occurs while the faucet runs, while the system refills, or while it sits pressurized
Observe the system under three conditions:
While the faucet runs:
Watch the faucet base, supply tube, and connections below the countertop. A leak that begins only during dispensing may involve the faucet water line, connector, mounting seal, or faucet assembly.
While the system refills:
Watch the air gap opening, drain tube, and drain saddle. Refill-related water at the air gap often points to restricted drainage, incorrect tube routing, or backup at the sink drain connection.
While the system sits pressurized:
Close the faucet and inspect the feed, housings, tank side, and faucet supply connection. A slow drip under static pressure is less likely to be caused solely by normal drain flow.
Dry the area between each test. Otherwise, water remaining from the first condition can create a false diagnosis during the next one.
When Does an Air Gap or Drain Saddle Blockage Need Professional Help?
An air gap leak may be visible at the faucet, but the restriction can be farther downstream. Drain water may back up when:
-
Drain tubing is kinked, pinched, or improperly routed
-
The drain saddle opening is misaligned
-
The saddle or connected drain passage is restricted
-
The sink drain is partially blocked
-
Drain plumbing creates repeated backflow at the connection
Begin with accessible visual checks. Confirm that the RO drain tube is not folded behind stored items and that it follows the routing specified in the installation instructions. Inspect the drain saddle for looseness or obvious misalignment.
A blocked sink drain or inaccessible drain connection is no longer a simple faucet repair. Do not repeatedly tighten the faucet or replace water-side parts when the leak occurs only during RO production and water is visibly coming from the air gap. The drain path must be corrected.
Complex drain plumbing, recurring backups, or uncertainty about removing a blockage are reasons to contact a qualified plumber or product support.
When Does a Leaking RO Faucet Require Professional Repair?
A faucet leak may remain a manageable DIY task when the source is an accessible tube that needs correct insertion, a loose mounting component, or a replaceable model-compatible seal.
It becomes a larger repair when:
-
The faucet body is cracked or internally damaged
-
The countertop must be substantially disassembled for access
-
Corroded mounting hardware cannot be safely removed
-
The drain saddle must be relocated or replaced
-
Drain piping is blocked or requires modification
-
Water has entered countertop material or cabinetry
-
The faucet continues leaking after its connections are correctly reassembled
-
Replacement parts cannot be confirmed as compatible
Before replacing the faucet, determine whether the water comes from its pressurized supply side or the air gap. Replacing the faucet will not resolve a downstream drain blockage unless the faucet assembly itself is also damaged.
Can You Fix an RO Leak Yourself, or Should You Call a Professional?
Many visible RO leaks are reasonable DIY repairs when you know how to operate the shutoff valves, can fully depressurize the system, can access the leak source, and have confirmed that the affected component is structurally intact. Typical examples include reseating a clean, undamaged O-ring or square-cutting and reinserting compatible tubing into an intact push-fit connector.
Leave the feed water off and contact product support or a qualified plumber if a housing, housing head, manifold, or tank body is cracked; threads are stripped; a fitting will not retain its tube; the source is hidden inside a non-serviceable module; the system cannot be safely isolated; or the leak returns after correct reassembly. More tightening or improvised sealant will not correct structural damage. A plumber is generally appropriate for feed-valve or drain-plumbing problems, while product support can confirm model-specific parts and service procedures.
If several major components are damaged or compatible parts are no longer available, compare the repair scope with current under-sink reverse osmosis systems. Replacement should be considered based on the condition and serviceability of the complete installation, not because of a single minor drip.
How to prevent another reverse osmosis system leak
Preventive checks are particularly important after filter replacement, maintenance, or moving items beneath the sink.
Inspect seals, tubing, fittings, and housing threads during every filter change
Before reassembling the system, inspect all parts you touched:
-
O-rings for cuts, flattening, stretching, and dirt
-
O-ring grooves and sealing surfaces for debris
-
Housing threads for damage or cross-threading
-
Tube ends for scratches and angled cuts
-
Fittings for cracks or loose collets
-
Tubing for kinks, brittleness, and sideways strain
-
Drain tubing for restricted routing
Do not reuse a visibly damaged seal merely because it worked before the filter change. Maintenance can expose wear that was not apparent while the system remained assembled.
Keep O-ring grooves and sealing surfaces clean and use only approved compatible lubricant
A small amount of grit can prevent an O-ring from sealing evenly. Clean the groove and mating surface without scratching them.
If lubrication is permitted, use only the type approved for the system and seal material. Apply a light coating rather than packing the groove. Lubricant cannot repair a cut O-ring or cracked housing.
Perform a staged leak check after maintenance or reconnecting tubing
Every time a filter housing is opened or tubing is removed:
-
Dry all serviced connections
-
Restore water slowly
-
Check each stage before opening the next valve
-
Operate the faucet
-
Observe the drain during production
-
Leave the system pressurized and check again
This is especially important when the RO filter leaking problem began immediately after service. Focus first on the exact components that were removed, loosened, or moved.
Recheck the RO system after normal use and keep the under-sink area visible and dry
Avoid packing the cabinet so tightly that tubing becomes bent or the RO system is hidden. Stored items can push against connectors and absorb leaking water before a puddle becomes visible.
Periodically inspect the highest connections, housing seams, tank valve, faucet tubing, and drain saddle. A dry, visible cabinet makes a new reverse osmosis system leak easier to catch before it causes broader damage.
Most RO leaks can be traced by shutting down the system, drying every component, and restoring water one stage at a time. Reseat only structurally sound parts, replace damaged seals, tubes, fittings, or housings, and do not continue using the system until it remains dry during dispensing, refill, and normal pressurized operation.
Reference
https://www.cdc.gov/drinking-water/prevention/about-choosing-home-water-filters.html